


About
Learn To Sew
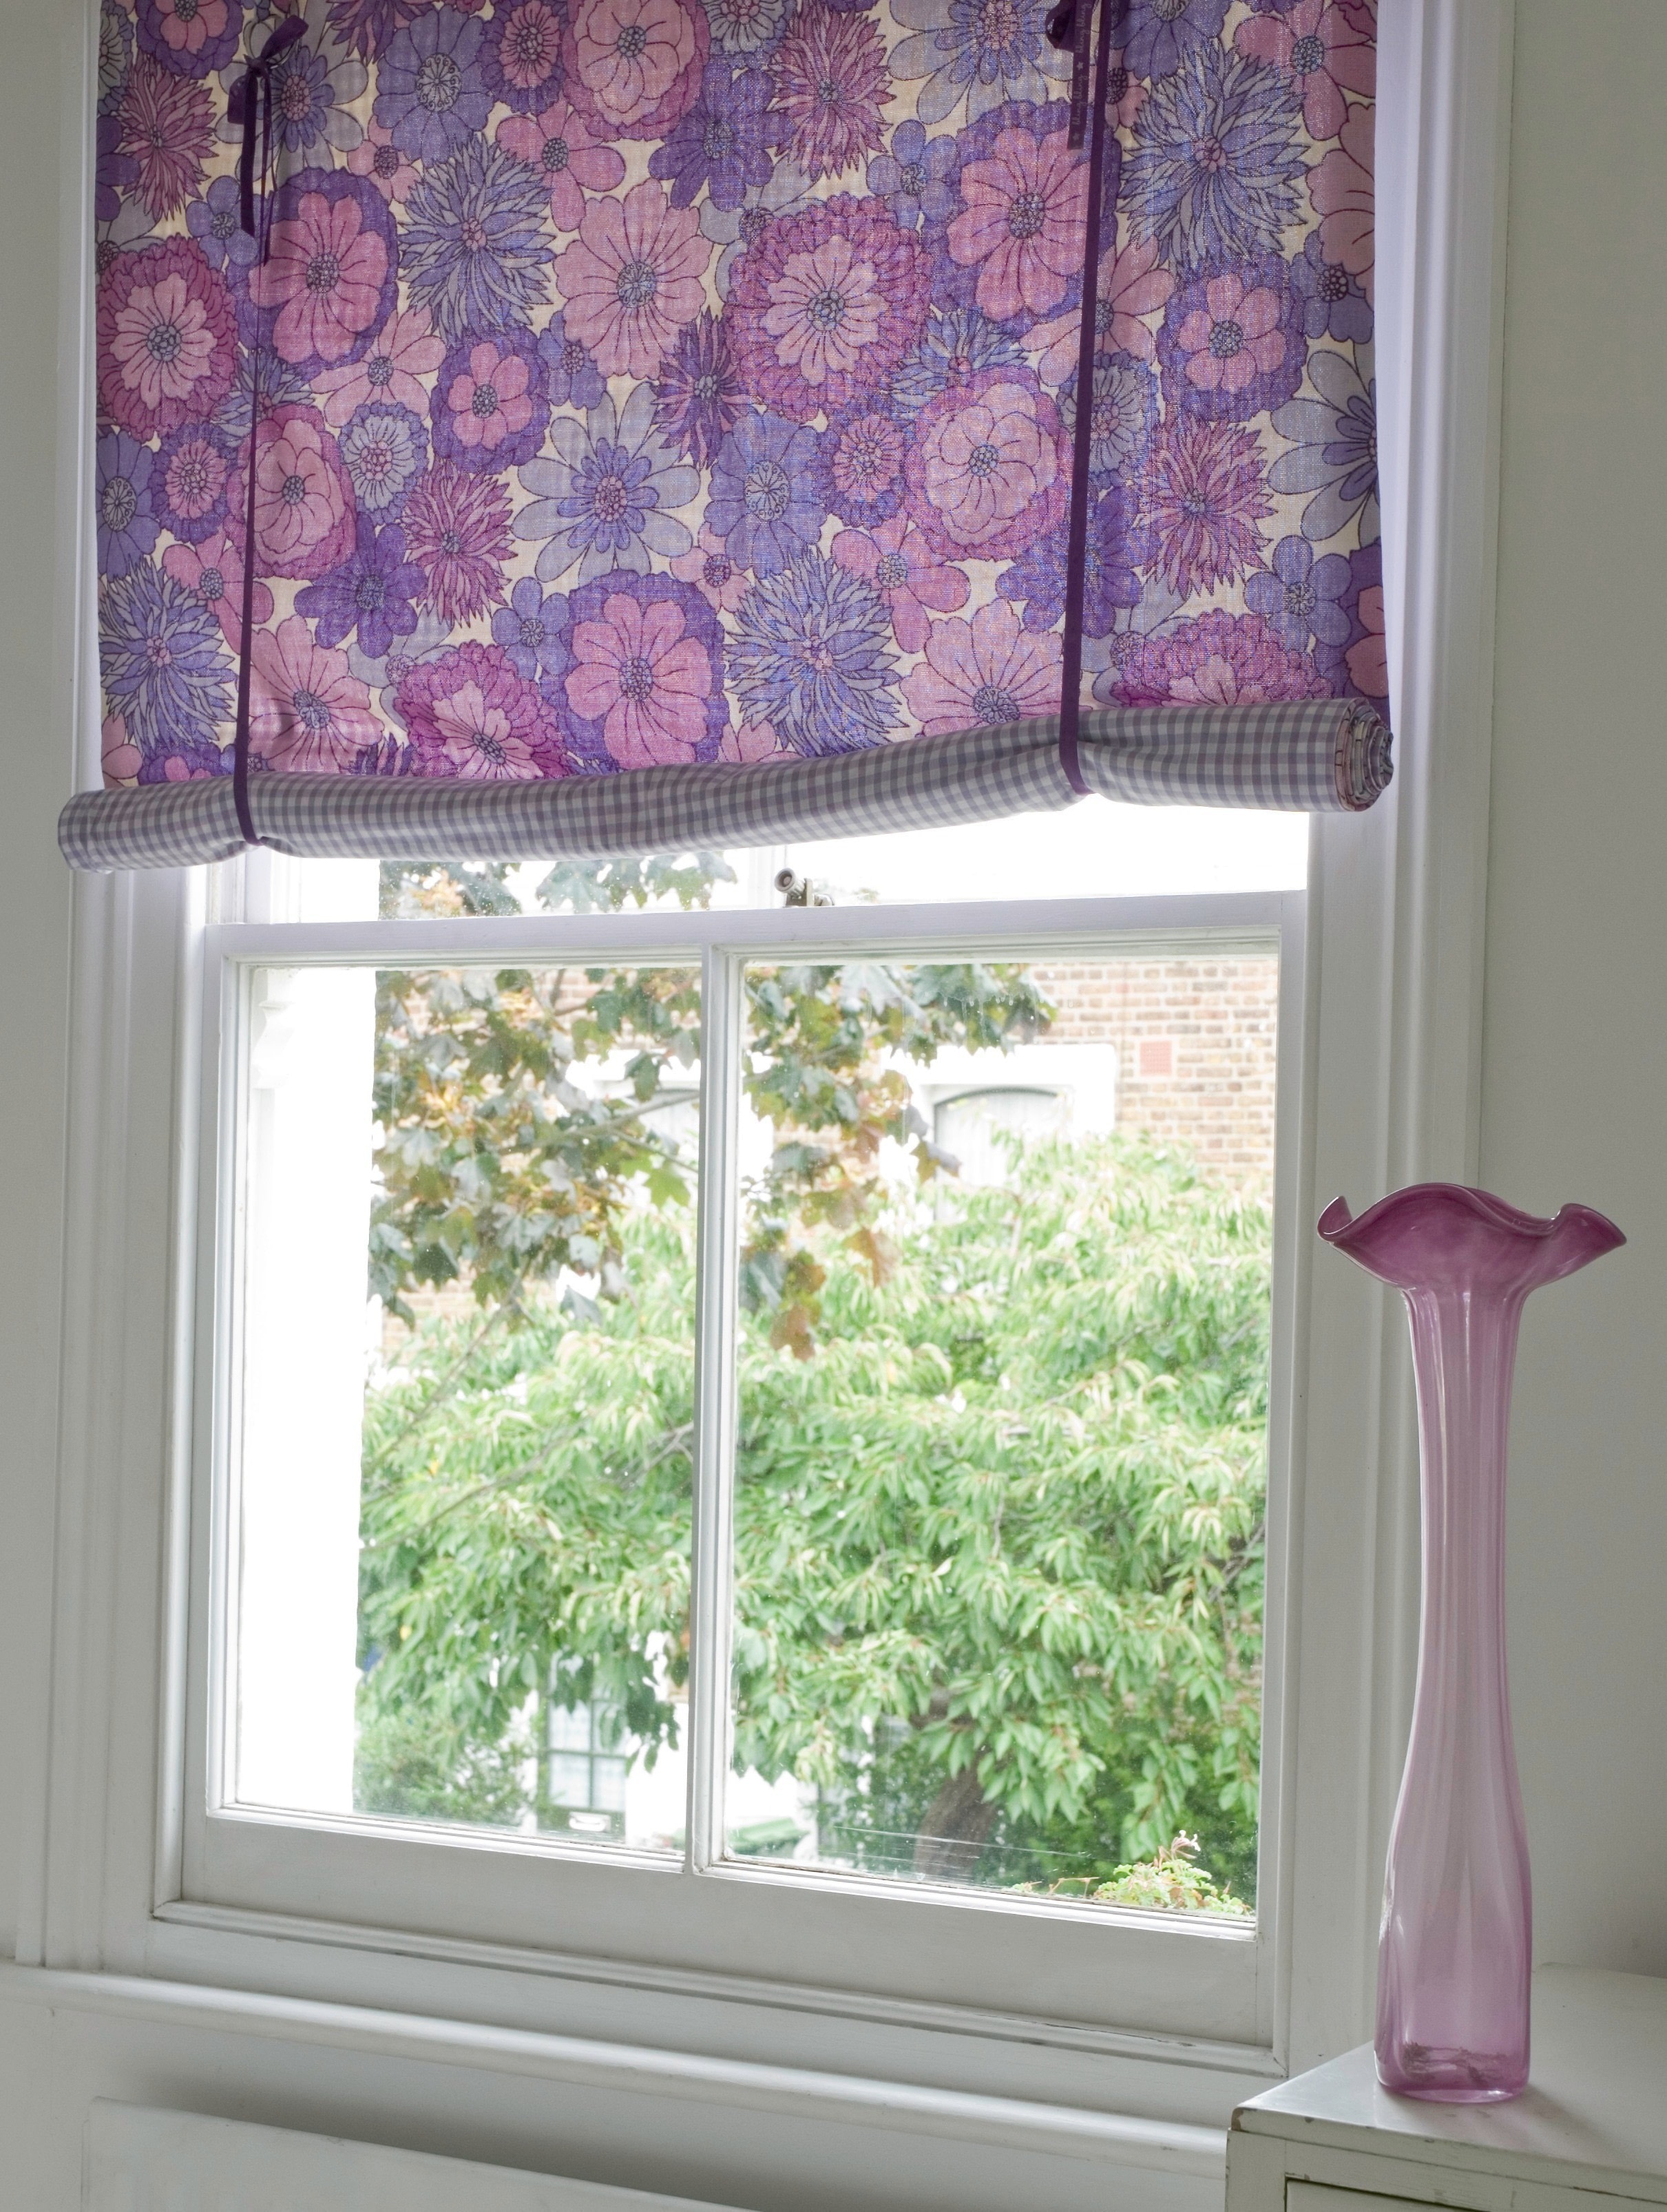
This simple shade, made from a bold fl oral fabric backed with a coordinating gingham check, can be made very quickly. As the shade has to be rolled up manually, it is ideal for rooms where it can be kept raised most of the time. Ribbons tied in pretty bows hold the shade in place when raised. The wooden dowelling in the bottom of the panel ensures that the shade forms a neat roll and does not sag.
Skills needed:
• Machine sewing seams
• Trimming corners
• Hand sewing
• Making a hem
SEAMS
Take 5/8-in. (1.5-cm) seam allowances throughout unless otherwise stated.
MEASURING FOR SHADES
Decide whether you want the shade fi t inside the window frame or to align with the outside edges, then measure the distance for the fi nished width of the shade, and from top to bottom of the frame or the inner frame for the depth. Add the extra amounts as instructed in step 1, for seams, top, and bottom of the shade.
-
 Rebecca favorited Roll Up Shade
15 May 10:25
Rebecca favorited Roll Up Shade
15 May 10:25
-
 Chabepatterns added Roll Up Shade to DIY The Room
03 Mar 15:37
Chabepatterns added Roll Up Shade to DIY The Room
03 Mar 15:37
-
 noraknickers added Roll Up Shade to Room DIY
29 Apr 19:43
noraknickers added Roll Up Shade to Room DIY
29 Apr 19:43
-
 Gail G. added Roll Up Shade to Purple Hues Explosion
31 Mar 13:00
Gail G. added Roll Up Shade to Purple Hues Explosion
31 Mar 13:00
-
 Hester A. favorited Roll Up Shade
08 Mar 14:53
Hester A. favorited Roll Up Shade
08 Mar 14:53
-
 Beth E. added Roll Up Shade to You've Got Mail Inspired Room
24 Feb 20:50
Beth E. added Roll Up Shade to You've Got Mail Inspired Room
24 Feb 20:50
-
 Alissa B. favorited Roll Up Shade
20 Nov 18:29
Alissa B. favorited Roll Up Shade
20 Nov 18:29
-
 Ryland Peters & Small published his project Roll Up Shade
14 Nov 09:00
Ryland Peters & Small published his project Roll Up Shade
14 Nov 09:00
You Will Need
-
Step 1
Cut a piece of patterned fabric and a piece of gingham fabric 1¼ in. (3cm) wider and 2¾ in. (7cm) longer than the finished shade. With right sides together, pin and machine stitch them together along both sides and the bottom. Snip off the corners.
-
Step 2
Turn right side out and press. Cut a piece of dowelling to fit the width of the panel and push it down inside the shade. Hand stitch just above the dowelling to keep it in place.
-
Step 3
Make two tabs to hold the metal rings. Cut two 3½ x 9-in. (9 x 23-cm) rectangles of patterned fabric. With right sides together, fold them in half lengthways and machine stitch 5/8in. (1.5cm) from the edge. Turn right side out and press, with the seam in the middle of the tab. Thread each tab through a ring and fold in half.
-
Step 4
Fold the open end of the shade over to the wrong side by 5/8in. (1.5cm) and again by 1½ in. (4cm), placing the tabs under the hem 7in. (17cm) in from each side. Machine stitch along the bottom of the folded panel.
-
Step 5
Cut a piece of wood the same width as the shade. Cut a piece of patterned fabric 5in. (13cm) deeper and in. (4cm). wider than the wood. Center the wood on fabric and glue it in place, folding the corners of fabric in neatly.
-
Step 6
Cut a piece of Velcro the same length as the wood and glue one half of it on to the wood. Screw the wood into the window frame, Velcro side facing away from the window.
-
Step 7
Cut two pieces of ribbon the same length as the shade. Pin and machine stitch the other half of the Velcro to the top of the shade on the wrong side, placing one length of ribbon 7in. (17cm) in from each side, under the Velcro.
-
Step 8
Roll up the shade from the bottom and stick it onto the Velcroed wood. Cut two 10-in. (25-cm) lengths of ribbon and hand stitch one on to each ring. Bring the ribbon from the back of the shade to the front and tie to the shorter length of ribbon at the ring.
