

About
Make a two-for-one decoration: Reversible Thanksgiving and Christmas blocks!
How to use a 4 x 4, scrapbook paper, Mod Podge, and paint to make decorative blocks with a fun Thanksgiving saying on one side and a Christmas greeting on the other.
Tags
-
 destinationdecoration published her project Reversible Thanksgiving And Christmas Blocks
25 Nov 06:00
destinationdecoration published her project Reversible Thanksgiving And Christmas Blocks
25 Nov 06:00
-
 Step 1
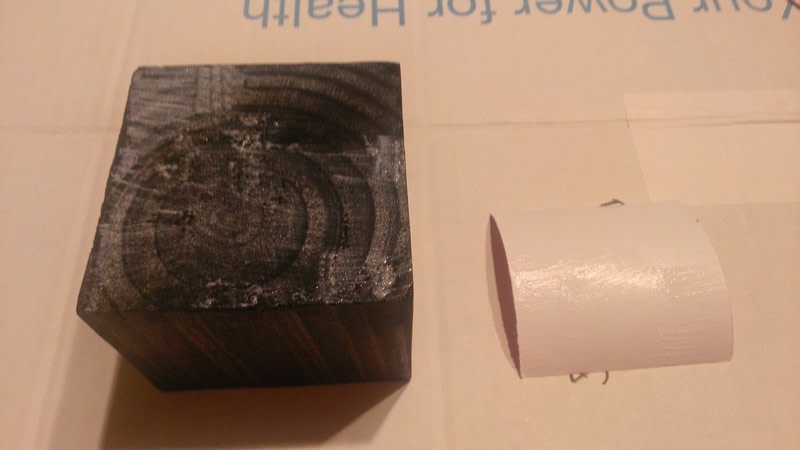
First, cut the board into 15 cubes. Give them a quick sand with sandpaper or a sander. (With 15 blocks, my quick sand with sandpaper actually took quite a while, so if you have a sander, save your fingers a little trouble.) Wipe each block down with a paper towel to get the remaining wood dust off.
-
 Step 2
Use your brush to put a coat of stain on the wood. If you want a darker color, let it sit longer. I let mine sit too long and it turned out a little dark for my liking, so keep in mind how dark you want your blocks. Let the pieces dry.
-
 Step 3
While you're waiting, cut the scrapbook paper pieces into 3'' squares.
-
 Step 4
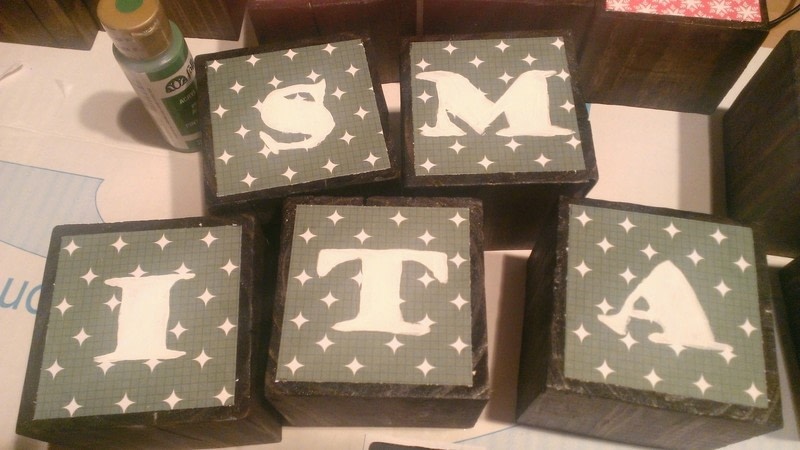
When the stain is dry, put a light coat of Mod Podge on both the block and the back of the scrapbook paper. Adhere the scrapbook paper to the block, making sure to smooth out all of the bubbles. Let dry for at least 5 minutes.
-
 Step 5
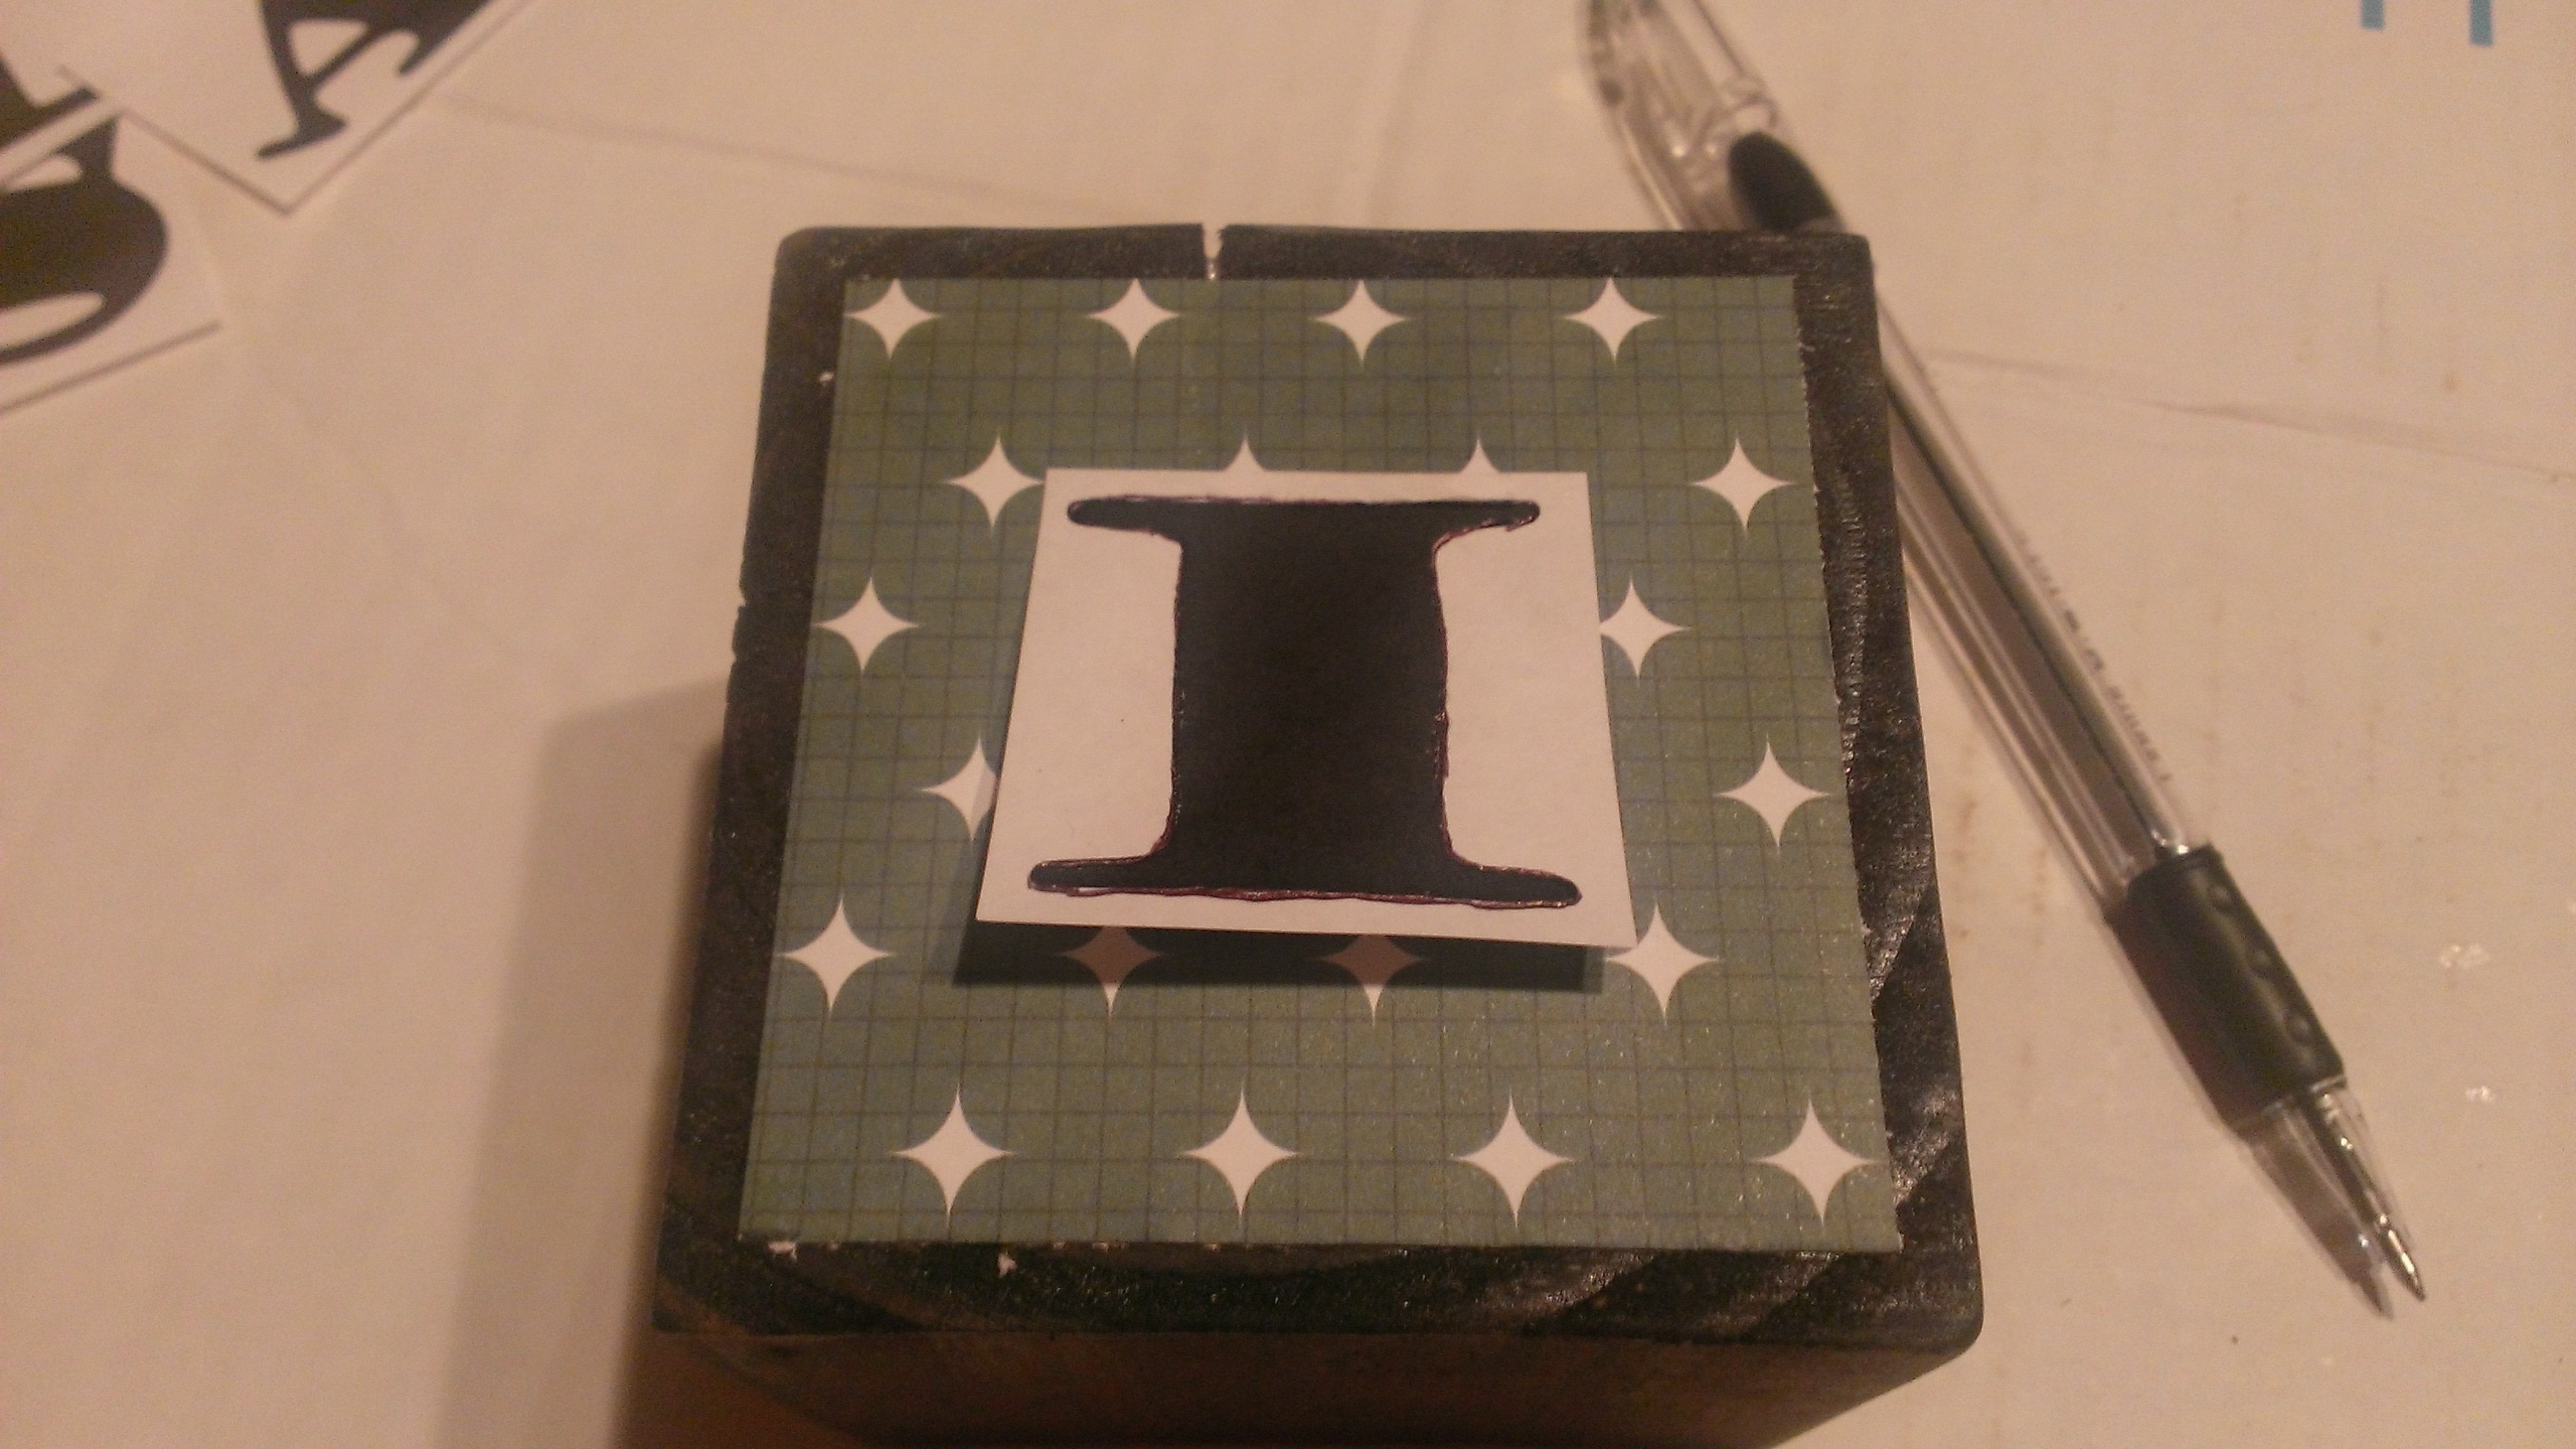
Unfortunately, I don't have a Cricut and I couldn't find a font that I liked for stickers. My solution was to trace the letters onto the blocks. Sound confusing? Not really. Sound like a lot of work? Yes, indeed it was. I printed out letters on the computer, taped them to the blocks and used a pen to trace the letters to make an imprint on the scrapbook paper. This indent was my guide for where to paint.
-
 Step 6
I then filled in the letters with paint and let the paint dry.
-
 Step 7
Finally, give it a last light coat of Mod Podge. Then, put the blocks up for a great Thanksgiving or Christmas decoration. Add some fall decorations or Christmas ornaments to make it look even more festive.