


About
Easy to sew 2-sided dog bandana
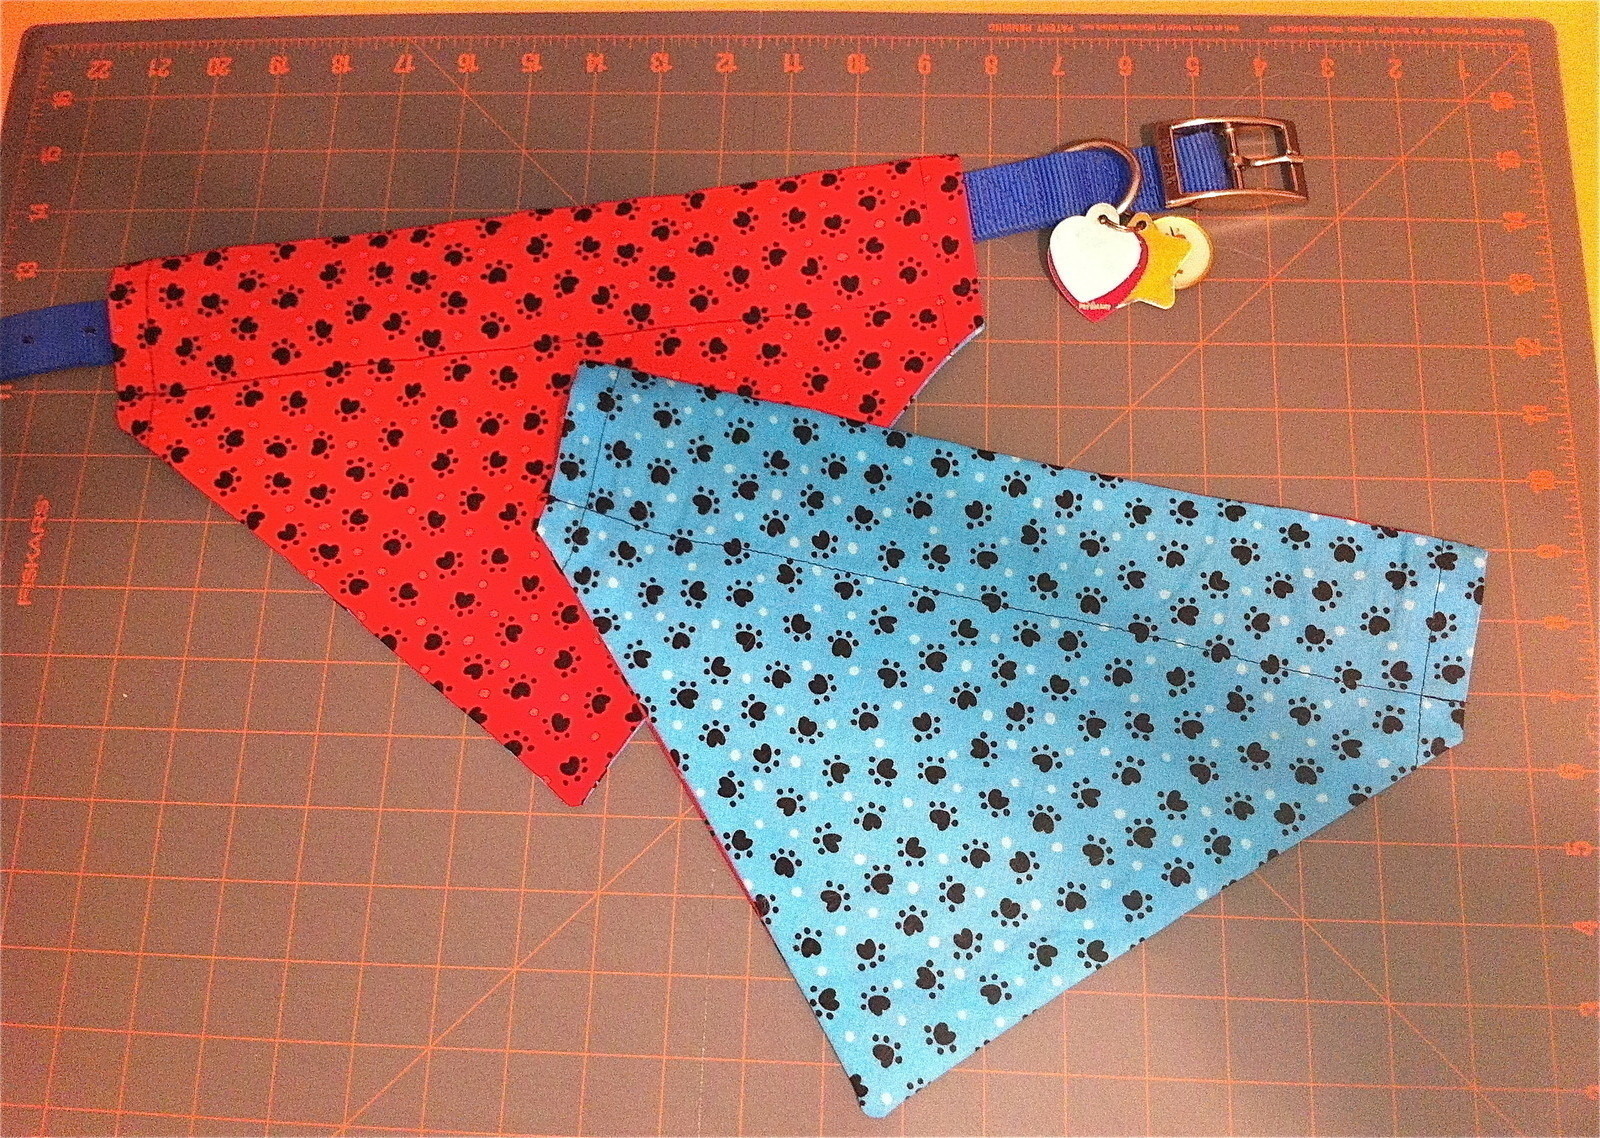
Adorn your dog with this reversible dog bandana.
Tags
-
 Key West Witch favorited Reversible Over The Collar Dog Bandana
07 Aug 20:12
Key West Witch favorited Reversible Over The Collar Dog Bandana
07 Aug 20:12
-
 Jinky I. added Reversible Over The Collar Dog Bandana to Puppy Stuff
27 Apr 18:11
Jinky I. added Reversible Over The Collar Dog Bandana to Puppy Stuff
27 Apr 18:11
-
 Marie Y. favorited Reversible Over The Collar Dog Bandana
07 Oct 15:38
Marie Y. favorited Reversible Over The Collar Dog Bandana
07 Oct 15:38
-
 Pamela M. favorited Reversible Over The Collar Dog Bandana
02 Mar 21:12
Pamela M. favorited Reversible Over The Collar Dog Bandana
02 Mar 21:12
-
 Robin W. added Reversible Over The Collar Dog Bandana to Dog bandana
10 Feb 17:38
Robin W. added Reversible Over The Collar Dog Bandana to Dog bandana
10 Feb 17:38
-
Robin W. favorited Reversible Over The Collar Dog Bandana
10 Feb 17:37
-
Ann C. favorited Reversible Over The Collar Dog Bandana
18 Oct 14:41
-
Tina M. favorited Reversible Over The Collar Dog Bandana
15 Jul 02:56
-
Tina M. added Reversible Over The Collar Dog Bandana to Sewing
15 Jul 02:55
-
 Alma favorited Reversible Over The Collar Dog Bandana
17 Jun 10:11
Alma favorited Reversible Over The Collar Dog Bandana
17 Jun 10:11
-
 Step 1
Recently, I volunteered my time to make dog bandanas for a local rescue so they could adorn dogs visiting with prospective new families. The bandanas were also sold at various K-9 events to help raise money to support the rescue. To conserve costs, I came up with a way to make a bandana that fit over the collar, requiring much less fabric than a tie-on bandana. Since only a small piece of fabric is needed to make each side, it was easy to mix and match lots of bandanas with small pieces of donated fabrics.
-
 Step 2
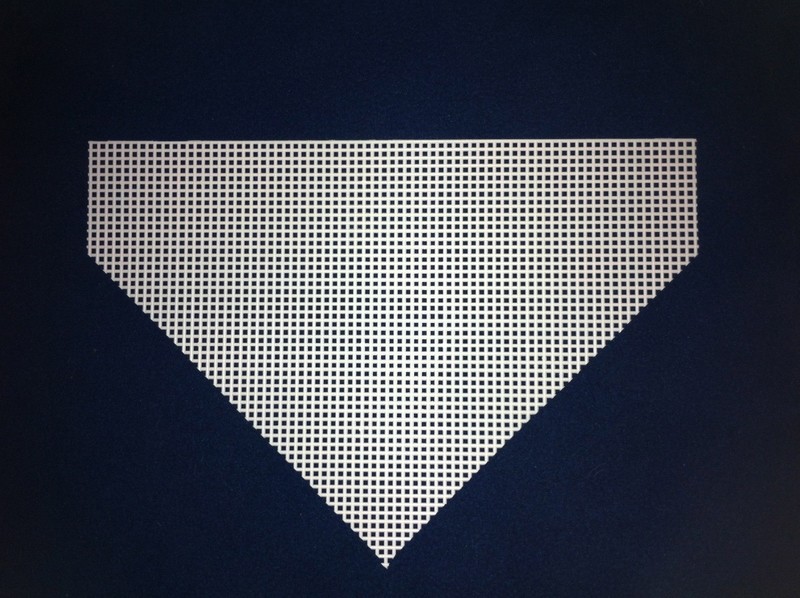
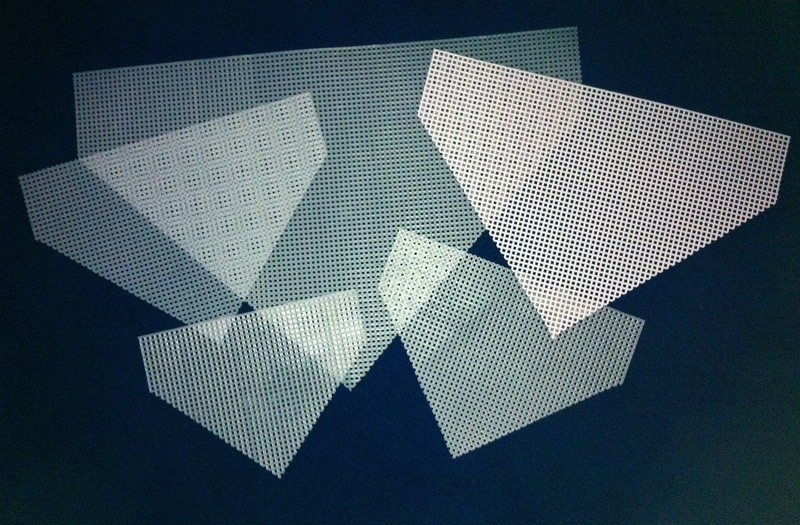
To save time cutting out the fabric to make all the bandanas, I purchased some plastic canvas (mesh) and made patterns in the shape shown. Since the canvas is on a grid, you can easily count holes to keep the sides perfectly symmetrical and to make sure the point is centered.
-
 Step 3
Below are some measurements for various sized bandanas. The measurements are a bit strange since they are based on where the holes were in the plastic canvas. I am providing the American measurements based on inches and the conversion to centimeters. You can round off as you wish when you make your own pattern.
EXTRA SMALL BANDANA (Tea-cup sized dogs)
Top: 6 3/4" (17.1 cm)
Side (vertical): 1 3/4" (4.4 cm)
Side (diagonal): 4 5/8" (11.7 cm)
Height (top center to bottom point): 5" (12.7 cm)SMALL BANDANA
Top: 7 7/8" (20.0 cm)
Side (vertical): 2" (5.0 cm)
Side (diagonal): 5 1/2" (13.9 cm)
Height (top center to bottom point): 5 7/8" (14.9 cm)MEDIUM BANDANA
Top: 9 3/8" (23.8 cm)
Side (vertical): 2" (5.0 cm)
Side (diagonal): 6 1/2" (16.5 cm)
Height (top center to bottom point): 6 6/8" (17.1 cm)LARGE BANDANA
Top: 11 1/4" (28.5 cm)
Side (vertical): 2 1/8" (5.3 cm)
Side (diagonal): 8" (20.3 cm)
Height (top center to bottom point): 7 3/4" (19.6 cm)EXTRA LARGE BANDANA
Top: 15 3/4" (40.0 cm)
Side (vertical): 2 3/4" (6.9 cm)
Side (diagonal): 11" (27.9 cm)
Height (top center to bottom point): 10 1/2" (26.6 cm) -
 Step 4
Pick two fabrics. Light-weight, washable cotton or cotton blends work great. Pick a fabric that will be comfortable for your dog and not too hot.
Wash, dry and press all fabrics before cutting and sewing.
-
 Step 5
Lay out your two fabrics, keeping the good sides on the interior.
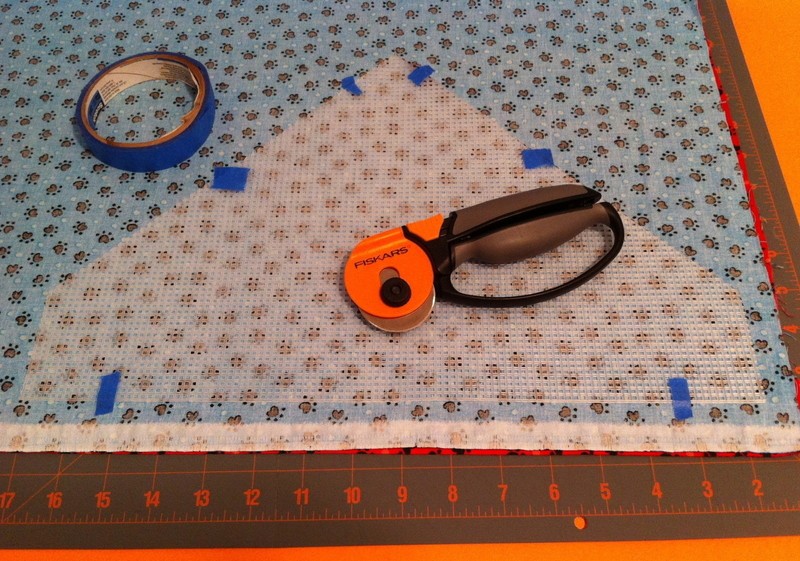
Place your plastic canvas pattern on the fabric and secure it with a low-tack tape to prevent shifting when you begin cutting. I just use blue painter tape.
Cut out the fabric around the plastic canvas using a rotary cutter. If you use scissors, be very careful to adhere as closely to the edge of the plastic canvas as possible.
-
 Step 6
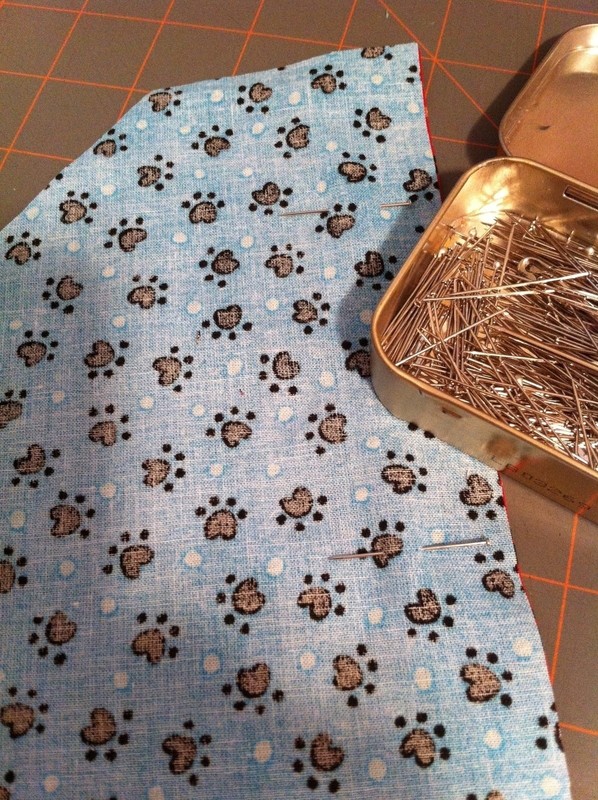
After cutting out the bandana, place a few pins across the top to keep the fabric from shifting when you sew the initial seam.
Keep the good side of the fabric on the interior.
-
 Step 7
Sew a straight seam across the top.
On the small and extra-small sized bandana, sew the seam 1/4" (0.6 cm) from the top.
On the larger sizes, sew the seam 1/2" (1.2 cm) from the top.
The good side of the fabric remains on the interior during this step.
-
 Step 8
After sewing the initial seam across the top, open the two joined pieces and press the seam so the fabric on each side lies flat. The good side of the fabric should be downward (turned away from you).
-
 Step 9
Keeping the good side of the fabric turned downward, make a 1 1/2" (3.8 cm) fold on one of the sides and press the fold.
Note: On a small or extra small bandana, you should only do a 1" (2.5 cm) fold.
-
 Step 10
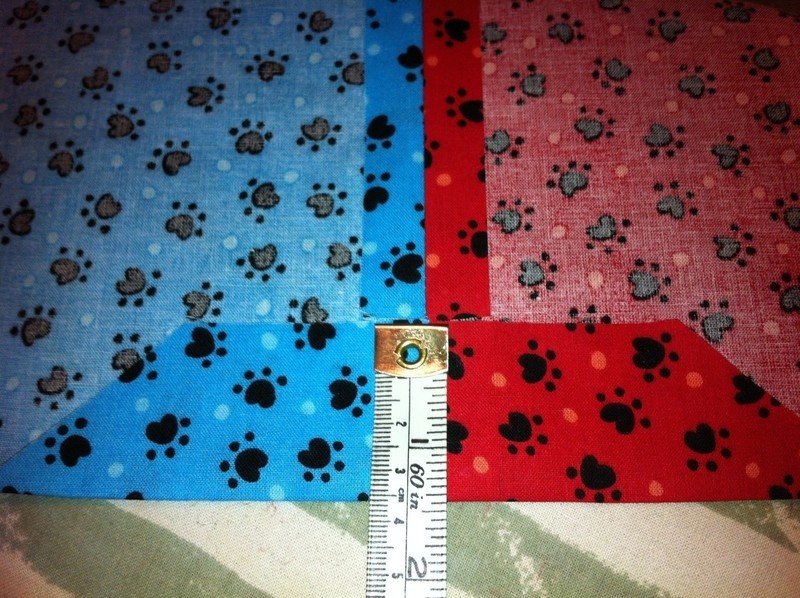
You need to mirror the same fold on the other side of the bandana (as shown in the photo here of the extra-small bandana).
It is really important for the folds on either side to be perfectly symmetrical. I have found that rather than measuring the second side, it helps to fold the bandana in half (as shown in the photo here of the extra-large bandana) so you can manually match up the second fold with the first one before pressing.
-
 Step 11
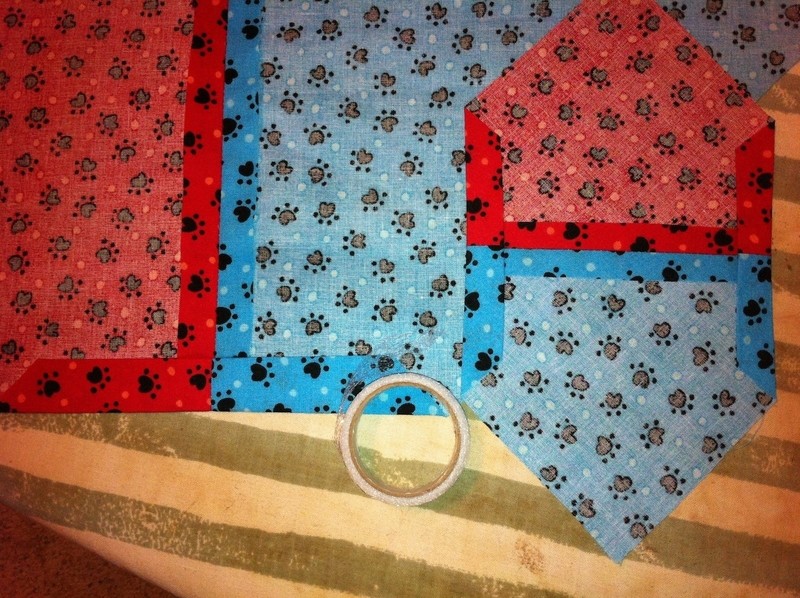
After aligning the folds on each side and pressing them, you need to do a second fold, tucking in the raw/cut ends of the fabric. (Refer to the photo here of the extra-small bandana).
Although it's not essential, I use some stitch witchery (iron on sewing adhesive) to help secure the folds on either side of the bandana. It keeps the folds from shifting when you sew the seam in the next step.
-
 Step 12
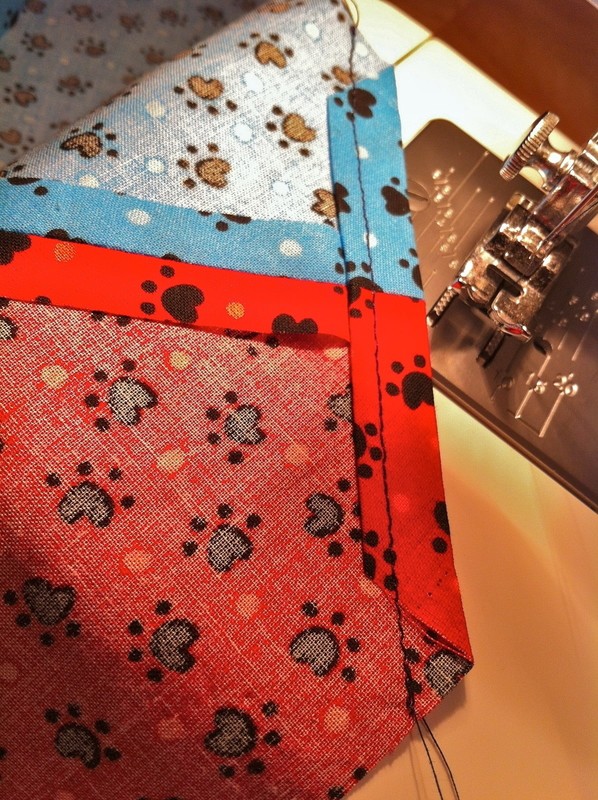
Prepare to sew a straight seam down each side of the bandana. You'll want to sew the seam close to the fold rather than close to the edge of the bandana. Keep track of how far in you sew the seam on the first side so you can mirror it on the other side.
-
 Step 13
This is just a photo of the completed seam on one side.
-
 Step 14
After sewing the side seams, fold the bandana back in half (good side on the interior) and pin the diagonals together. The short vertical sides form a pocket so don't pin them, but do make sure they are closely aligned before pinning the diagonals.
-
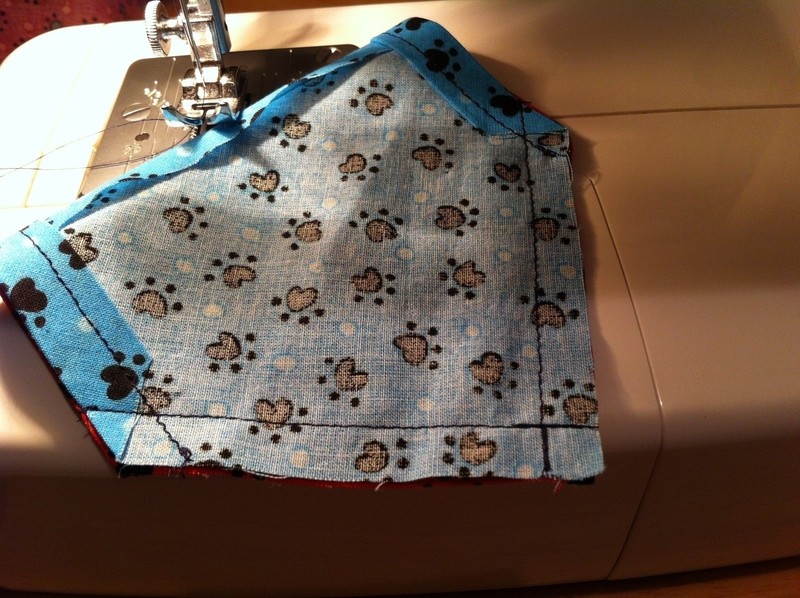
 Step 15
Sew a seam up each diagonal as shown in the photo.
On the small and extra-small bandana, the seam should be approximately 1/4" (0.6 cm) from the edge.
On the larger sizes, the seam should be approximately 1/2" (1.2 cm) from the edge.
Make sure you backstitch on both ends of the seam.
-
 Step 16
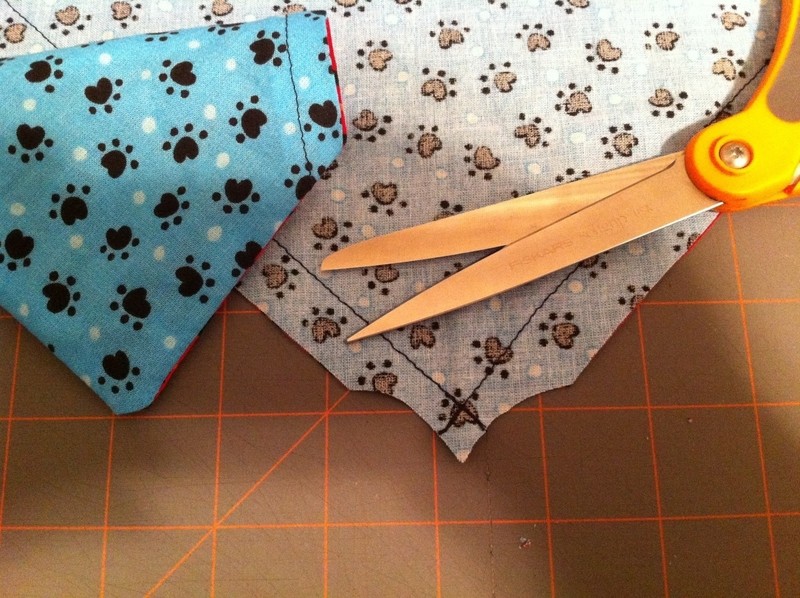
Before turning the bandana right side out (see the photo of the small bandana), trim off some of the excess fabric around the point (as shown in the photo of the larger bandana). Trimming off the excess fabric will produce a better "point" when you turn the bandana right side out.
-
 Step 17
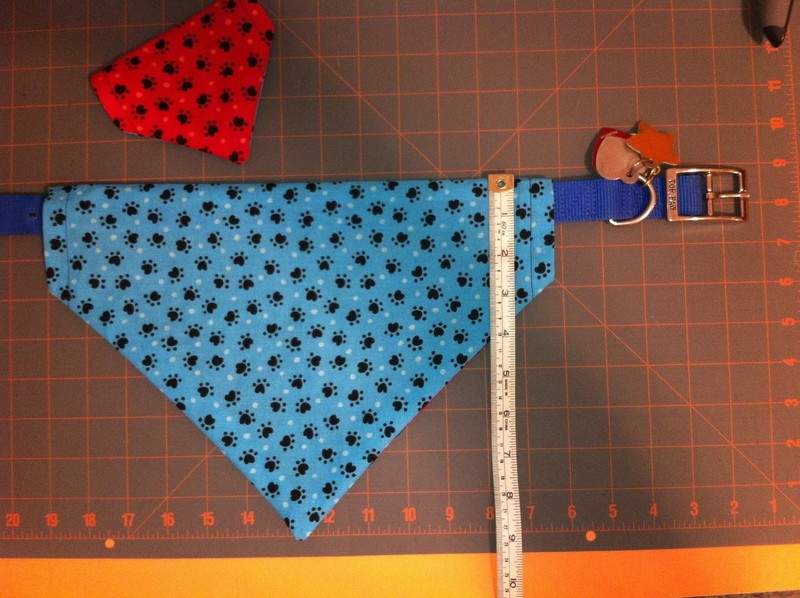
After turning your bandana right side out, insert your dog's collar into the pocket to determine how wide you should make the pocket.
-
 Step 18
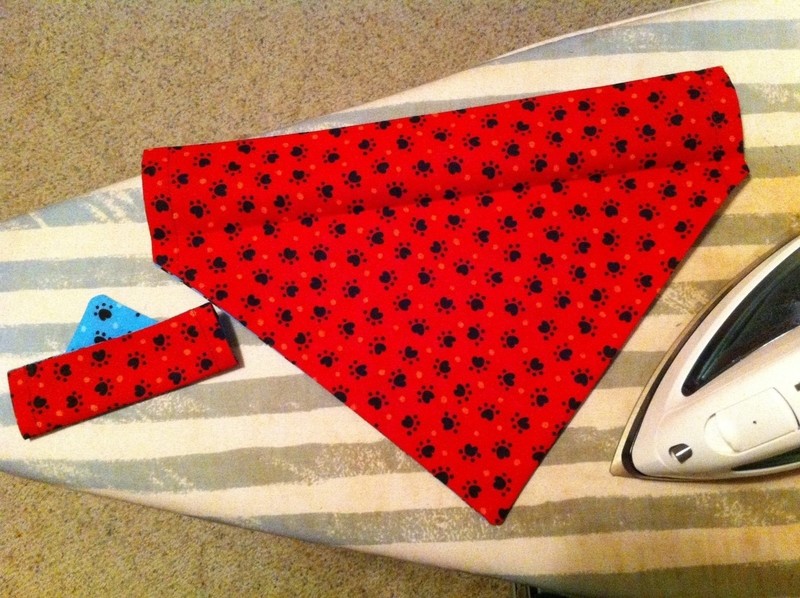
To help sew a straight final seam, you might want to fold the pocket to your chosen width and then press it with your iron. This will make an indentation in the fabric that will help you sew a straight seam across the pocket. Since this seam will be visible on both sides of the bandana, you want it to be straight.
-
 Step 19
Sew the final seam across the pocket making sure you backstitch on each side.
-
 Step 20
It is time to adorn your sweet doggy with his/her new bandana.
This bandana is being modeled by my dog, Sir Raleigh the Collie. He looks very dapper, doesn't he?
-
 Step 21
Just a final note here showing you our beautiful dogs, Sir Raleigh the Collie on the left and Miss Bluebelle Madigan on the right. Both were acquired from The Collie and Sheltie Rescue of Southeastern Virginia (USA). If you are looking for a pet, consider checking into one of your local animal rescues. These two sweeties have brought lots of love and laughter into our home.
-
 Step 22
:-)


https://www.etsy.com/listing/474644079/embroidered-dog-bandanas-embroidered-dog?ref=shop_home_active_1
1. I serged (3 thread) the diagonal sides together (with good sides in) cutting selvage as I went.
2. Turned and ironed to crispen point.
3. Turned under and iron about 1/4" of the top sides - where the collar will go thru.
4. Serged without trimming those turned under top sides.
5. Turn, with wrong sides together, top long side down to meet where diagonal begins. This will basically be half of where collar goes thru. Do this for both fabrics. Iron.
6. Serge together top seam without trimming. Do not serge together the top sides!
7 Voila! Iron and done. Collar will easily go thru openings in top sides.
After figuring this out, each one takes less than 1/2 hour to cut and finish.