


About
Is it a bird, is it a plane... no, it's a superman tray!
This was all sort of an experiment for me since I didn't know if this would really work, but it did and I'm thrilled! With this technique you could revamp anything really! The fun thing is that you can make anything cool and stylish again. This goes for a stool, a chair, a small table... you name it.
-
 jeanette added Revamped Tray to my stuff
11 Apr 06:42
jeanette added Revamped Tray to my stuff
11 Apr 06:42
-
jeanette favorited Revamped Tray
11 Apr 06:41
-
 eFenuska favorited Revamped Tray
05 May 20:48
eFenuska favorited Revamped Tray
05 May 20:48
-
eFenuska added Revamped Tray to Really Must have
05 May 20:48
-
eFenuska added Revamped Tray to Stuff
05 May 20:48
-
 EVEnl entered her project Revamped Tray to Fiskars Craft Contest
17 Jun 17:55
EVEnl entered her project Revamped Tray to Fiskars Craft Contest
17 Jun 17:55
-
EVEnl entered her project Revamped Tray to Glue Contest
17 Apr 07:12
-
EVEnl entered her project Revamped Tray to Knitted Icons
22 Oct 18:16
You Will Need
-
 Step 1
supplies:
- a cool comic book
- an old tray
- a couple of brushes
- wood glue
- varnish
- kitchen paper towel roll
- ammonia
- a ruler
- a utility knife -
 Step 2
Make the entire tray free of dust and clean it with ammonia, this way the finished tray won't obtain much damage when in use.
You can also sandpaper it if you like but this takes a lot more time and patience.
-
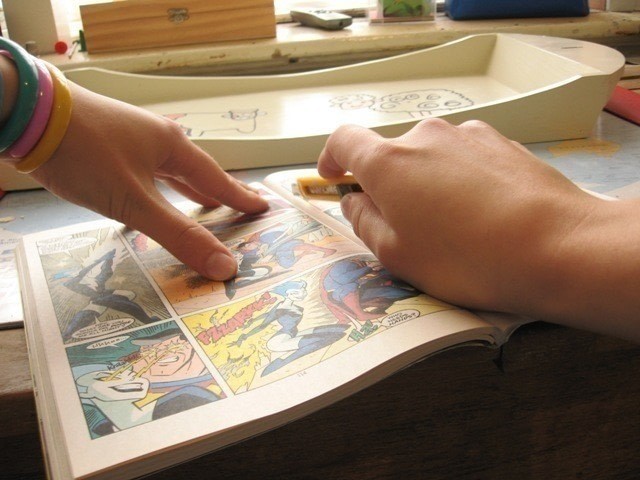
 Step 3
Start cutting out all the pictures or pages you like.
The story is a bit hard to retain since the story continues on the other side of the same page...
-
 Step 4
Cut all pieces you've collected the right size and throw all waste away.
-
 Step 5
Most of the time a scene has a dominant colour so try to shuffle the colours a bit so that for example the left corner isn't intirely pink, this way that left corner will not stand out.
Continue to arrange the pieces on the tray the way that you like it.
-
 Step 6
Now that you're done puzzling lay the pieces of paper in the same order you had them on the tray aside and start glueing.
-
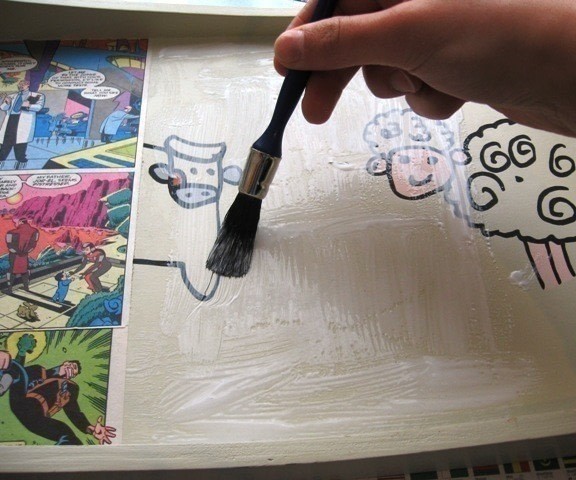
 Step 7
First put some glue on the tray, then paste the pieces. Do it in this order; glue, paste a piece of paper - glue, paste a piece of paper. and so on.
You don't really have to work fast because the glue doesn't dry that quick but this way of working prevents the paper to bubble.
-
 Step 8
Finish it up.
-
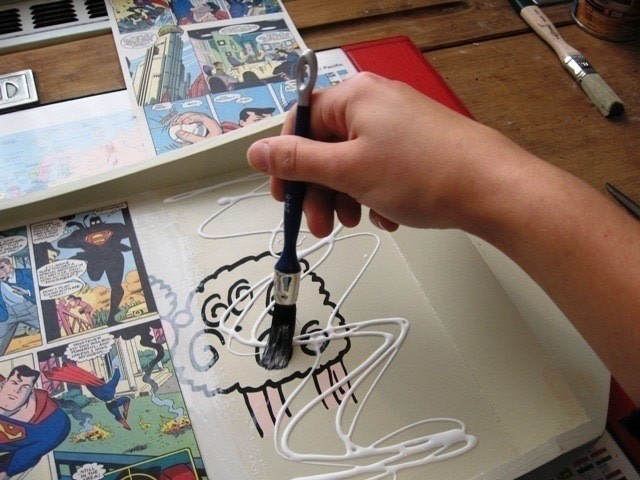
 Step 9
And put a coating of glue on top.
Once dry you have to do a second coating this is to make sure the varnish doesn't go through the paper because if it does the pictures on the other side of the paper will show)
Let dry.
-
 Step 10
Put a varnish coating on top of the wood glue one (it could be possible for brush strokes to appear so if you don't like this I recommend you use the spray paint version of varnish)
let dry for at least 15 hours. don't touch it any sooner since you don't want to leave any fingerprints ;)
-
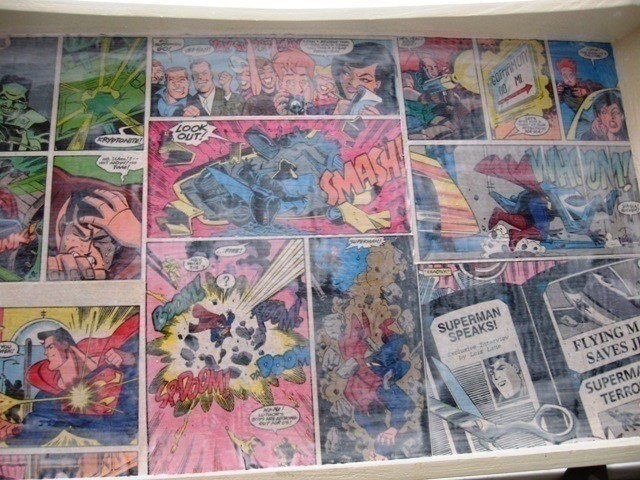
 Step 11
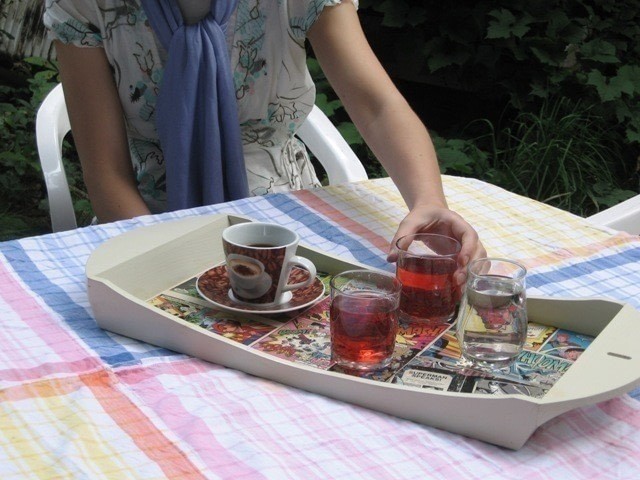
When finally dry, use and show off!!


Comments


