
About
Whitework Embroidery
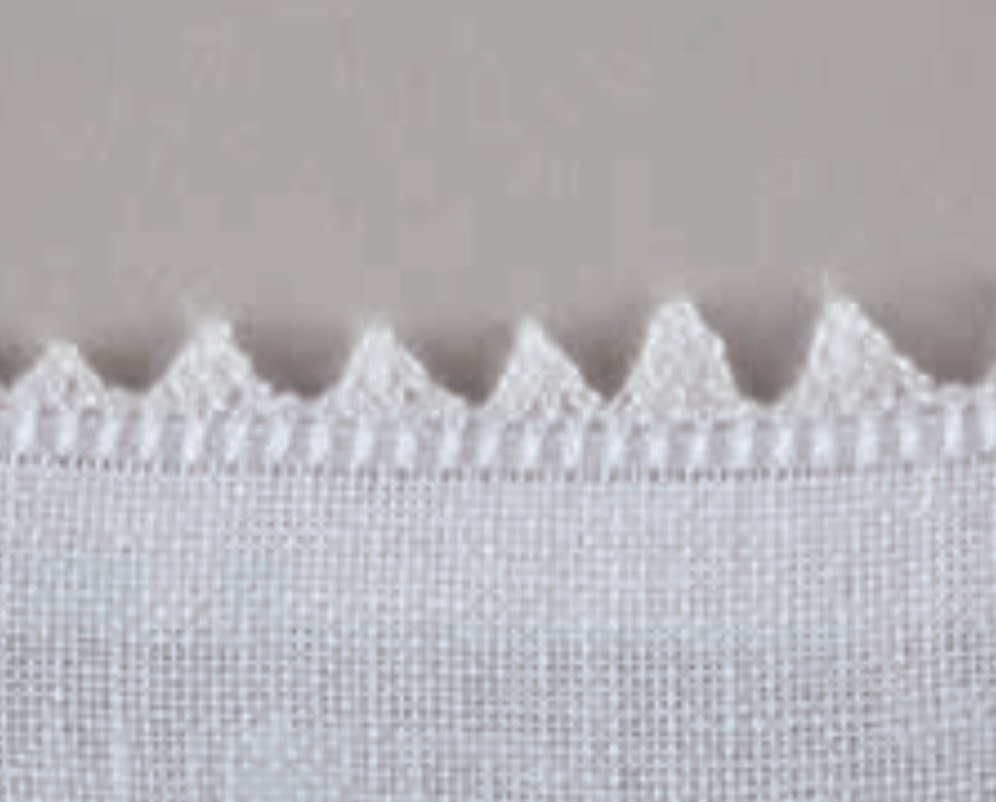
Pyramids are simply triangles composed of Hedebo buttonhole stitches. You can vary the size of the stitches or combine pyramids with buttonhole scallops to create more complex designs. Pyramids are commonly used on the edge of the fabric, but can also be incorporated as part of the open work. Use a tapestry or blunt-ended needle for this technique.
-
 C.J. M. added Pyramids to Embroidery
20 Aug 18:03
C.J. M. added Pyramids to Embroidery
20 Aug 18:03
-
C.J. M. favorited Pyramids
20 Aug 18:03
-
 Crafterella featured Pyramids
21 Jan 23:00
Crafterella featured Pyramids
21 Jan 23:00
-
Deb E. favorited Pyramids
18 Jan 04:31
-
 Search Press published her project Pyramids
08 Jan 09:00
Search Press published her project Pyramids
08 Jan 09:00
-
 Step 1
Start using a base of Hedebo buttonhole stitch - https://www.cutoutandkeep.net/projects/hedebo-embroidery
Bring the needle out at the starting point, then insert the needle after the next stitch to the right.
-
 Step 2
Work Hedebo buttonhole stitch onto the base. Note: In the example photos, the thread is left loose to show it clearly, but tighten the thread when you stitch.
-
 Step 3
Work the desired quantity of Hedebo buttonhole stitches. Four stitches are shown in this example.
-
 Step 4
After working one row, go back to the first stitch and insert the needle from back to front.
-
 Step 5
Pull the thread so that it sits horizontally. Do not tighten it too much—it should not pull the ends of the row in.
-
 Step 6
Take the needle under the horizontal thread and the stitch next to the first one.
-
 Step 7
Work Hedebo buttonhole stitch to create the second row.
-
 Step 8
The second row should have one less stitch than the previous row. Three stitches are shown in this example.
-
 Step 9
Go back to the first stitch of the row and insert the needle from back to front.
-
 Step 10
Continue working one less Hedebo buttonhole stitch to complete each subsequent row. This will create the triangular shape.
-
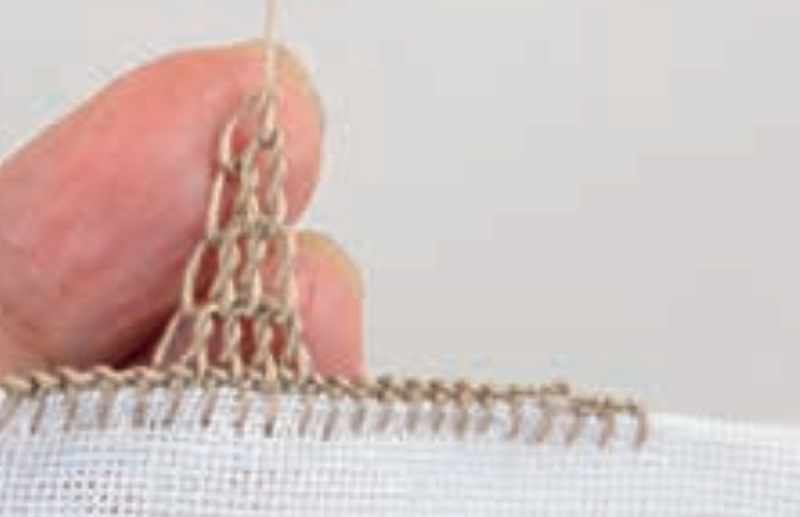
 Step 11
To complete the last row, draw the thread upward and make the tip sharp.
-
 Step 12
Insert the needle through the rightmost stitch of the previous row, from back to front.
-
 Step 13
Insert the needle through the rightmost stitch one row lower, from back to front. Continue in this manner to stitch down row by row.
-
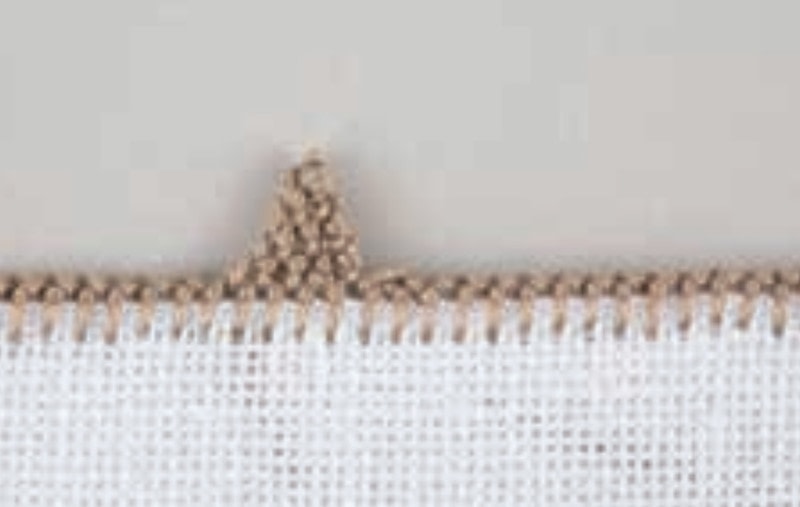
 Step 14
At the end, insert the needle at the base of the pyramid.
-
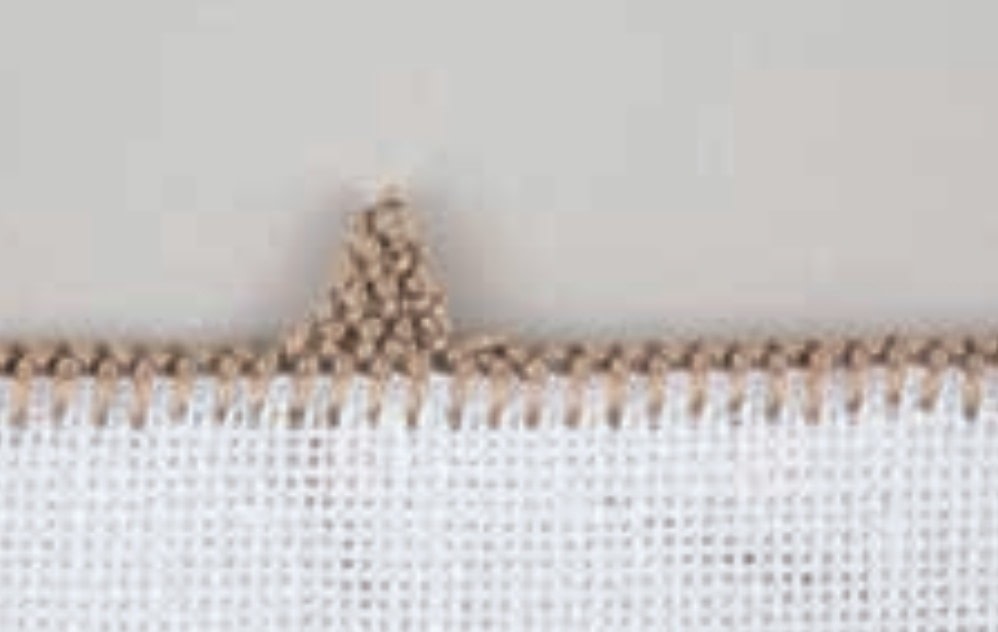
 Step 15
When you actually sew, remember to make the stitches tight, as shown here.