


About
How to carve a pumpkin with a template, it's pretty easy!
This is pretty much a tutorial on how to carve a pumpkin without messing it up. I'm a little bit of a perfectionist so it took a while, but it was fun carving!
For you non-baseball fans out there, the San Fransisco Giants are in the World Series right now, so I'm showing a little spirit by carving a Giants pumpkin. Go Giants!!! :D
Tags
-
 Step 1
Find a template. You can find stencils online and in pumpkin carving kits, or you can draw one yourself if you have artistic skill.
Lay your newspaper/table cloth on your carving area. -
 Step 2
Cut the top of the pumpkin off. Don't cut it in a perfect circle, or you might have a problem with fitting the top back on at the end. Make the cut slightly inwards so the top doesn't fall through the pumpkin when you put it back on.
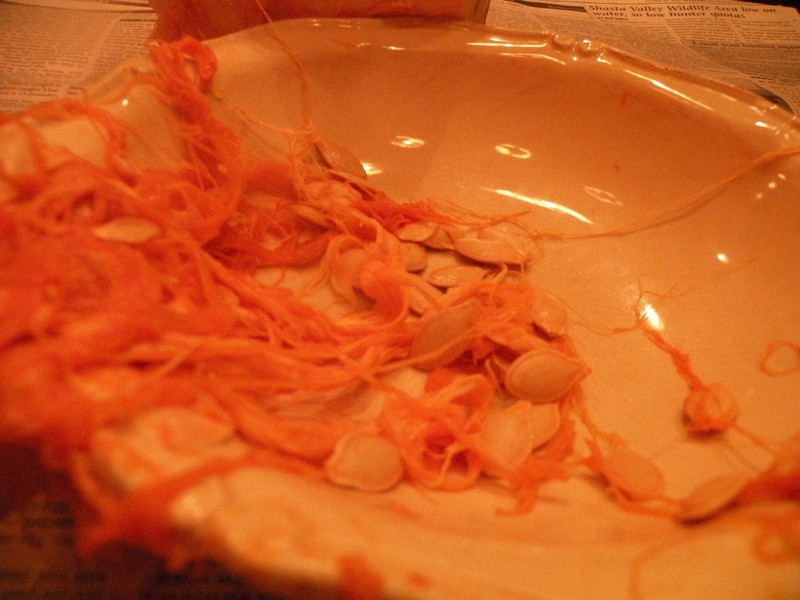
Scoop all the pumpkin goo out with your hands (or a spoon), separating the seeds if you like .You can make yummy pumpkin seeds with them later. -
 Step 3
Use push pins or tacks to pin the template to the pumpkin. Use the flattest side of the pumpkin, only if it doesn't have bruises or any ungliness. For the best results, fold the paper a little to fit the curve of the pumpkin, and tape it.You can also use tape instead of push pins to put the template on the pumpkin.
-
 Step 4
If you want you pumpkin to turn out good, I HIGHLY recommend you do this step. You can skip this part and move on straight to Step 5 if you like.
Take your tack and punch in holes along the lines of your template. They don't have to go all the way through, just as long as you can see them when you take the paper template off. This might take some time. Remember, the simpler the template, the more spaced out your holes can be. Your template may get a little wet, depending on how juicy your pumpkin is. -
 Step 5
Yes, you're finally ready to actually carve your pumpkin! If you did Step 4, take the paper template off your pumpkin. If you didn't, leave the paper on and carve along the lines of your template with a knife.
If you have done Step 4, take your knife and carve along the dots you punched in. Make sure your knife is long enough so it goes through the pumpkin. -
 Step 6
Clean the goo and leftover paper off your paper and stick a light in it. Place the top of the pumpkin back on and sigh loudly to show your satisfaction.
Turn all your lights off and make creepy sound effects to really live in the moment. :DSorry this photo is so bad. It looked a lot better in real life.
-
 Step 7
Have a well-deserved snack!
Thanks for reading! please comment and tell me how your pumpkin turned out!
P. S. If you saved your pumpkin seeds:
~Wash them
~Soak them overnight in very salty salt water
~Put them in 350ËšF oven for 10-15 minutes--YUM!


Comments


