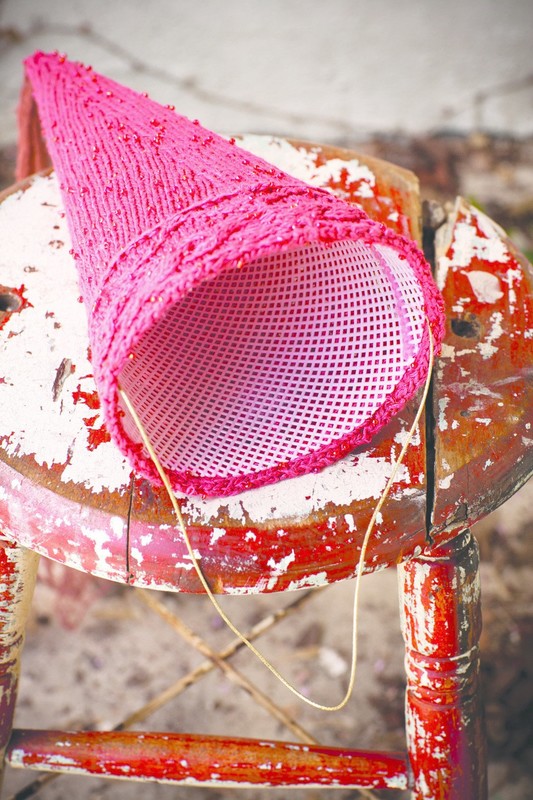
Proper Princess Topper
Extract from Once Upon a Knit • By Genevieve Miller • Published by Potter Craft


About
Once Upon a Knit
skill level
Intermediate
size
One size
finished measurements
Circumference: 12" (30.5cm)
Height: 12" (30.5cm)
note
This hat is intended to sit atop
the head rather than around it.
gauge
22 stitches and 38 rows = 4"
(10cm) in stockinette stitch
special instructions
FC: Slip 3 stitches to cable
needle and hold in front, k3, then
k3 from cable needle.
Sl 1 wyif: Slip 1 stitch as if to purl
with yarn in front.
SBC: Slip 1 stitch to cable needle
and hold in back, k1 tbl, then p1
from cable needle.
SFC: Slip 1 stitch to cable needle
and hold in front, p1, then k1 tbl
from cable needle.
Tags
© 2024 Genevieve Miller / Potter Craft · Reproduced with permission. · Once Upon a Knit by Genevieve Miller, published by Potter Craft (£14.99, available from www.thegmcgroup.com)
-
 Key West Witch favorited Proper Princess Topper
28 Jun 16:43
Key West Witch favorited Proper Princess Topper
28 Jun 16:43
-
 Lotusburger favorited Proper Princess Topper
11 Jan 13:24
Lotusburger favorited Proper Princess Topper
11 Jan 13:24
-
 shari.martin2 added Proper Princess Topper to hats/fascinators
23 Jan 23:39
shari.martin2 added Proper Princess Topper to hats/fascinators
23 Jan 23:39
-
 ale_corason favorited Proper Princess Topper
09 Dec 07:00
ale_corason favorited Proper Princess Topper
09 Dec 07:00
-
 GMC Group published her project Proper Princess Topper
09 Oct 22:31
GMC Group published her project Proper Princess Topper
09 Oct 22:31
You Will Need
-
Step 1
stitch pattern
Cable Pattern (worked over 18 stitches)
Row 1 (RS): P4, SBC, k6, SFC, p3, k1.
Row 2: Sl 1 wyif, k3, p6, k4.
Row 3: P3, SBC, p1, k6, p1, SFC, p2, k1.
Row 4: Sl 1 wyif, k2, p2, k1, p6, k1, p2, k3.
Row 5: P2, SBC, p2, FC, p2, SFC, p1, k1.
Row 6: Sl 1 wyif, k1, p2, k2, p6, k2, p2, k2.
Row 7: P1, SBC, p3, k6, p3, SFC, k1.
Rows 8 and 10: Sl 1 wyif, p2, k3, p6, k3, p2, k1.
Row 9: P1, SFC, p3, k6, p3, SBC, k1.
Row 11: P2, SFC, p2, FC, p2, SBC, p1, k1.
Row 12: Sl 1 wyif, k1, p2, k2, p6, k2, p2, k2.
Row 13: P3, SFC, p1, k6, p1, SBC, p2, k1.
Row 14: Sl 1 wyif, k2, p2, k1, p6, k1, p2, k3.
Row 15: P4, SFC, k6, SBC, p3, k1.
Row 16: Sl 1 wyif, k3, p10, k4.
Repeat Rows 1–16 for pattern. -
Step 2
Hat
Use scrap yarn and a crochet hook to provisionally
cast on 18 stitches. Leaving a 12" (30.5cm) tail, hold
both yarns together and work Row 1 of the Cable
Pattern into the provisional cast-on. Work Rows
1–16 of the Cable Pattern twice, then Rows 1–15
once more. Piece should measure approximately 12"
(30.5cm). Do not cut the yarn.
Undo the provisional cast-on, picking up the stitches
as you go, and graft the two ends together using
Kitchener stitch and the yarn tail.
With the right sides facing and both yarns held
together, pick up and knit 60 stitches in the slipped
stitches along the edge of the band. Place marker and
join to work in the round. Place a marker after every
15th stitch while working the first round.
Rounds 1–5: Knit.
Round 6: *Knit to 2 stitches before the marker,
k2tog, sm; repeat from * around.
Repeat Rounds 1–6 until 4 stitches remain. Cut the
yarn, thread it through the 4 stitches, and secure. -
Step 3
Veil
With B, cast on 68 stitches. Work in garter stitch for
12" (30.5cm) or to desired length.
Shaping
Row 1: *K2tog; repeat from * to end—34 stitches.
Rows 2 and 4: Knit.
Row 3: Repeat Row 1—17 stitches.
Bind off. Sew the shaped end of the veil to the top of
the hat. Weave in all ends. Wet block, being careful
not to crush the veil, and lay it flat to dry. -
 Step 4
Finishing
Trace the finished hat onto a large piece of paper.
Move the hat so that the right-hand edge of the
fabric exactly meets the left-hand edge of the
tracing, and trace again. Move the hat so that the
left-hand edge of the fabric exactly meets the righthand
edge of the first tracing, and trace again.
You now have a shape that resembles about a third
of a circle. Cut on the outside tracing lines, and roll
the paper to form a cone. Tape the edges in place,
and fit the paper cone inside the hat, trimming any
excess that is in the way. Trim around the lower
edge so that the paper cone is ." (13mm) shorter
than the hat.
Remove the tape and use the paper cone as a
template to trace the shape onto the needlepoint
plastic canvas. (You will need to use two pieces of
canvas seamed together.) Cut the plastic canvas on
the tracing lines, overlap the side edges slightly, and
use scrap yarn to seam them securely.Insert the plastic cone into the hat, and sew the lower
edge of the plastic to the inside of the hat, preferably
with an overcast stitch and matching sewing thread.
Tie the elastic cording securely to the plastic canvas
about 1" (2.5cm) up on the inside of the hat. Lay the
hat flat with the cording at one edge to easily find
the opposite point at which to attach the other end
of the elastic. Thread the elastic through the canvas
here and secure the end as before by tying it to the
plastic canvas after the hat has been placed on the
royal head and the elastic adjusted to ensure the best
fit. Trim any excess cording.