


About
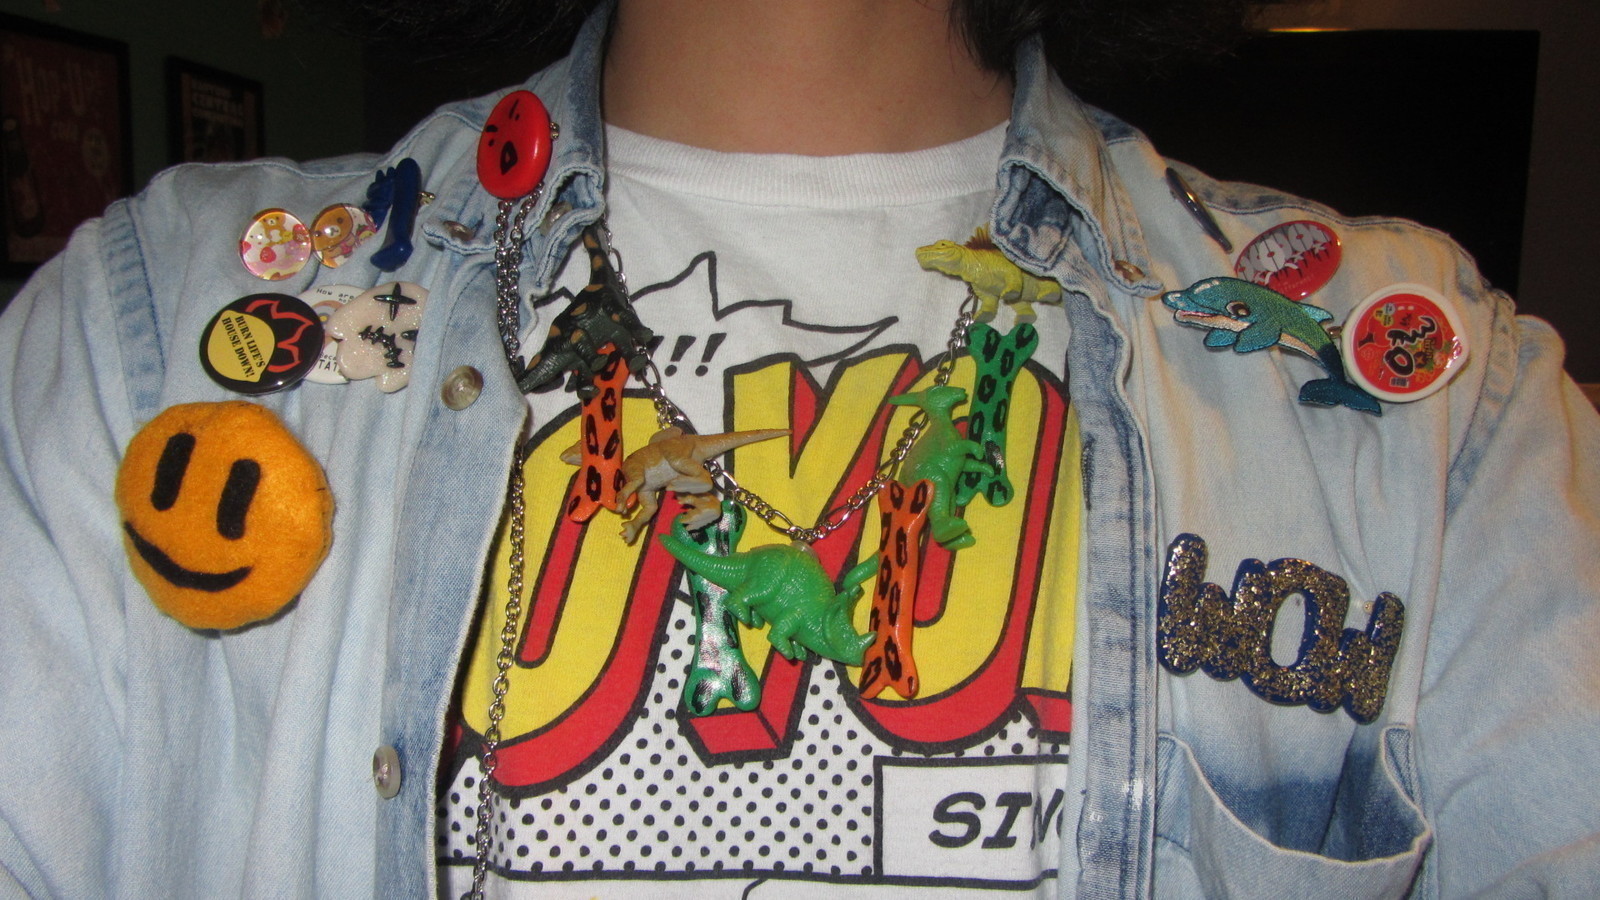
Fashion from a time before fashion.
Sorry I don't have pics of each step; but I'll try and describe the steps very well!! :)
Tags
-
 Jade S. favorited Prehistoric Couture
30 Sep 22:51
Jade S. favorited Prehistoric Couture
30 Sep 22:51
-
Step 1
Get out all of your supplies, and have your jump rings/dinosaurs (or any other toy you want to do this with!) out, as well as a heated glue gun. You can use E6000 in place of the glue gun if you'd like.
-
Step 2
Put a glob of glue on top of each dinosaur, and put the jump rings in the glue. I chose hot glue because it hardens and holds the jump rings faster than E6000 does, and I'm extremely impatient. :P
-
Step 3
Use jump rings to attach the dinosaurs to your necklace. Space them however you want, but make sure to leave space for the clay bones! (1. if you're using a different type of charm, then just replace the clay bones with that. 2. if you aren't using another type of charm, well, ignore that last note.)
-
Step 4
Make the clay bones. I just freeformed mine. I rolled out four logs of different colored clay (2 green, 2 orange) that had more clay on the ends of them than in the middle. I flattened the logs and cut the tips into two parts. Then I pulled the sides apart a little and rounded the ends of the bones.
-
Step 5
Glaze the bones BEFORE you draw the pattern on them with a permanent marker. From my experience, sharpie smears when glaze is put on top of it, so I put the sharpie on top of the glaze. :) problem solved.
-
Step 6
Attach the bones with jump rings as well. And you're done! Now upload your version ;) I'd love to see em!
PS: the reason I said this project is cheap is because there are PLENTY of leftovers!
Comments


