
About
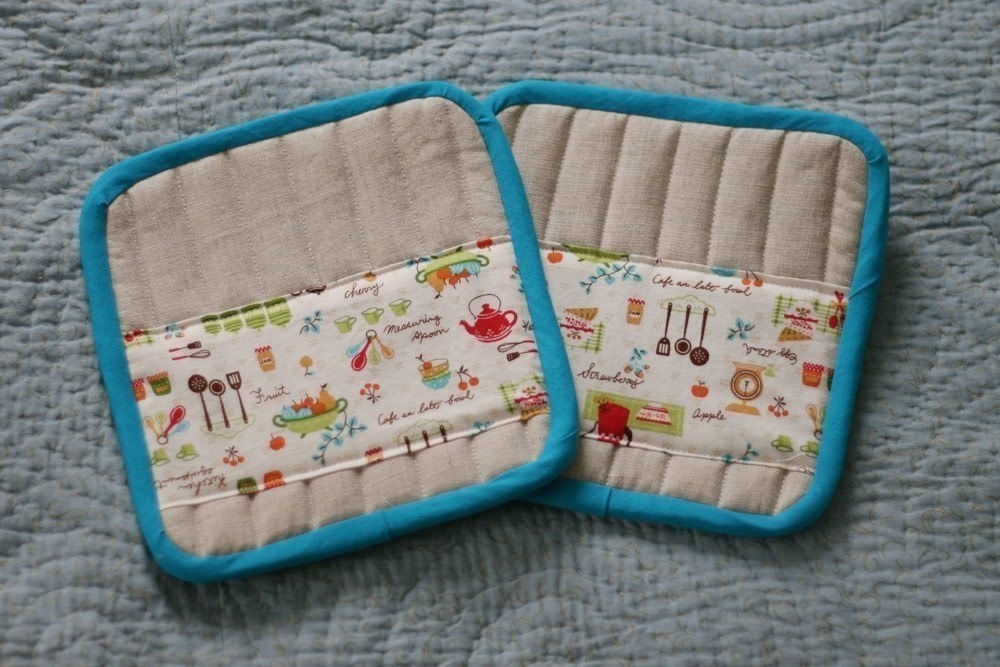
This tutorial is for a pair of classic square pot holders made with linen and a pop of print.
Either use three layers of cotton batting or one layer of Insul-Brite batting sandwiched between two pieces of cotton batting.
A note about Insul-Brite: Please read the manufacture's directions. The company suggests using it's product with the shiny side facing the hot object and a layer of cotton batting behind it to absorb condensation. So, for this tutorial, you would layer a piece of linen, cotton batting, Insul-Brite (shiny side up) and linen. That top piece of linen is the side that will be the front with the cotton print detail and need to be the side that makes contact with the hot object when in use. I personally have been doing it the way I illustrate below and haven't had any problems. But it's your choice. Please, always use common sense when handling very hot objects!
-
 RareJewel favorited Pot Holders
02 Jun 08:30
RareJewel favorited Pot Holders
02 Jun 08:30
-
 Jenee Nicole added Pot Holders to Home Decor
28 Apr 06:12
Jenee Nicole added Pot Holders to Home Decor
28 Apr 06:12
-
 Pam favorited Pot Holders
07 Apr 23:43
Pam favorited Pot Holders
07 Apr 23:43
-
 lleeahs favorited Pot Holders
21 Mar 00:48
lleeahs favorited Pot Holders
21 Mar 00:48
-
 Liesl M. published her project Pot Holders
16 Mar 09:00
Liesl M. published her project Pot Holders
16 Mar 09:00
-
 Step 1
To start piecing together the pot holder, layer linen, cotton batting, thermal batting or another layer of cotton batting, cotton batting and linen.
-
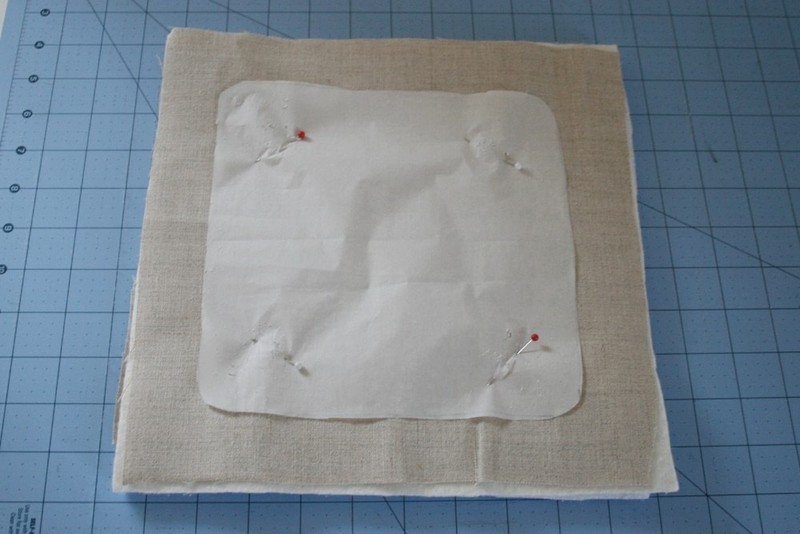
 Step 2
Pin the template to the center of your stack. Trace the pattern onto the linen.
-
 Step 3
Now you want to mark the center. Measure 4" in and mark *outside* the pattern on both the top and bottom. This will help guide you with the first quilting line. I also put a pin or two down the center to help guide me but you could mark it with a water or air soluble pen or pencil.
-
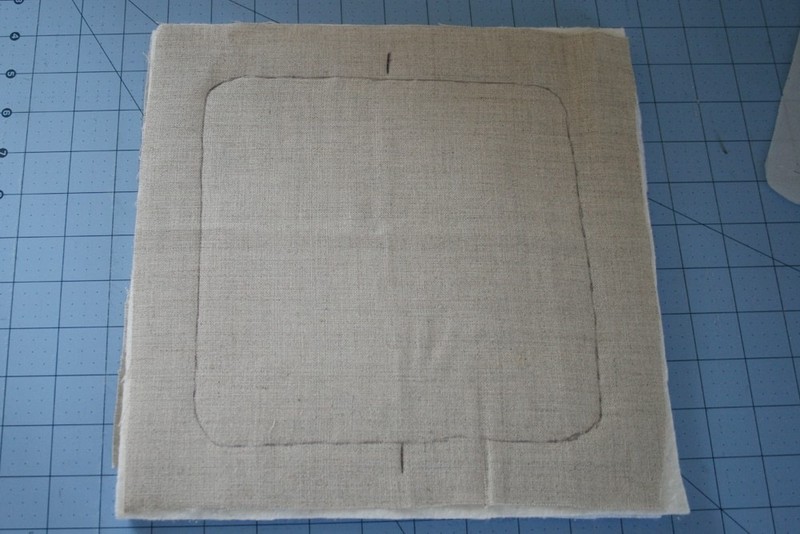
 Step 4
It should look like this. Next pin the layers all together so none shift while you're working.
-
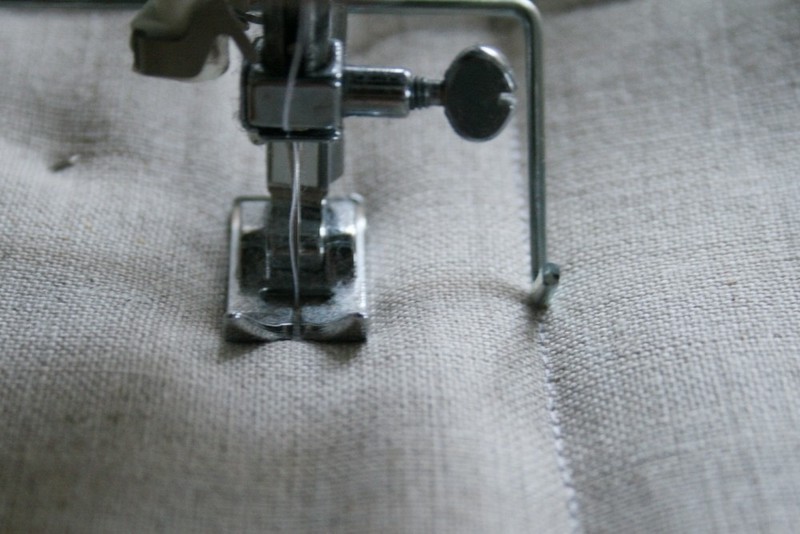
 Step 5
Take the stack over to your sewing machine. You'll want to lower your tension and increase your stitch length. I set my machine at a tension of 2 and stitch length of 3. You can test on the edges, outside the traced template markings to see what works best. Stitch down the center.
-
 Step 6
It helps to have a seam guide attachment for the next step but if you don't, you can just measure 1" and mark with a water or air soluble pen or pencil or just use pins.
Using your preferred guide method, stitch 1" to the left of the center quilting stitch. Repeat two more times. Repeat for the opposite side of the center seam.
-
 Step 7
It should look something like this when you're all done.
-
 Step 8
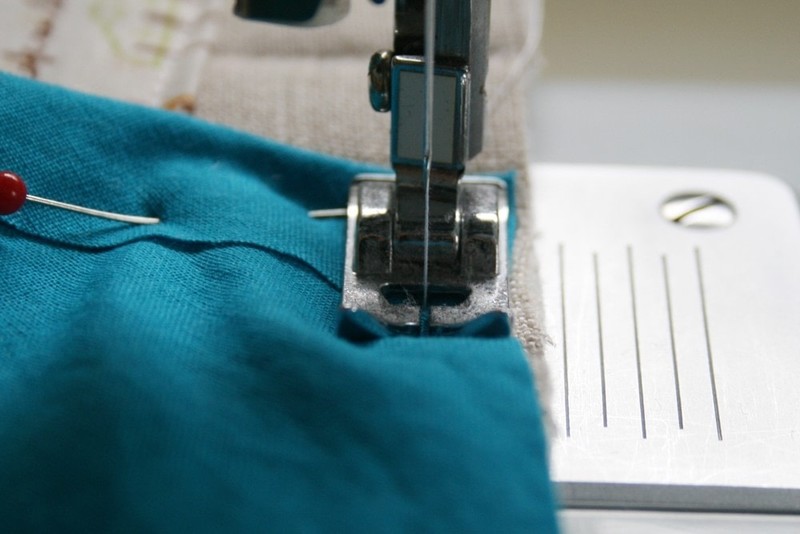
Next comes the hardest part of all--cutting out the actual pot holder. It's rough on your hand and you'll need sturdy scissors. You can cut each layer individually if that helps.
Now take the 4 1/2" by 8" cotton prints you've chosen and fold under and iron a 1/2" on the long sides. Pin onto the pot holder about an 1 1/2" from the bottom edge. Stitch along edges of the cotton.
-
 Step 9
Next stitch the twill tape about 1/8" to the top center of the back of the pot holder as seen. You can use some of the binding by cutting two 5" strips and folding them in half lengthwise, stitching a 1/4" and turning inside out.
-
 Step 10
Now we are to the binding stage. Make sure your binding is *bias binding* because you have to maneuver the rounded corners. A simple google search for bias binding directions will provide plenty of info if you're a newbie to binding.
Place the binding, right side down, to the bottom edge of the pot holder. Fold back about a 1/2" and pin.
-
 Step 11
I don't bother pinning my binding to the pot holder but you can, especially around the rounded corners. Stitch about 3/8" from the edge.
-
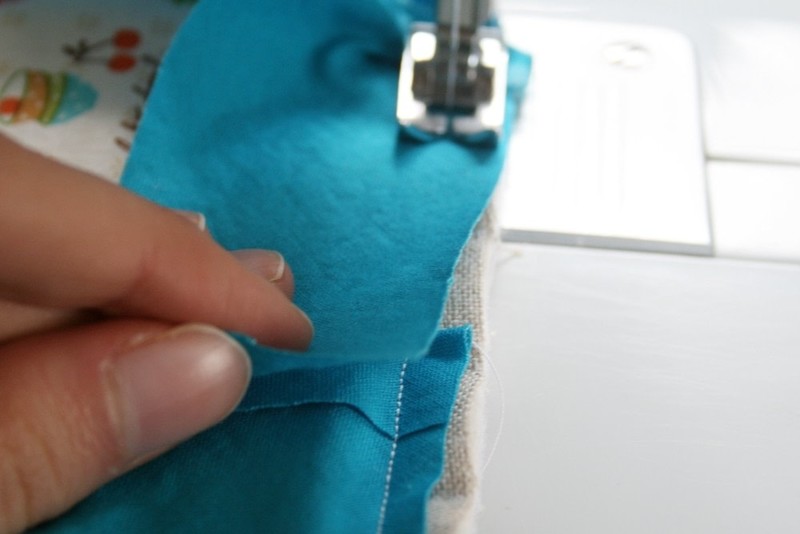
 Step 12
Bend the binding to the curve of the rounded corners. When you get to the top edge, be sure the twill tape is laying flat against the back side.
-
 Step 13
Finish up the binding by lapping the binding over the folded bit in the beginning.
-
 Step 14
Now finally to hand stitching the binding. You can machine stitch the binding if you prefer but I think this looks a lot nicer. Fold back the binding and pin. Whip/hidden stitch starting at the bottom.
When you get to the top, be sure to have your needle go through the twill tape and the linen so it's nice and secure.