


About
Not that into playing cards , well now you can use them as an accessory!
Inspired by Cat's Playing Card Notebook.
Tags
-
 Lia H. favorited Playing Card Bracelet
30 Jul 01:03
Lia H. favorited Playing Card Bracelet
30 Jul 01:03
-
 MISSY S. favorited Playing Card Bracelet
29 May 00:15
MISSY S. favorited Playing Card Bracelet
29 May 00:15
-
MISSY S. commented on Playing Card Bracelet
29 May 00:15
-
 DocDoolittle favorited Playing Card Bracelet
14 Jan 03:37
DocDoolittle favorited Playing Card Bracelet
14 Jan 03:37
-
Jessamine B. added Playing Card Bracelet to Alice in Wonderland
01 Jun 17:00
-
 LEENA B. added Playing Card Bracelet to bracelet to do
19 Oct 18:13
LEENA B. added Playing Card Bracelet to bracelet to do
19 Oct 18:13
-
 Shivi entered their project Playing Card Bracelet to Fiskars Craft Contest
21 Jun 12:48
Shivi entered their project Playing Card Bracelet to Fiskars Craft Contest
21 Jun 12:48
-
Shivi entered their project Playing Card Bracelet to Mix Tape Zine
16 Jul 10:15
-
Shivi entered their project Playing Card Bracelet to Jewelry Contest with Fifi's Secret
12 May 08:15
-
Shivi entered their project Playing Card Bracelet to PLAY CRAFT: Contest
15 Mar 01:42
-
 Step 1
Firstly you need to get some mini playing cards. Mine measure 4.5cm by 3cm (2 inches by 1 inch approx.).
It's okay if they're slightly bigger.
The cards that I used here I got in one of those kiddie packs you get on a plane (They thought I was a lot younger coz I'm short - it was 3 years ago) but I've also seen them in the party favours section in shops. You might be able to buy some over the net too. If all else fails you could find some pictures of them on the net and resize them.Once you've got your cards find out how many will fit around your wrist. You'll need to leave a bit of space for the jump rings and clasps.
Feel free to add some extra cardstock to the back to make the cards sturdier.
-
 Step 2
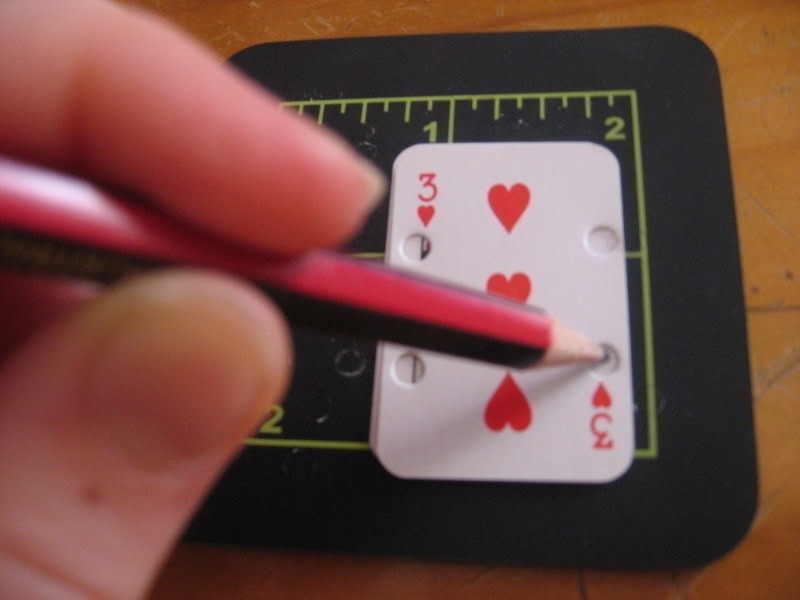
Mark your holes on the card with a pencil and punch it. (try not to use the eyelet setter to punch them- like I did on my first go! :P)
Make sure you don't punch part of the image out.
Also make sure your hole isn't sitting right on the edge but it can't be too far away either. -
 Step 3
So that the holes are in the same spots on all the cards lay another card underneath you first one and with the pencil colour in the holes so you have a guide on where to punch your holes.
Do this to the rest of the cards as well. -
 Step 4
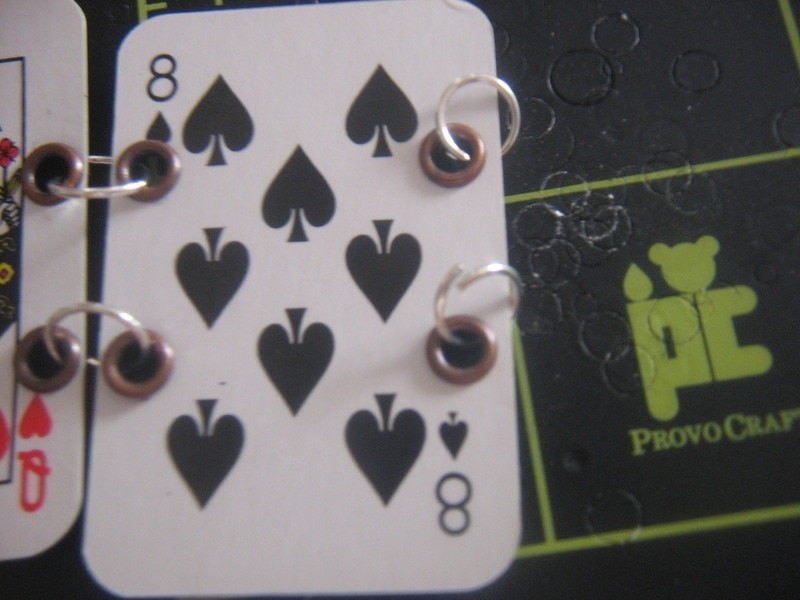
Next start popping in your eyelets and setting them.
I've used brass coloured eyelets but I plan to make another bracelet and use black eyelets as I think they would look better but you can use what ever colours you want.
-
 Step 5
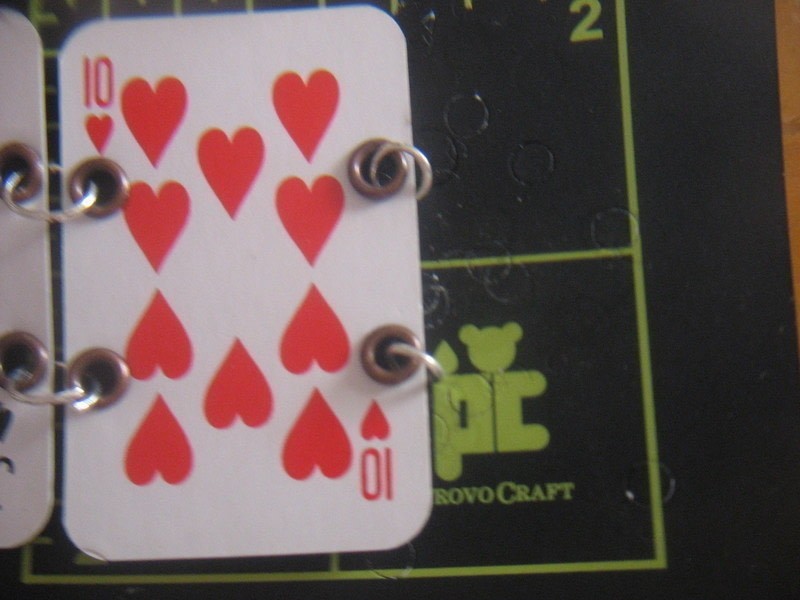
Now with your large jumprings connect the cards together with the help of your jewellery pliers.
-
 Step 6
When you've connected all the cards together on one end of the bracelet add two more large jumprings.
-
 Step 7
At the other end of the bracelet attach two small jump rings.
-
 Step 8
On the same end with the small jump rings add a further jump ring to each hole with a clasp attached.
There are 2 jump rings so that the clasps sit flat.I've used small jump rings here because the bracelet would have been too long otherwise.Feel free to play around with the jumprings sizes until you get the right fit.
-
 Step 9
Now join the clasps to the large jumprings on the other end and wear your creation!
Note: You will need someone else to help put on the bracelet unless you have 3 arms, which I doubt.
You can though, take the bracelet off by yourself.


http://commons.wikimedia.org/wiki/Category
I do have a question; Where did you get those eyelets?
b.t.w I still can't find the camera.