


About
Cute Halloween costume that will probably work it's way into regular wardrobe rotation!
For Halloween this year I'm going to be Pikachu. It's a costume I've been saying I'll do for years and only just got around to. My Pokeball Bag was put on here a few days ago (link at the bottom if you wanna check it out - you can just see it in the background of the photo of me gurning at the camera at the top of this page) and here's the main part of the costume - the Pikachu Hoody!
(Well, hooded tshirt, but near enough).
There seems to be a lot of steps in the How To but don't be put off. It's a really simple make even for non-sewers, and there's only so many steps because I wanted to include as many photos as possible.
Pokeball bag: http://www.cutoutandkeep.net/projects/pokeball-bag-halloween-candy-tub
Tags
-
 chelsea g. favorited Pikachu Hoody
27 Aug 06:31
chelsea g. favorited Pikachu Hoody
27 Aug 06:31
-
 Conner W. added Pikachu Hoody to anime/manga
29 Jun 21:24
Conner W. added Pikachu Hoody to anime/manga
29 Jun 21:24
-
Conner W. added Pikachu Hoody to fashion
29 Jun 21:24
-
Conner W. favorited Pikachu Hoody
29 Jun 21:24
-
Jessica N. favorited Pikachu Hoody
18 Mar 01:42
-
 Angela favorited Pikachu Hoody
26 Jan 02:52
Angela favorited Pikachu Hoody
26 Jan 02:52
-
 jesstiel favorited Pikachu Hoody
02 Jan 00:58
jesstiel favorited Pikachu Hoody
02 Jan 00:58
-
 amanda.shillito favorited Pikachu Hoody
15 Oct 10:31
amanda.shillito favorited Pikachu Hoody
15 Oct 10:31
-
Shantelle t. added Pikachu Hoody to something i'd like to try
02 Oct 03:27
-
Oxie101 B. favorited Pikachu Hoody
20 Jun 20:24
-
 Step 1
First off we'll start with making all the bits before we attach them to the hoody. Starting with the ears.
Cut a basic template out of card as shown in the picture. I'm using 9"x9" felt squares to give you an idea of size.
Fold your felt square in half and pin the template in place, then cut round it. This should give you two ear shapes, which we will use to make one ear. -
 Step 2
Take both of the shapes you've just cut out and pin them together.
-
 Step 3
Sew around the two long edges, leaving the bottom open. Leave a seam allowance (space round the outside of the stitches) of about half a cm.
(Note - I hand sewed everything in this make because I was too lazy to go grab my sewing machine from the cupboard upstairs. It worked fine, but you can use a machine if you'd prefer). -
 Step 4
Once sewed, turn your ear inside out. Remember to shape the pointy end using a pair of closed scissors.
-
 Step 5
Pikachu has black tips to his ears, so grab a fabric pen, fabric paint or (as I did) a black Sharpie and colour in the end. Use a picture as reference to get the swoop of the line right.
-
 Step 6
Grab some toy stuffing (or cotton wool balls would work too) and lightly stuff the ear. It should still be flat, but look a bit more 3D by the time you're done.
-
Step 7
Repeat steps 1 to 6 so that you have a second ear, and lay them to one side.
-
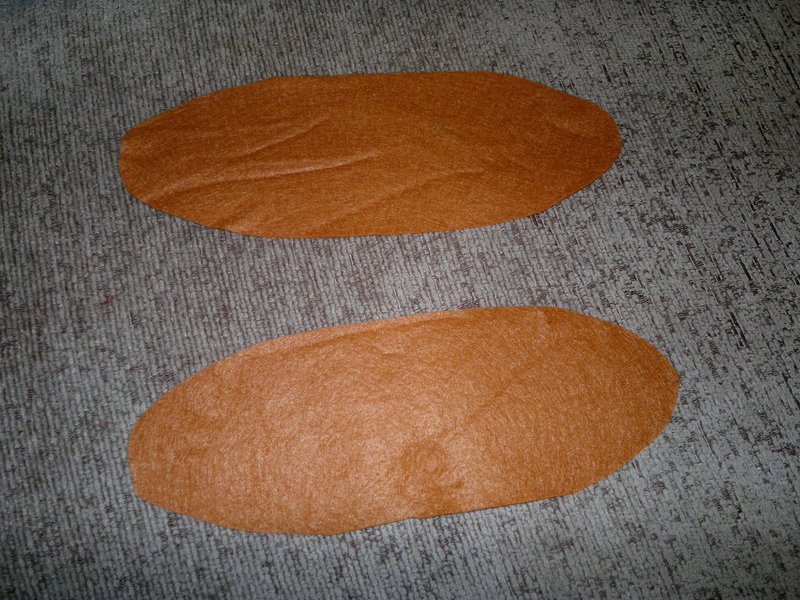
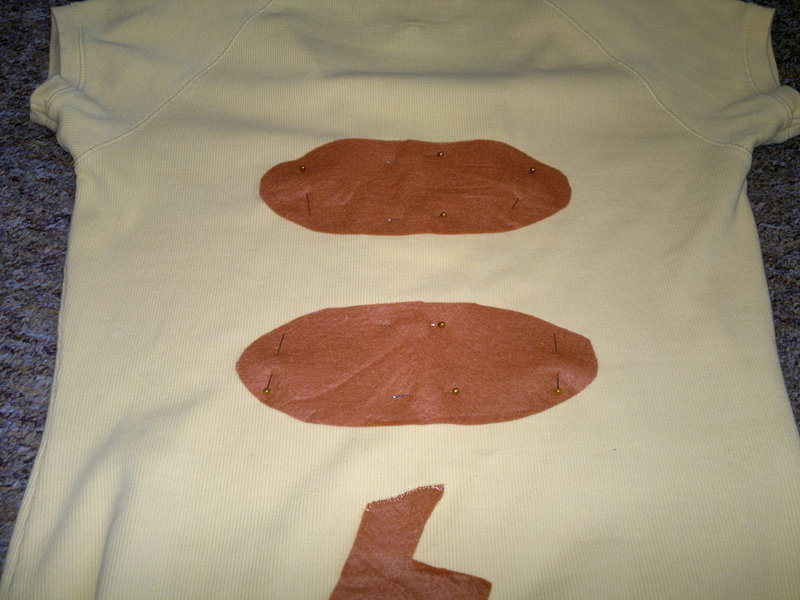
 Step 8
A nice simple one here - on one of your brown felt squares, cut out two long ovals. These will become Pikachu's back markings. Set them to one side with your ears.
-
 Step 9
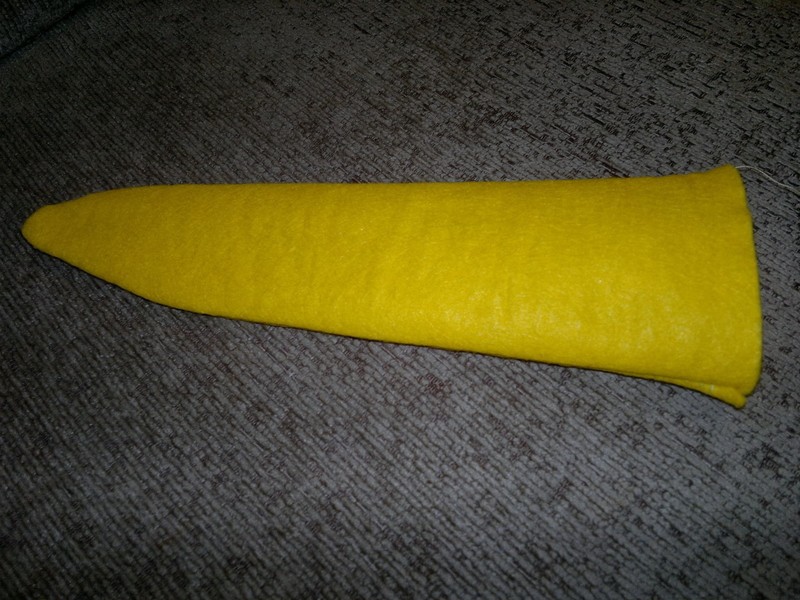
Now lets do the final bit, the tail.
Place a brown square and a yellow square side by side.
Draw out a Pikachu tail shape as shown (I had to enhance this on MS Paint, but it was done in dressmakers pencil originally. You can make another paper template if you don't have one of these). -
 Step 10
Cut out the pieces and sew them very neatly together.
I wanted a small floppy tail so that it didnt get in the way. If you want a stiffer tail, then you can do similar to the ears and make a stuffed version. I've seen photos where people have done similar and made huge tails, so it's whatever floats your boat really!
Whatever you choose, sew it up and put it to one side. -
 Step 11
Right, on to the assembling! Grab your hoody (I got mine for a few pounds on Ebay).
Start with the ears. Pin them in place on to your hood. This will mean a lot of faffing round looking in the mirror if you're on your own (believe me!) so get someone to help position them if you can. -
 Step 12
This bit is hard to explain!
Unpin the ear and (keeping it in position) flip it back on itself as shown. Then repin it and sew it to the hood using blanket stitch.
For non-sewers, there's a simple video about how to blanket stitch here- http://www.youtube.com/watch?v=eXkSE2TTF4s
Do this for both ears. -
 Step 13
Once sewn in place, flop the ears back over and it hides the stitches (so it doesn't matter if they're a bit messy, because you've essentially sewn on the reverse where noone will see).
If stages 12 and 13 didn't make sense tell me in the comments and I'll try a rewrite. -
 Step 14
Next, grab your tail and position it where you want it. I chose to put it higher up than initially planned to keep it out of the way. On mine, it rests sort of on my tail bone (irony!) just above my bum, but you could put it nearer the hoody's hem if you wanted a more dangly tail, or if you stuffed it and it's a bit stronger.
-
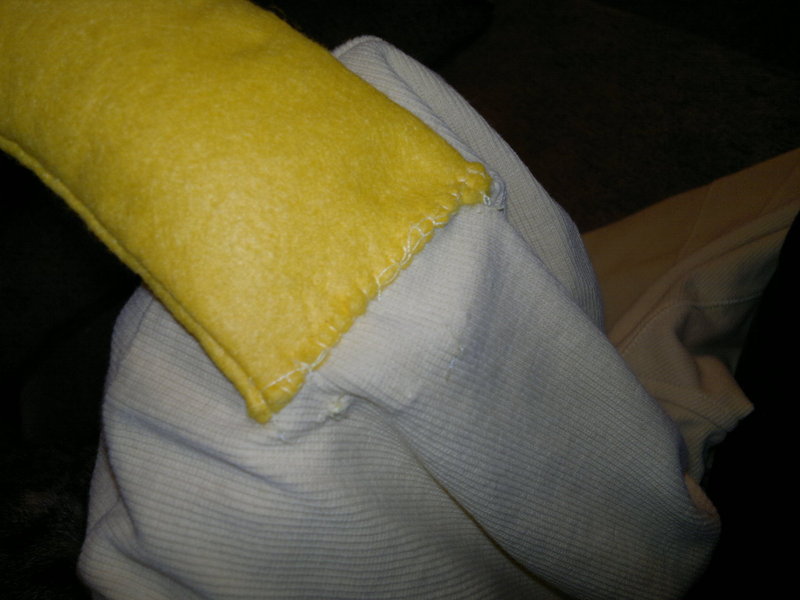
 Step 15
Sew it in place at the top (brown bit) and I also put an optional single stitch in near the hem of the hoody to stop it flapping around.
(This photo is the only one that shows the proper colour of my hoody - it is yellower than it looks!).
-
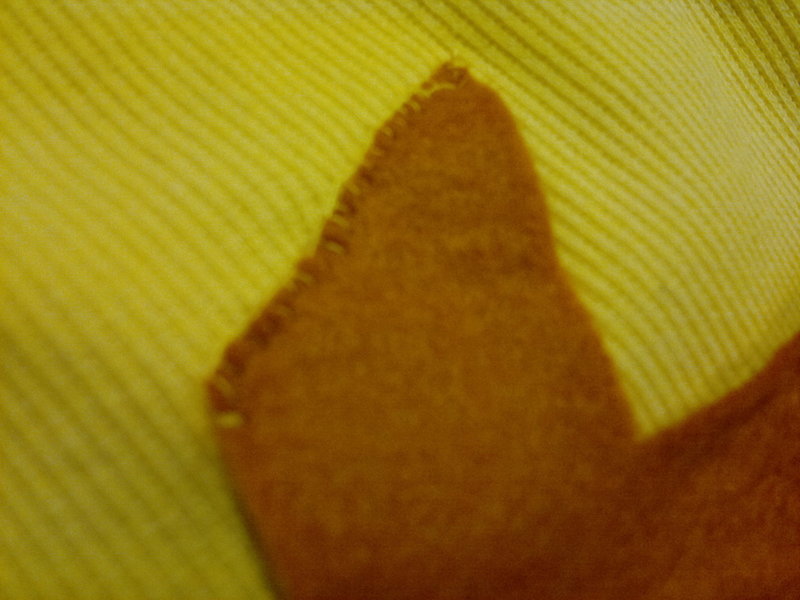
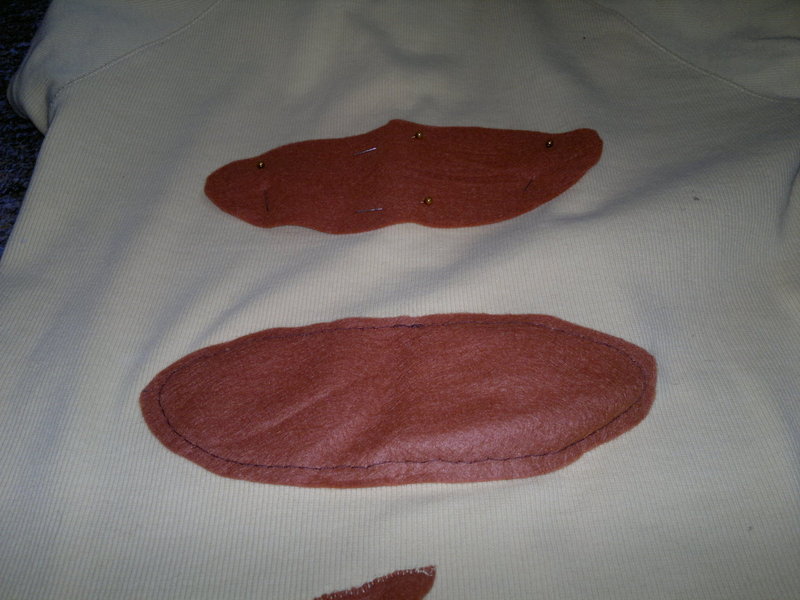
 Step 16
Finally, grab your two oval pieces and position them where you think they look best. Mine are pretty evenly spaced, but I know pictures of Pikachu show them more around his lower back.
-
 Step 17
Sew them in place using a back stitch for strength. Again, for non-sewers, here's a very simple video - http://www.youtube.com/watch?v=JEohtXIoOww&feature=related
-
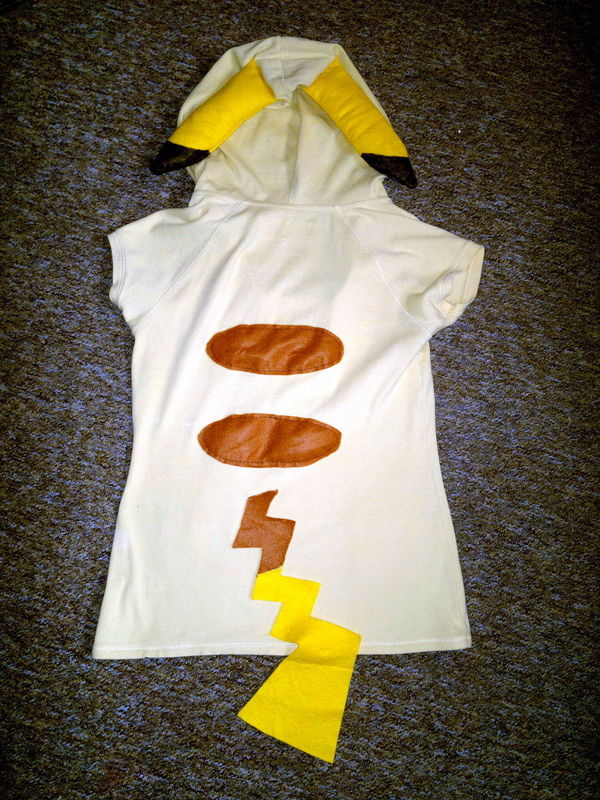
 Step 18
And there you have it. One simple Pikachu hoody. Now I just have to decide what the wear for the rest of the costume...!


Comments

