


About
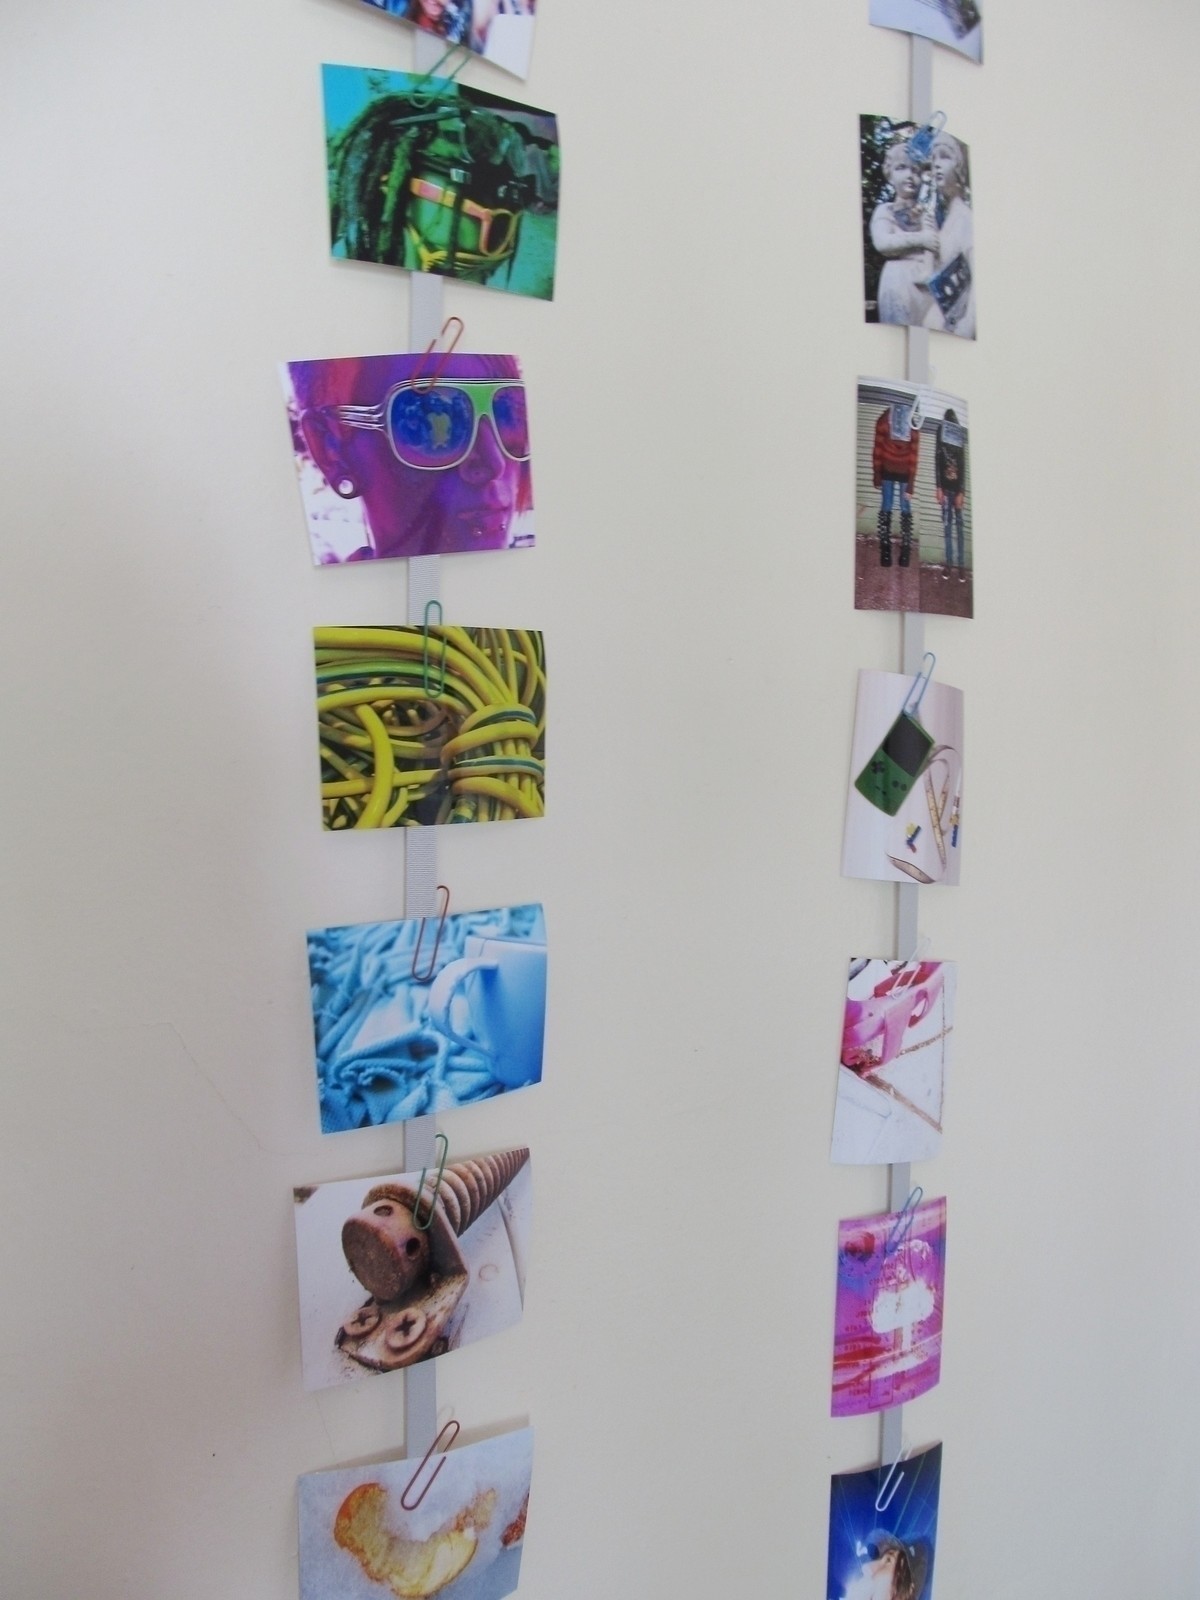
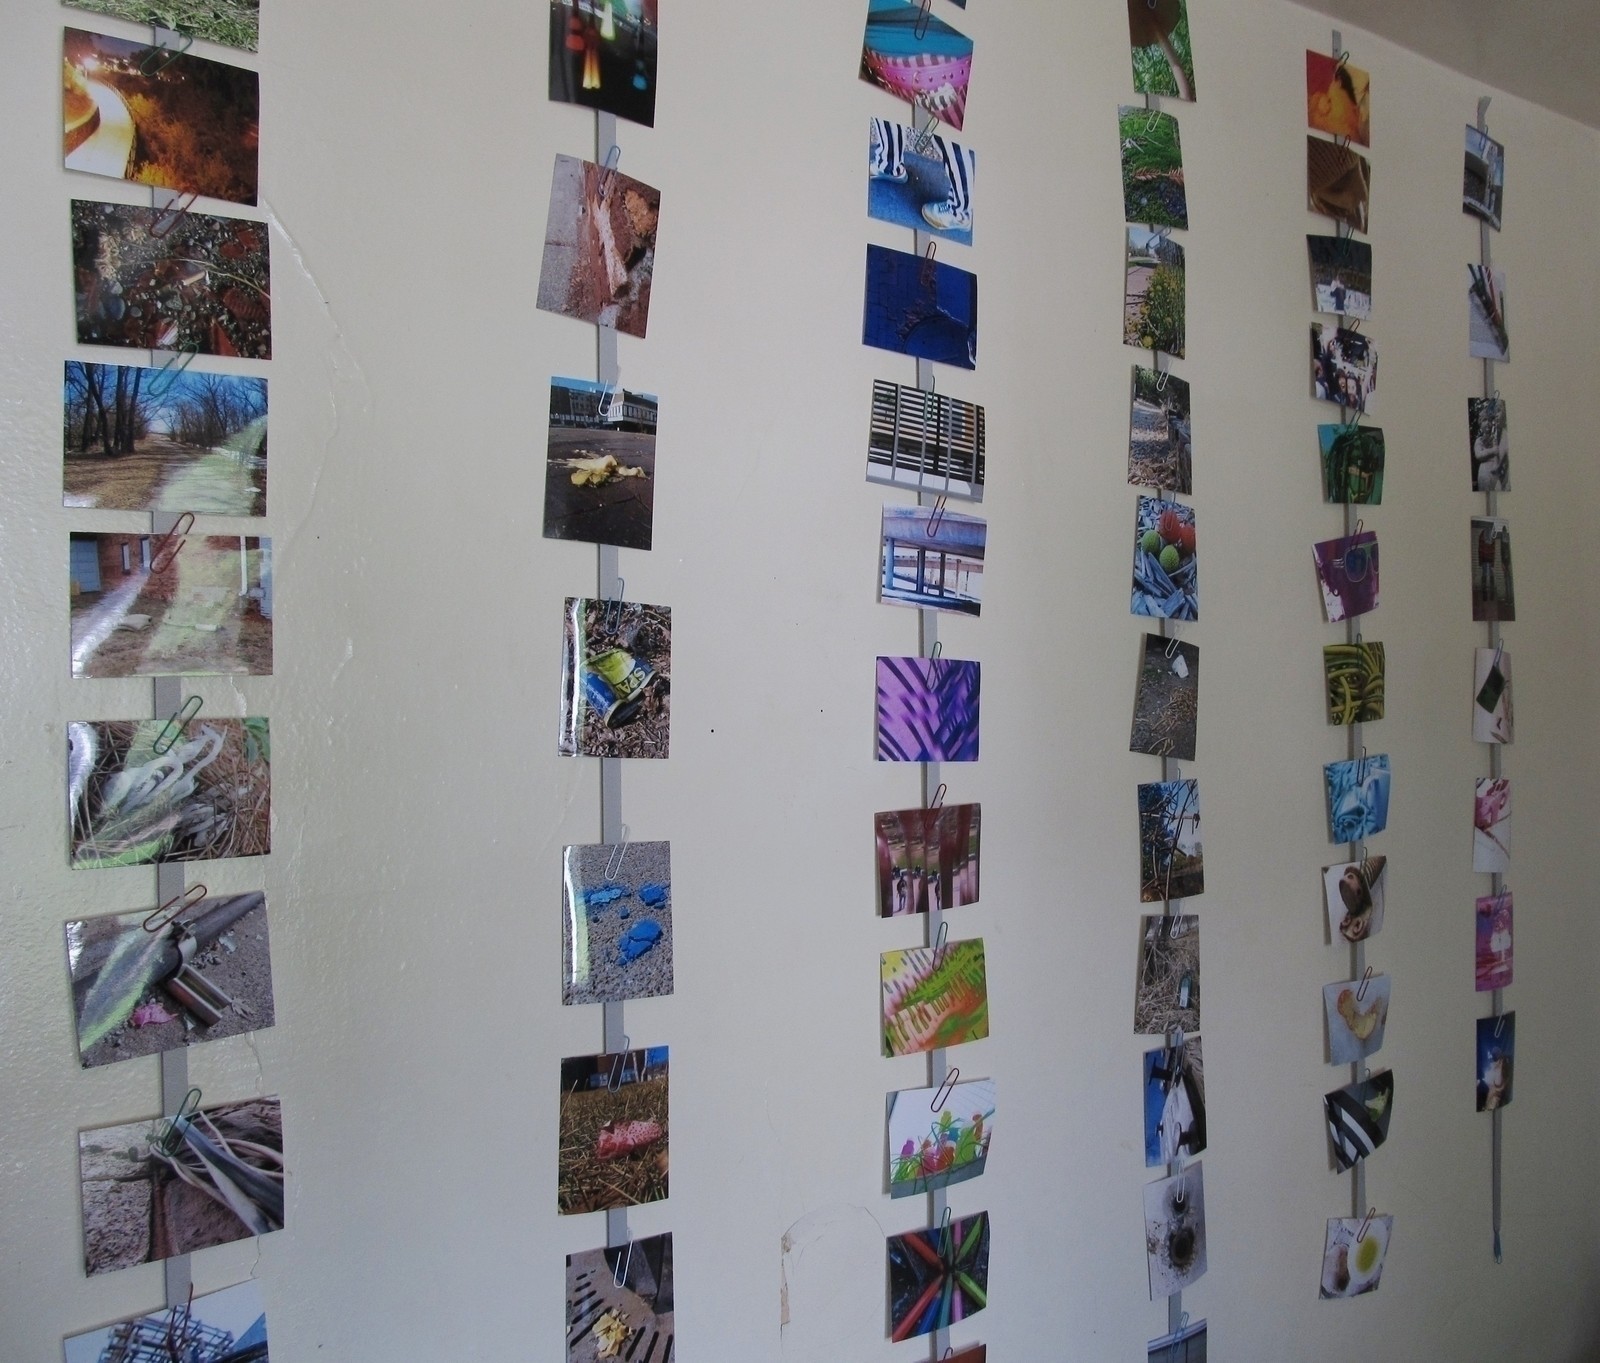
Turn your wall into a photograph extravaganza cause pictures should be displayed, not hidden away!
The amount of ribbon and nails depend on how many rows of pictures you desire, and how far down the wall you want them to travel.
These are about five.five feet long and cover most of the wall!
***If you want to see any of my photos, do so at***
http://www.flickr.com/photos/aikowax
-
 Dawn B. favorited Photograph Wall Display
25 May 13:21
Dawn B. favorited Photograph Wall Display
25 May 13:21
-
 Ariana H. added Photograph Wall Display to DIY
16 Nov 18:08
Ariana H. added Photograph Wall Display to DIY
16 Nov 18:08
-
 gayann.lambert favorited Photograph Wall Display
22 Aug 08:47
gayann.lambert favorited Photograph Wall Display
22 Aug 08:47
-
 hemali p. favorited Photograph Wall Display
16 Aug 15:54
hemali p. favorited Photograph Wall Display
16 Aug 15:54
-
Katie :) favorited Photograph Wall Display
28 Jul 18:42
-
 Jackie_bo_backie favorited Photograph Wall Display
26 Jul 00:20
Jackie_bo_backie favorited Photograph Wall Display
26 Jul 00:20
-
natasha l. favorited Photograph Wall Display
21 Jul 17:57
-
 Aiko W. entered her project Photograph Wall Display to Lomography
26 May 04:13
Aiko W. entered her project Photograph Wall Display to Lomography
26 May 04:13
You Will Need
-
 Step 1
First, Cut the ribbon. I cut six pieces to about 5.5 feet, which takes up most of the wall.
-
 Step 2
Then, to stop the ends of the ribbon from fraying, use the lighter to melt the ends.
Be sure not to get the lighter to close or for too long. Just get closer and closer until the end of the ribbon melts just a bit.
-
 Step 3
Next you are going to want to mark your wall for ribbon and nail placement.
These marks are going to be covered by the ribbon.
(Mine are 14" apart.)
-
 Step 4
One by one, nail each ribbon to the wall, starting with the end nearest to the ceiling, keeping each ribbon taut.
-
 Step 5
Next, organize your pictures. How many you decide to have on each ribbon will depend on how many photographs you have, and whether they are taken hot dog or hamburger. Mine alternate.
-
 Step 6
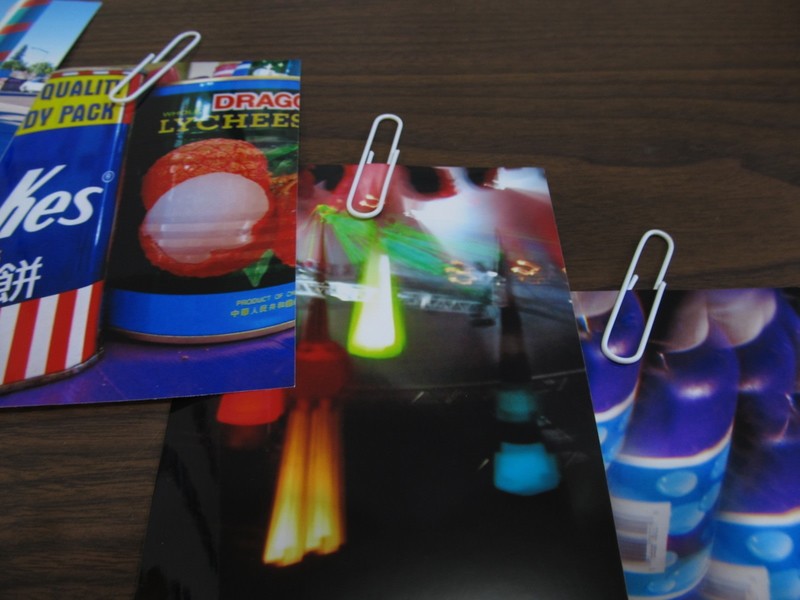
Place a paper clip on each photograph.
-
 Step 7
Then place them on the ribbons according to your layout!


CO + K User