

About
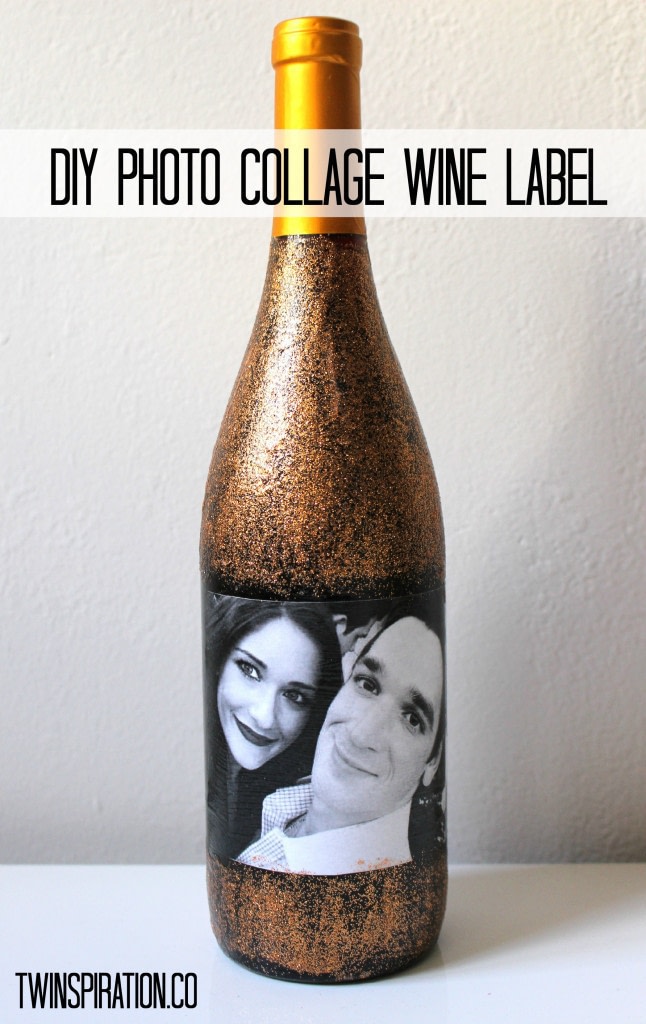
Add a photo collage to a wine bottle for a great gift!
-
 The Garsow Twins published her project Photo Collage Wine Label
29 Aug 06:00
The Garsow Twins published her project Photo Collage Wine Label
29 Aug 06:00
-
Step 1
First, you should visit www.picmonkey.com and click the button that says “Create a collage”
-
Step 2
Next, click on “Open photos” and chose your favorite seven photos of you and the person you are making the wine label for
-
Step 3
Click on the Layouts icon that is directly below the photo icon, then click on the layout “FB Cover”
-
Step 4
Click on the last one in a row that has room for seven pictures (one big picture and six smaller ones)
-
 Step 5
Insert your pictures where you want them. It will look like this before you insert the pictures:
-
Step 6
After you insert pictures you can adjust the spacing between them. I left a little spacing but changed the background to black so it blended in with my black wine bottle.
-
Step 7
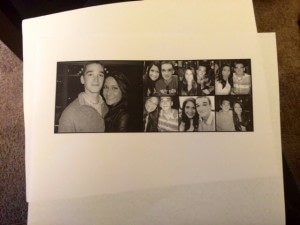
Print out your collage on regular printing paper (make sure it prints in the landscape orientation). I printed mine in black & white, I highly recommend it, it looks great!
-
 Step 8
Place a regular piece of printing paper behind the piece that has your collage printed on it, like this:
-
 Step 9
Next, place the plain piece directly behind the piece with the picture on it and cut the picture out. So you will have something like this:
-
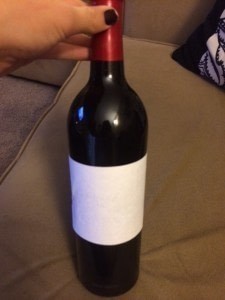
 Step 10
Use your foam brush to spread some Mod Podge onto the plain piece of white paper. Place the paper around the clean wine bottle, try to make it level. Spread some more Mod Podge over the top of the plain white paper after it is adhered to the bottle. I added this step because I didn’t want the picture to become to thin when the Mod Podge was applied. Adding a layer under the picture collage sets a nice white background so the pictures stand out.