About
Nice photo box for organizing your photos
We were making such boxes several times in the primary school. I liked them a lot. Once I had some leftover photos after making an album from our holidays in South Tirol and I decided to make such box to store them. You can see which photos are in such box.


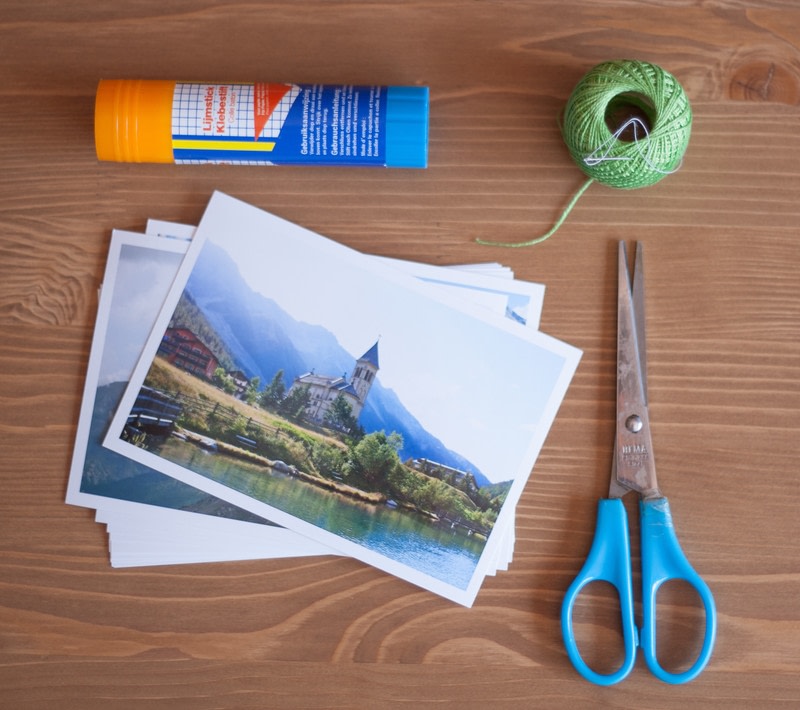
You Will Need
-
 Step 1
Decide which pictures will be on the outside and which inside box.
-
 Step 2
Glue pairs together, they’ll become walls and lid of your box.
Square two walls; they will become your side walls. -
 Step 3
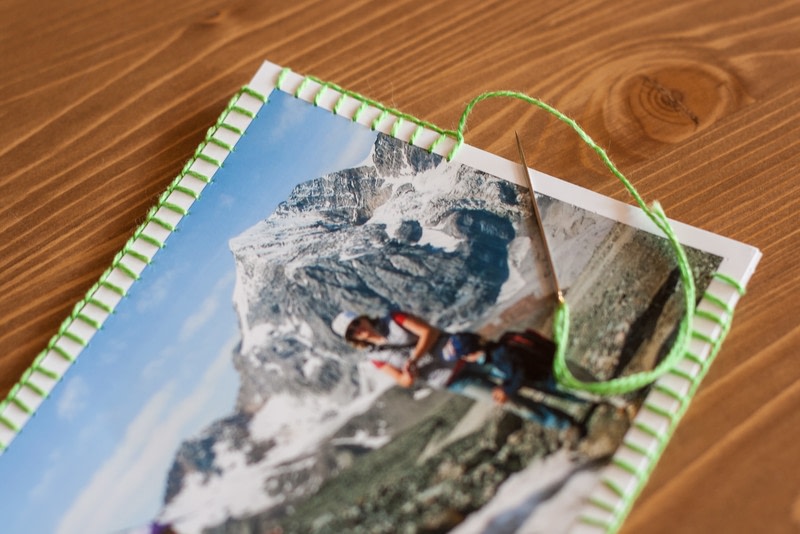
If you have a sewing machine you may want to stitch first with sewing machine (without thread) on the longest stitch length to facilitate further stitching with needle.
-
 Step 4
Then sew with blanket stitch around all edges.
-
 Step 5
Sew all walls together (three full size walls and two side walls).
Sew the lid to one of the walls. You may add a button for closing.