About
Crafting with Wood Pallets
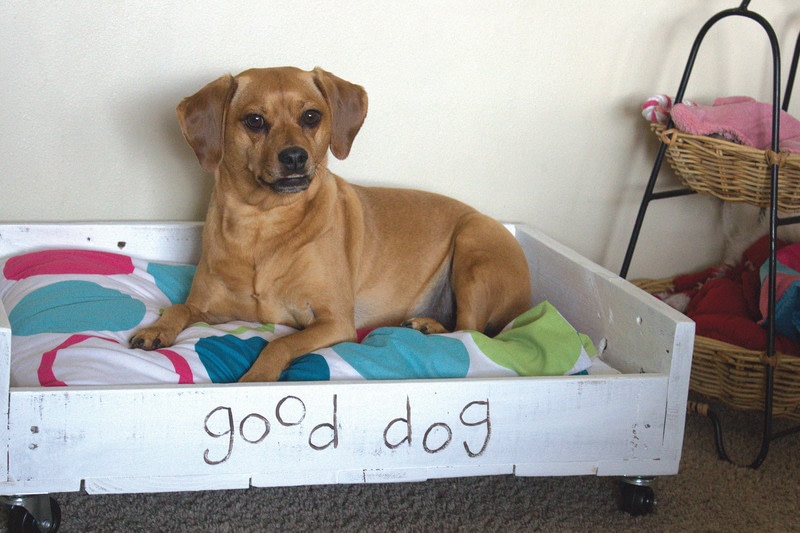
Pets, oh, how they love to try and claim the entire house as their own! This is one project that your pooch or kitty-cat will love to claim, and you will be thrilled that the family pet has his or her very own place to sleep. The bonus with this pet bed is that it is on wheels, making it easy to move from room to room, depending on you and your pet’s needs. This bed is 18" × 25", ideal for a small- to medium-sized pet, but you can adjust the size of the bed and use a queen- or king-sized pillow and pillowcase to accommodate a larger pet
TIME: 11⁄2 hours, plus dry time
LEVEL: Intermediate
-
 Heather G. favorited Pet Bed
22 Apr 18:23
Heather G. favorited Pet Bed
22 Apr 18:23
-
 Ulysses Press published her project Pet Bed
22 Feb 09:00
Ulysses Press published her project Pet Bed
22 Feb 09:00
You Will Need
-
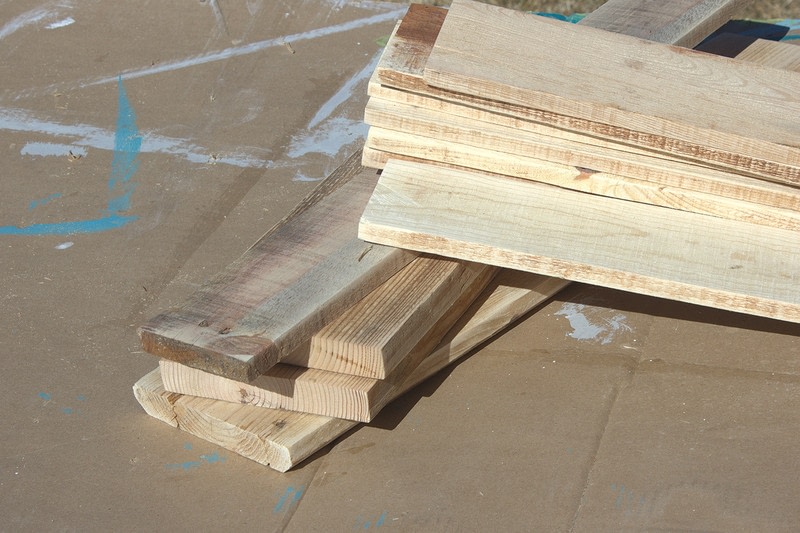
 Step 1
Cut and sand the pallet boards. Sand well so your pet won’t get slivers.
-
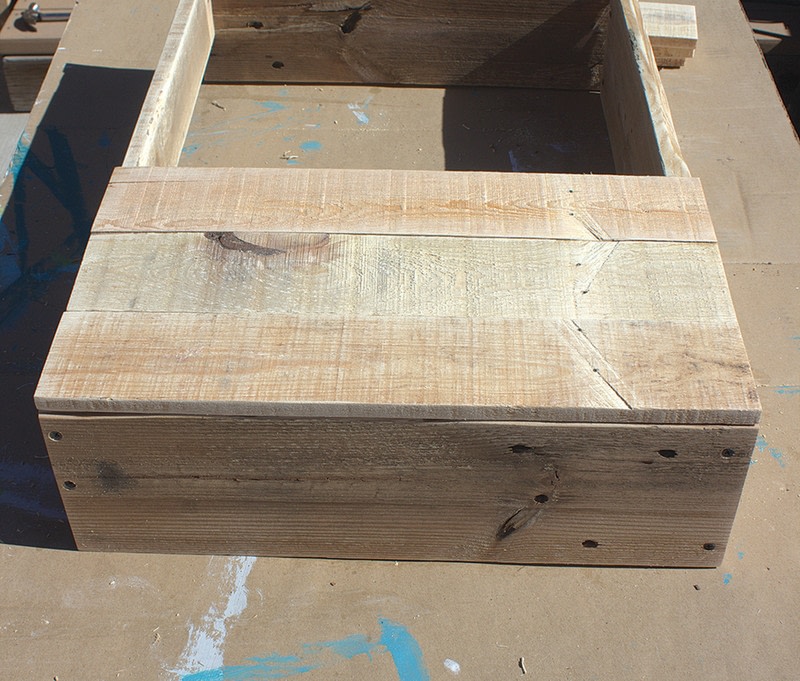
 Step 2
Make a rectangular frame, using the three 5 1⁄2"-wide boards for the back and sides of the bed, and the one 3 1⁄2"-wide board for the front of the bed. Use two 1 5⁄8" screws to secure each of the corners.
-
 Step 3
Turn the bed frame upside down, and add the 18"-long boards to create the bottom of the bed. Arrange the different widths to fit the space. A small space (1⁄2" or less) between boards is okay.
-
 Step 4
Attach the bottom boards to the front and back sides with 15⁄8" screws.
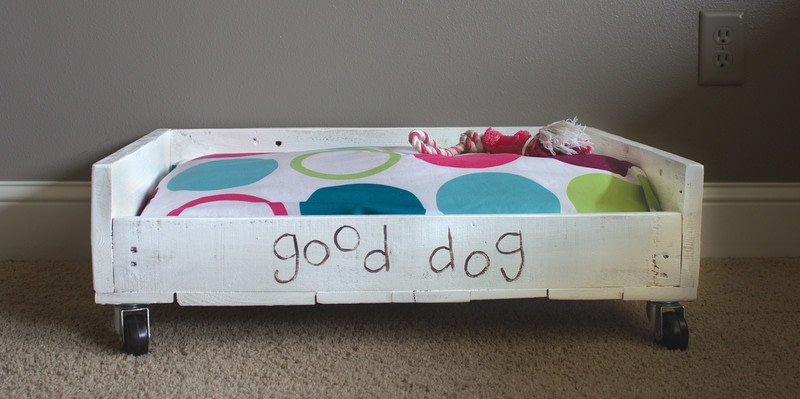
Paint as desired. I painted mine with white enamel latex paint because it wears well and cleans easily.
-
 Step 5
When the paint is dry, add the casters. If your pet is very active, you may want to consider two locking casters on the front of the bed. Use 1 1⁄4" screws in the three caster base holes that sit or are placed on the pet bed sides or edges. Use a 3⁄4" screw on the caster base hole that is on the bed bottom so that it does not go through the wood into the bed bottom where your pet will be lying.
-
 Step 6
Decorate the bed frame as desired. I handpainted “good dog” on the front of the bed. You could add your pet’s name or another sentiment that suits your pet.
-
 Step 7
Add a pillow to make the bed soft and comfortable. If your pet likes to tear up stuffed items such as pillows, hand-stitch or machine sew the end of the pillowcase closed.