

About
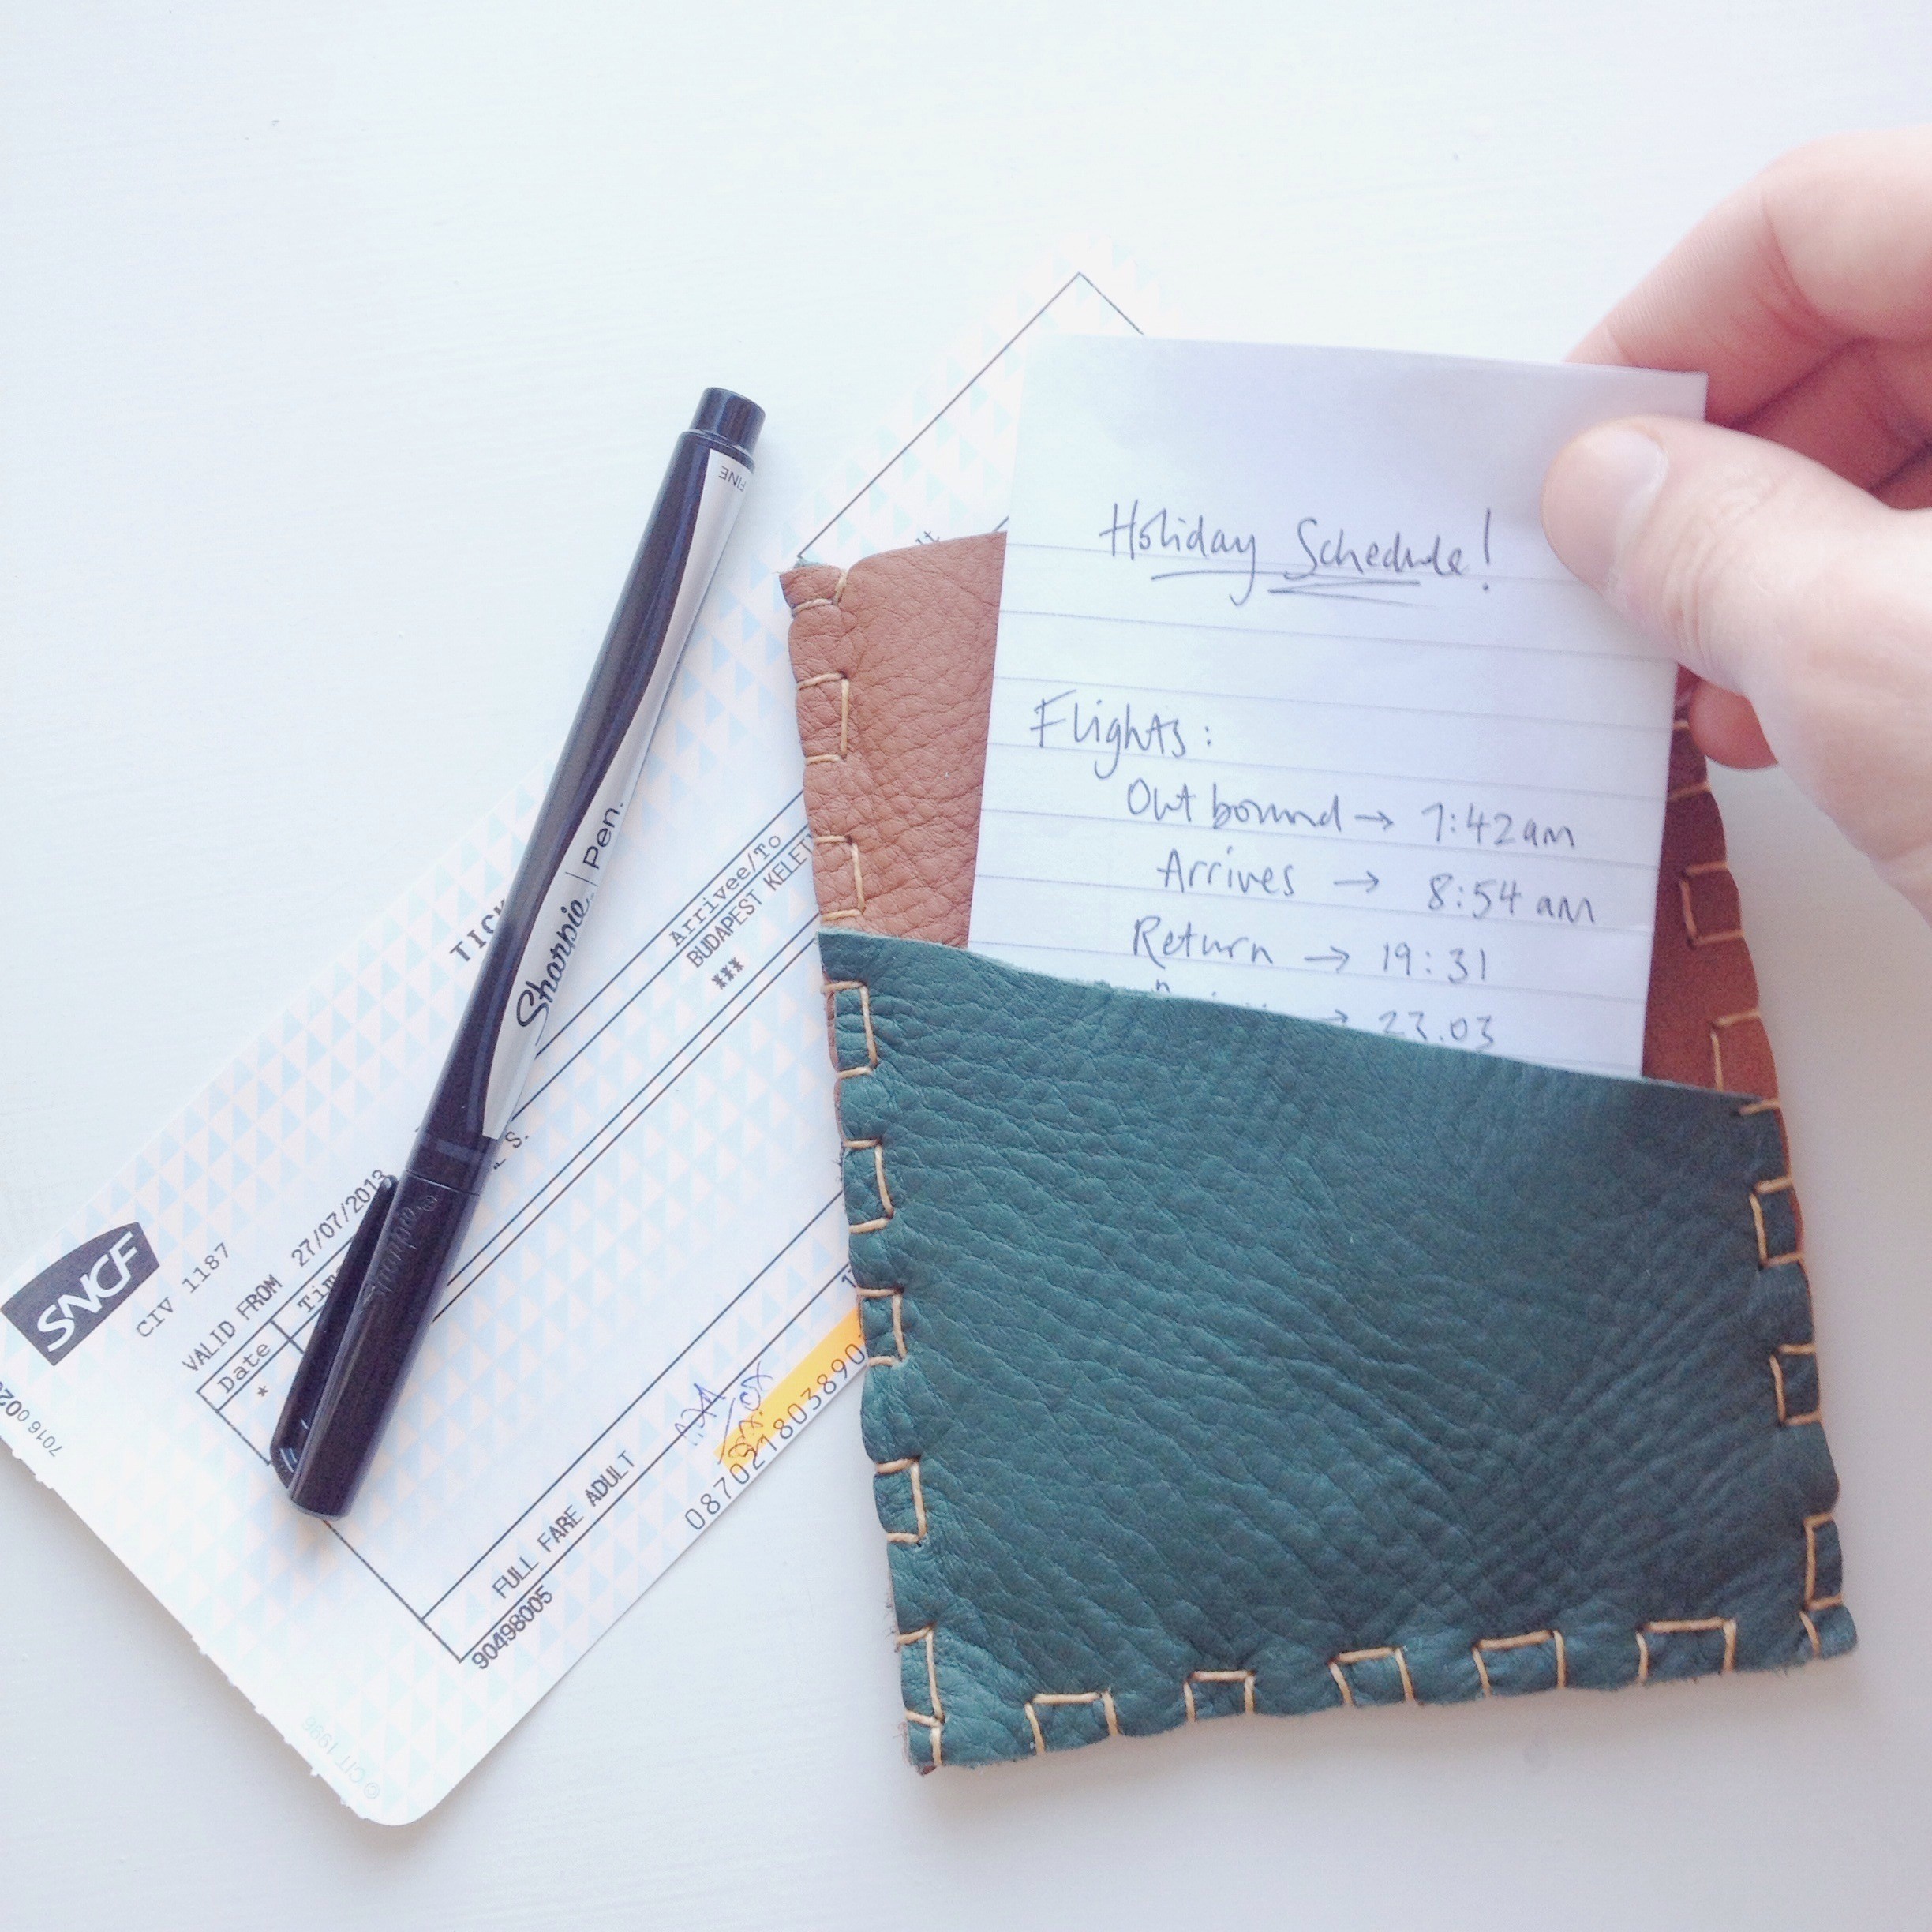
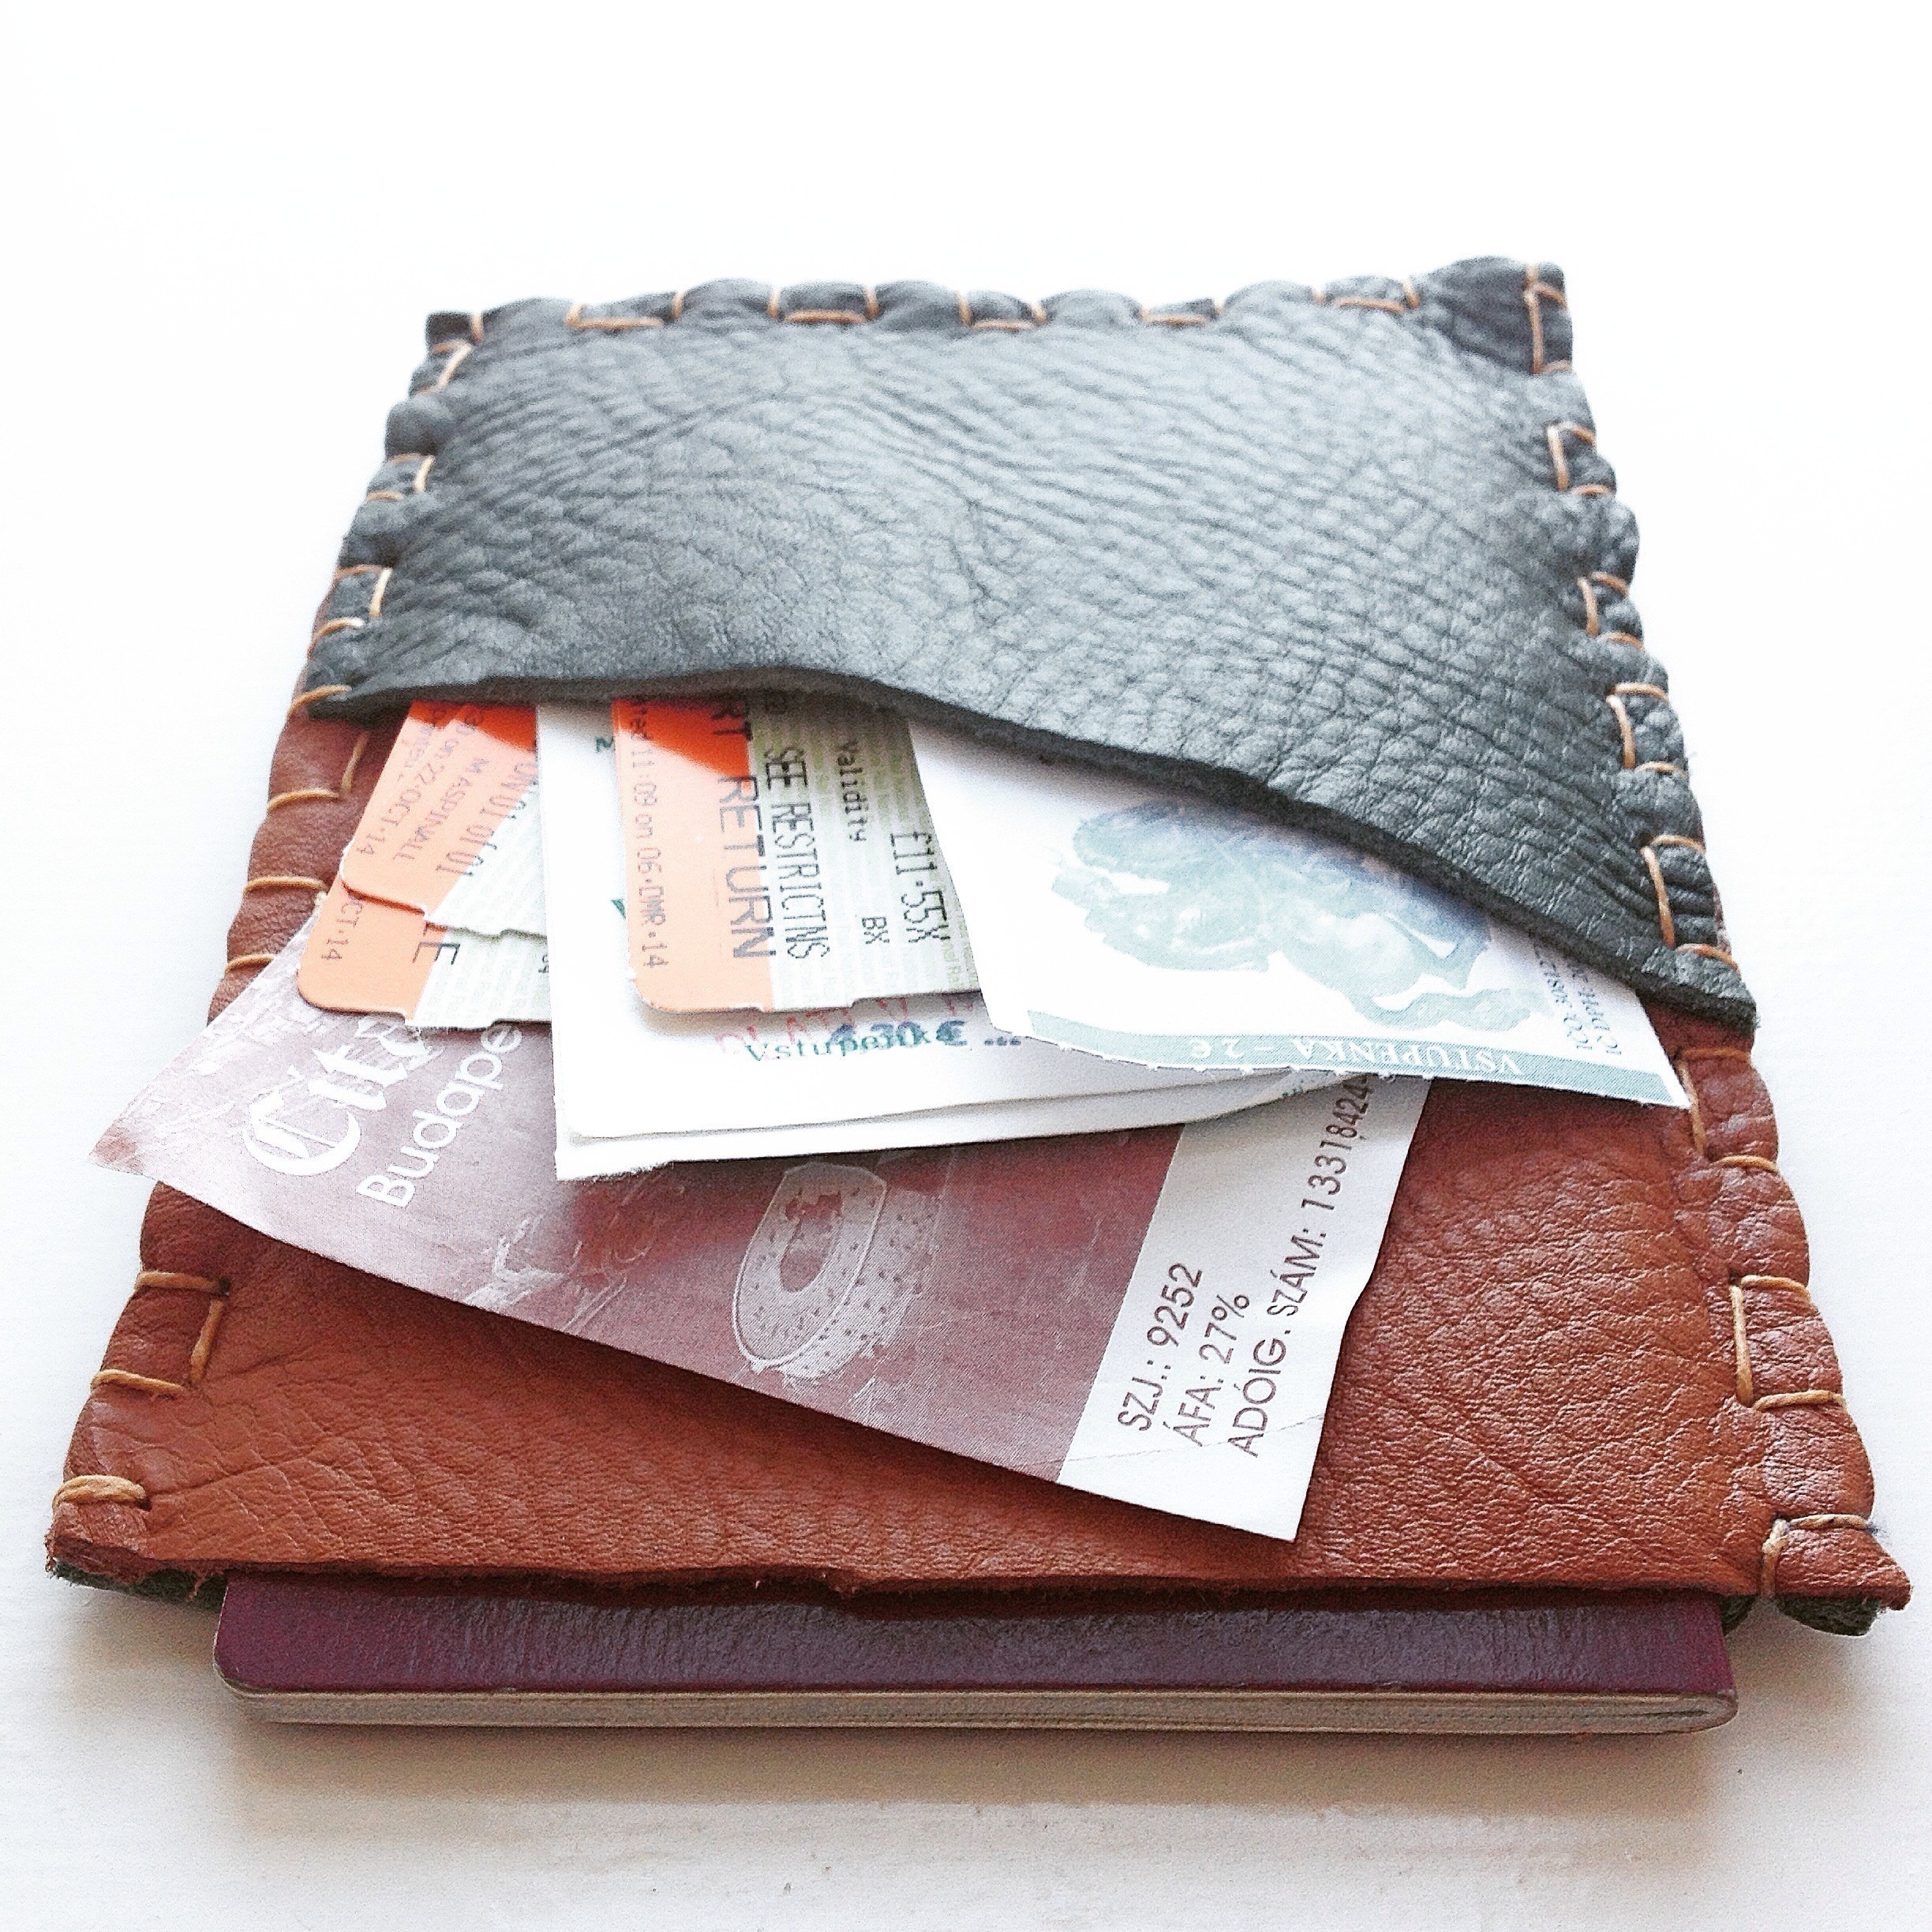
A useful and stylish holder for your passport and tickets
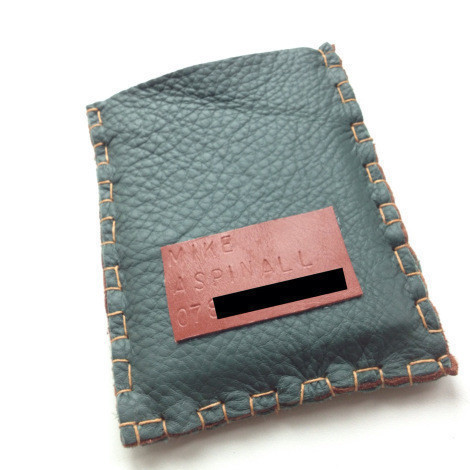
This passport holder is as stylish as it is useful! Great for keeping track of all your travel bits and bobs, it makes a fab gift for travellers. Plus, it can even be personalised with your name and contact details for extra security.
Tags
-
 beatriz s. favorited Personalised Passport Holder
19 Apr 23:38
beatriz s. favorited Personalised Passport Holder
19 Apr 23:38
-
 The Crafty Gentleman published his project Personalised Passport Holder
11 Apr 06:00
The Crafty Gentleman published his project Personalised Passport Holder
11 Apr 06:00
You Will Need
-
 Step 1
Cut out three pieces of leather – two measuring 11cm x 14.5cm, one a little shorter. I cut my shorter leather piece with a slight angle, to add a bit more character.
-
 Step 2
Take one of the larger pieces of leather and, using a leather awl, make a series of holes along the sides and bottom edge (leaving the top edge intact). Repeat the process of making holes along three edges onto the other two pieces of leather. It’s important that these holes line up when the pieces are put together, so it helps to use the first piece as a guide.
-
 Step 3
Stitch the leather pieces together through the holes, using waxed linen thread and a wide-eyed needle. You can either try a simple running stitch, or be a bit more adventurous by looping the thread around the edge of the leather (this will also more securely tie the passport holder together).
-
 Step 4
Using a leather stamping kit, emboss your name and telephone number onto a smaller leather off-cut.
-
 Step 5
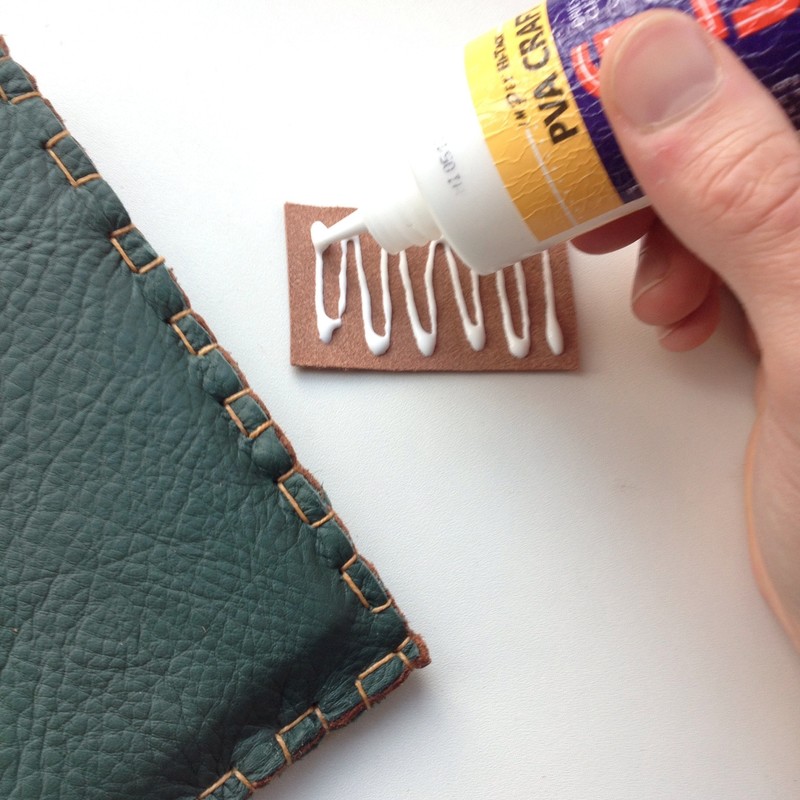
Glue the stamped label onto the passport holder with appropriate craft or PVA glue.