About
My Handmade Wedding
Here are the basic instructions for making a paper pompom. Once you’ve got the hang of this, you can adapt it to create all the variations you want
-
 Laura P. favorited Paper Pompoms
26 Mar 18:49
Laura P. favorited Paper Pompoms
26 Mar 18:49
-
 jaitaesmom favorited Paper Pompoms
16 Apr 23:42
jaitaesmom favorited Paper Pompoms
16 Apr 23:42
-
 CurlyMade added Paper Pompoms to Mother's Day Party
21 Mar 20:17
CurlyMade added Paper Pompoms to Mother's Day Party
21 Mar 20:17
-
Alissa B. favorited Paper Pompoms
09 May 05:29
-
 Search Press published her project Paper Pompoms
02 May 09:00
Search Press published her project Paper Pompoms
02 May 09:00
You Will Need
-
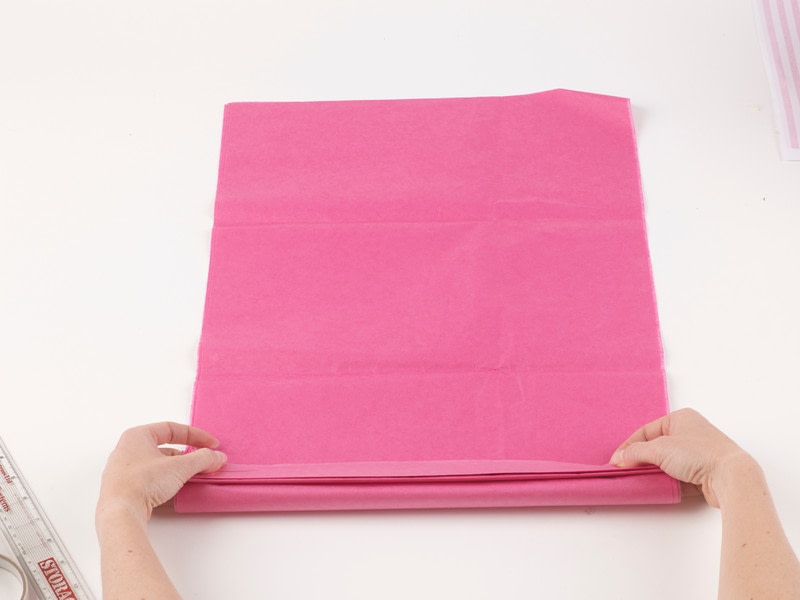
 Step 1
The method for making pompoms is the same no matter what size you are making; here I am making a large pompom, with eight sheets of paper. Layer your eight sheets of tissue paper directly on top of one another
-
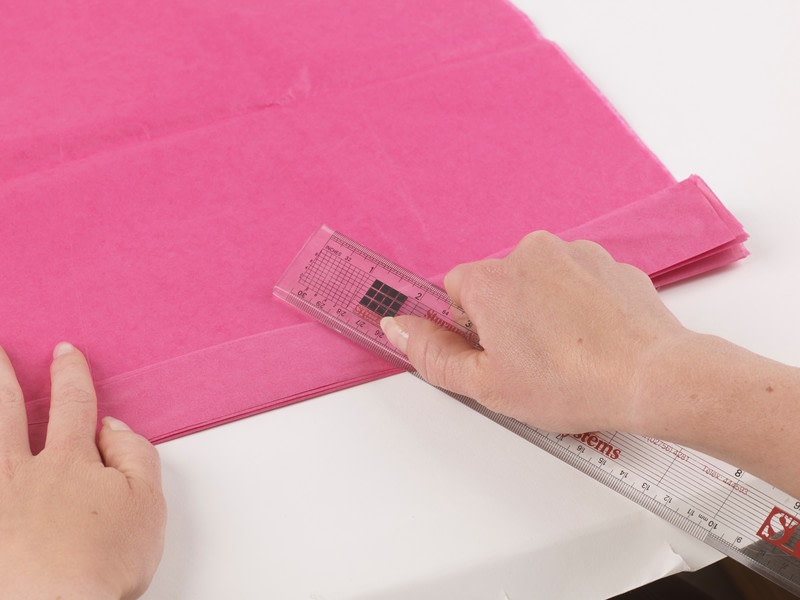
 Step 2
Make concertina folds into the shorter side at 3.5cm (1¼in) intervals. If you are making a medium-sized pompom make the folds 2cm (¾in) wide; for a small pompom make the folds 1cm (½in) wide.
-
 Step 3
Use your ruler to flatten each fold as you go – this will make it less bulky when you come to cut the petals.
-
 Step 4
Draw around your circular item at each end of your concertina to make a petal shape. Use sharp scissors to cut through all the layers of paper. Make sure you hold the layers tightly so they don’t slip; you may find it helps to lay something heavy on top of the paper to prevent the layers slipping.
-
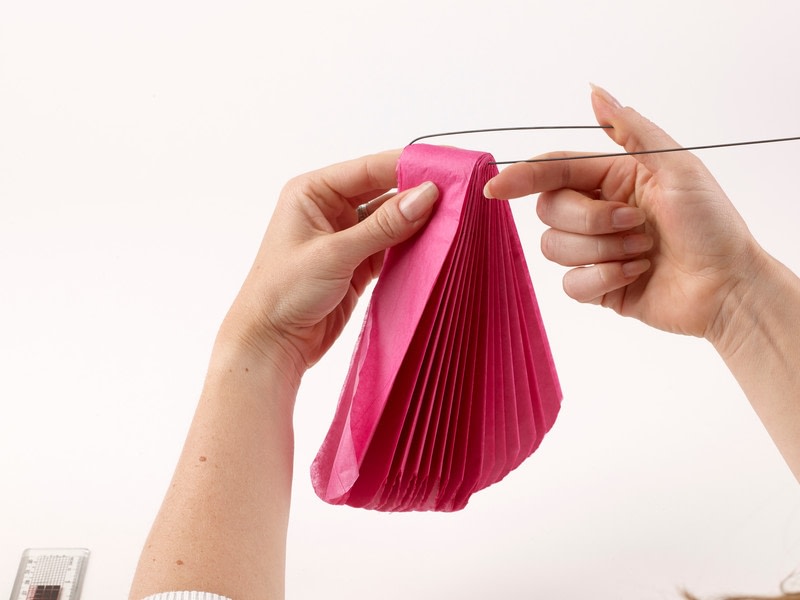
 Step 5
Fold your concertina in half to find the middle. Bend a length of floristry wire about one-third of the way down and manipulate it around the middle of the concertina, twisting it around itself to secure.
-
 Step 6
Lay the paper on its side and fan out both ends. Bend the excess wire at 90 degrees. Separate the layers of tissue by gently teasing them with your fingers from the tip to as near to the centre fold as possible.
-
 Step 7
Open all eight layers up towards you to create half-opened pompoms. Don’t panic if one or two of the tips tear as they aren’t likely to be noticed if you trim them off neatly.
-
 Step 8
Once opened out, the tissue can be manipulated to make sure the folds are evenly spread out and the central wire is hidden.
TIP: FILL OUT
If you’re fully opening out the pompoms, use more sheets of tissue: use 10–12 sheets for large pompoms, 8–10 sheets for medium-sized pompoms and 6–8 sheets for small pompoms.TIP: DRY OFF
Make sure your hand are dry.TIP: SHARPEN UP
You will need to use really strong scissors to be able to cut through all the layers of your pompom. I used sharpened dressmaker’s scissors, which shouldn’t normally be used with paper, but it was necessary to snip through the bulk.