

Origami Triangular Trays
Extract from Fabrigami • By Jill Stovall, Scott Wasserman Stern, and Florence Temko • Published by Tuttle Publishing

About
Fabrigami
You can use two of these as inserts for a box or you can also use them as a small candy or nut dish.
-
 Julie R. favorited Origami Triangular Trays
07 Jan 04:11
Julie R. favorited Origami Triangular Trays
07 Jan 04:11
-
 VixxGraves favorited Origami Triangular Trays
26 Feb 03:55
VixxGraves favorited Origami Triangular Trays
26 Feb 03:55
-
sumaira n. favorited Origami Triangular Trays
18 Jan 21:38
-
Laura W. commented on Origami Triangular Trays
30 Nov 10:42
-
Laura W. favorited Origami Triangular Trays
30 Nov 10:36
-
 Libby W. added Origami Triangular Trays to Origami
17 Nov 20:19
Libby W. added Origami Triangular Trays to Origami
17 Nov 20:19
-
Libby W. favorited Origami Triangular Trays
17 Nov 20:14
-
 Tuttle Publishing published her project Origami Triangular Trays
04 Nov 09:00
Tuttle Publishing published her project Origami Triangular Trays
04 Nov 09:00
You Will Need
-
 Step 1
Begin with the paper side facing up. Valley fold in half diagonally from corner to corner. Then unfold.
-
 Step 2
Cut along the crease you just made. You will have two triangles, each of which makes an insert.
-
 Step 3
Take one of the triangles. Valley fold one edge down about half inch (1 cm). Then fold over again. Then unfold.
-
 Step 4
Repeat step 3 on the other two sides.
-
 Step 5
Note the circled points of intersection. Valley fold through those points perpendicular to the bottom edge. Then unfold.
-
 Step 6
Note the circled points of intersection. Valley fold through those points perpendicular to the side edges. Then unfold.
-
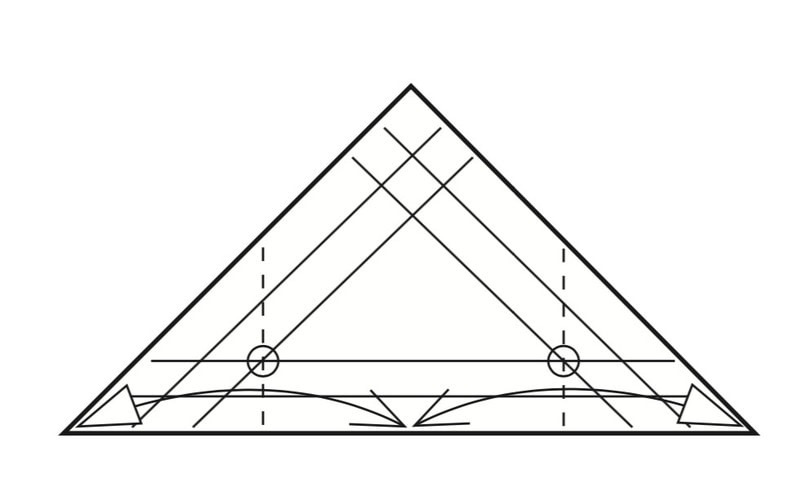
 Step 7
Note the circled points of intersection. Valley fold to those points, bisecting the angles. Then unfold.
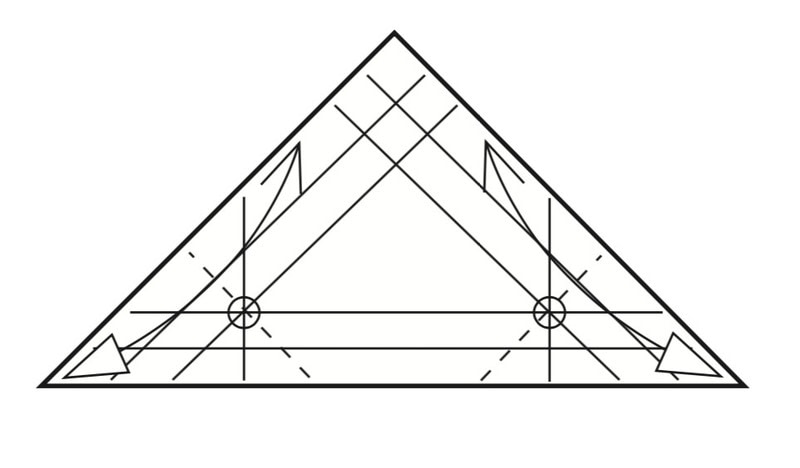
-
 Step 8
Note the circled point of intersection. Valley fold to the points, bisecting the angle. Then unfold.
-
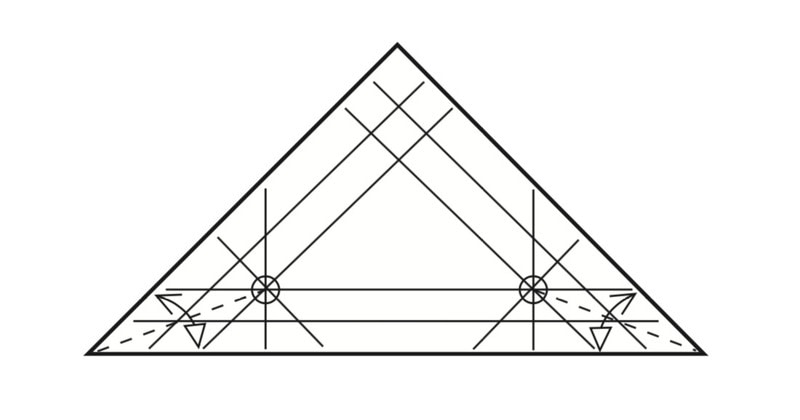
 Step 9
Valley fold the corners to the creases you made in step 6.
-
 Step 10
Bring the two sides up and bring the corner to the side. The model will not lie flat.
-
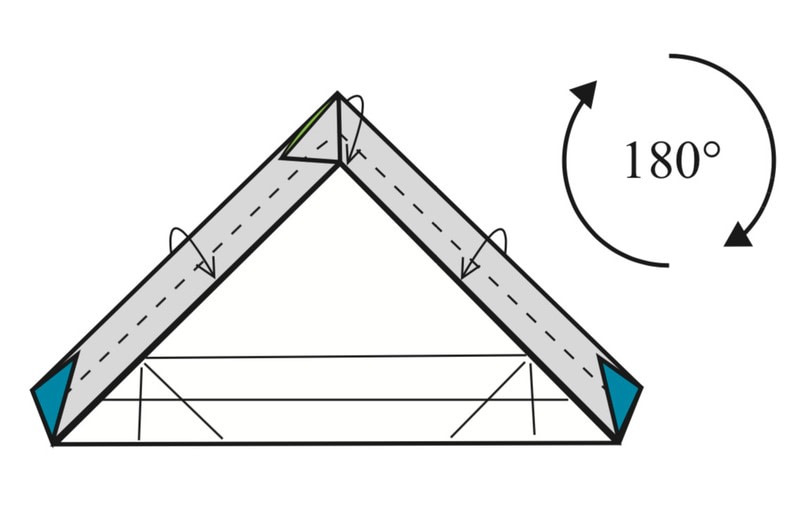
 Step 11
Wrap one layer down along the crease, locking it into place.
-
 Step 12
Bring the final side up and the two corners over, mountain folding from the intersection of the valley folds to the far corners.
-
 Step 13
Valley fold the third side down, locking the two side corners.
-
 Step 14
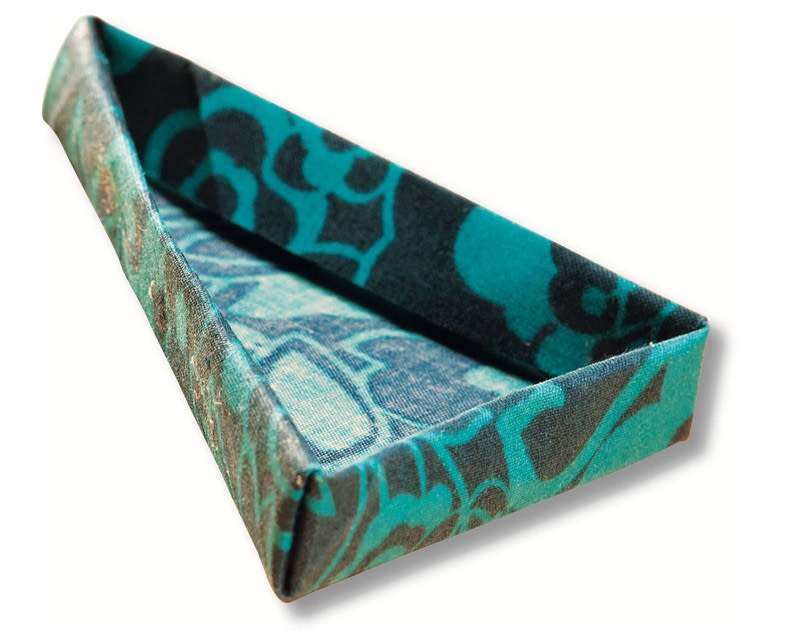
The completed insert.
-
 Step 15
To make the other insert, fold the other triangle in the same way. The size given for the stiffened fabric will fit into a box that is 4 inches (10 cm) square.


Comments

