


About
Extremely easy Cloth and acrylic patch! You can sew it anywhere.
If there is any better way to do this someone PLEASE let me know. But for the most part it works pretty well if you are careful.
Don't Forget to use recycled materials! c: This project is very cheap if you have paint, brushes, and fabric already.
I get most of the patterns from here:
http://stencilpunks.org/
You could also make your own stencil!
Tags
-
 Sarah Sylvia S. favorited Neat Cloth Patch
24 Jul 21:01
Sarah Sylvia S. favorited Neat Cloth Patch
24 Jul 21:01
-
 Step 1
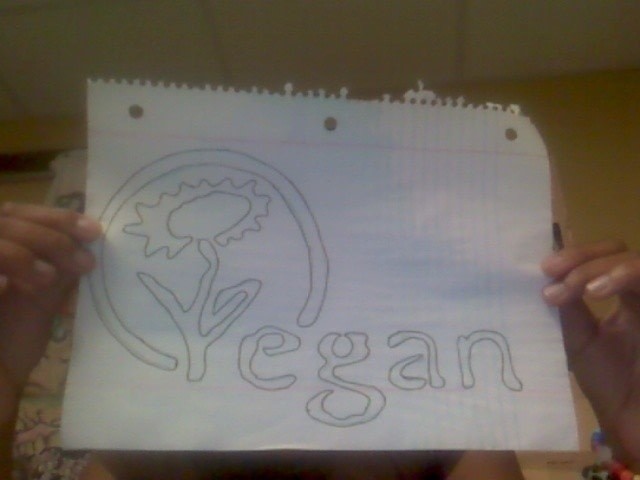
First, pick out your stencil. Try not to pick out anything extremely difficult, or it could come out weird. If online, either print out the stencil or trace it onto the paper from the screen (or where ever it is from). This time I chose to make a bigger patch, but smaller ones work well too.
-
 Step 2
Next,after taping the paper onto the file folder for support, carefully cut out the image with the x-acto knife. Be sure to cut through the paper and the folder. If you mess up and tear anything, put tape over it and cut it out again. Here is what it should look like.
PLEASE BE CAREFUL!*It would be wasteful for you to buy new file folders for this. You probably know that though!
-
 Step 3
Tape your cut out stencil onto a piece of fabric. In a well ventilated area, spray paint over the stencil, holding can 9 inches away. If you are using white spray paint, you can skip to step 5. If not, keep goin! Here is what mine looks like after spraying. It looks faint, but it usually helps me to have cleaner lines.
PLEASE BE CAREFUL. Bandanna's Help to stop paint particles from entering your body, but it does not keep the other things out that will hurt you. So make it quick!
-
 Step 4
Now carefully paint over the sprayed area with your choice color of paint.
It will probably come out looking different than the original image, but that's what practice is for right?
Make sure to do 3-4coats, just so it looks more clear.Does it wash out? Not exactly sure. Maybe not though!
-
 Step 5
Lastly, cut out and put anywhere you want! Yay


freezer paper is a great material to make stencils with because you can iron it to your fabric (it has one waxy side) and it will give you crisp clean lines
CO + K User
I make a stencil, then use fabric paint & paint it on, and take the stencil off. It'll last longer with fabric paint too, & its the same price mostly.
Most of the time i just free-hand everything tho. lol Since ive been doin it so long.