


About
You only need some rope and basic sewing skills to make these stylish nautical themed rope coasters!
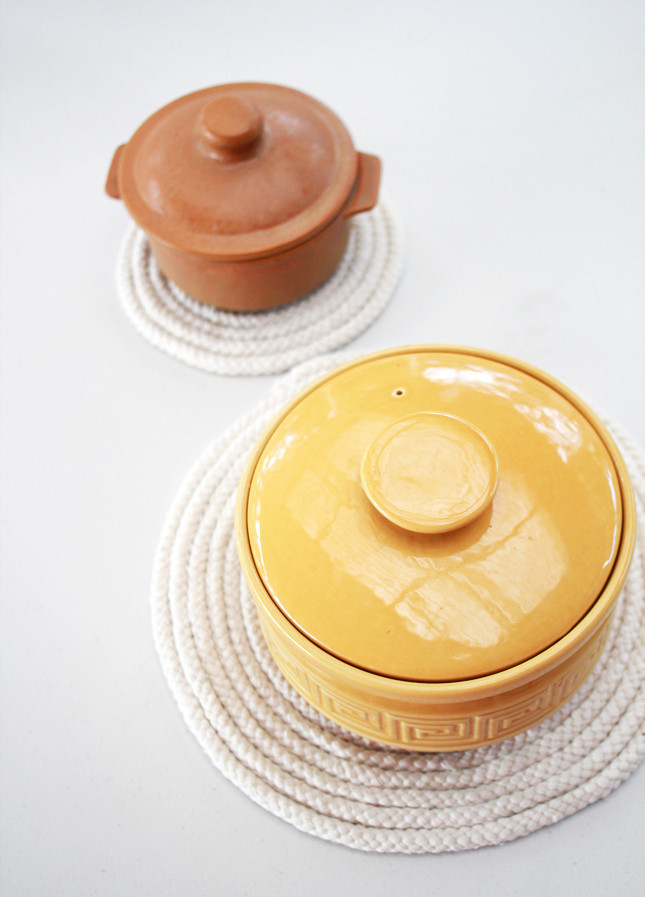
Protect your table tops from hot plates and dishes with these nautical themed rope coasters. They are so easy to make, but do take a little patience!
-
 LaAlex favorited Nautical Rope Coasters
23 Mar 09:53
LaAlex favorited Nautical Rope Coasters
23 Mar 09:53
-
 Tess added Nautical Rope Coasters to House
30 Apr 15:37
Tess added Nautical Rope Coasters to House
30 Apr 15:37
-
 Rebecca M. favorited Nautical Rope Coasters
14 Jun 12:04
Rebecca M. favorited Nautical Rope Coasters
14 Jun 12:04
-
 amyistheparty favorited Nautical Rope Coasters
19 Nov 19:00
amyistheparty favorited Nautical Rope Coasters
19 Nov 19:00
-
 Chudames favorited Nautical Rope Coasters
23 Mar 22:36
Chudames favorited Nautical Rope Coasters
23 Mar 22:36
-
 Dani A. published her project Nautical Rope Coasters
08 Jan 07:50
Dani A. published her project Nautical Rope Coasters
08 Jan 07:50
You Will Need
-
Step 1
Ensure there are no kinks or twists in your rope and neatly pool it on your workspace. You want to be able to access it easily as you progress. Your work space should be a large flat area (ie; a table or desk) and should be somewhere you can sit comfortably while you work. How big you want your coaster will determine how much rope you need and how long it will take. I used around 8 meters of (15mm dia) rope to make a coaster around 45 centimeters across. The thickness of your rope will also impact your sizing so test out your design before you start sewing by coiling the rope until you have the desired size and measure the length.
-
 Step 2
Begin by taking one end of the rope, lay it flat on your work space and twist it in on itself to make a circle. Stitch the end to the side of the rope and knot securely. Continue to coil the rope around the circle, a few centimeters at a time, stitching as you go. Stitch the together by threading the needle under a layer of the rope braid on each side and pull tight. Keep your rope flat on your work space so that your coaster will lay flat once completed.
-
 Step 3
To ensure that the stitching is secure and to avoid tangling long pieces of thread, stitch in sections, tying off each area as you come to the end of your thread. Don’t worry if your stitching isn’t super pretty as this will be the underside of the coaster. Continue to stitch the rope around itself until you have reached your desired size. Tie off the end by wrapping the thread tightly around the end of the rope 10 -15 times and stitching securely so that it is flush with the rest of the coil. Wrapping the thread around the end will help to stop the end from fraying and coming loose.
-
 Step 4
The larger your coaster gets the more it may start to curl inwards as you stitch, Don’t be concerned, just keep smoothing it down and make sure it stays flat as you stitch. When you flip it over to use it will curl towards the tabletop, which will actually help it to sit flush in the end.
-
 Step 5
Smooth out the coaster and gently pull at the sides to see any loose areas. If the stitching pulls apart to show large gaps, make a few addition stitches to secure. Once you are happy with the strength of your coaster, take your scissors and trim away any access thread and neaten any frayed edges. Flip over and smooth out and you’re done!


