About
Do your own leopard print nails!
A fun and simple nail design to try at home!
Tags
-
 Lanie favorited Nail Tutorial: Leopard Print
28 Jul 13:58
Lanie favorited Nail Tutorial: Leopard Print
28 Jul 13:58
-
 Angel Szafranko published her project Nail Tutorial: Leopard Print
03 Jul 06:00
Angel Szafranko published her project Nail Tutorial: Leopard Print
03 Jul 06:00
-
 Step 1
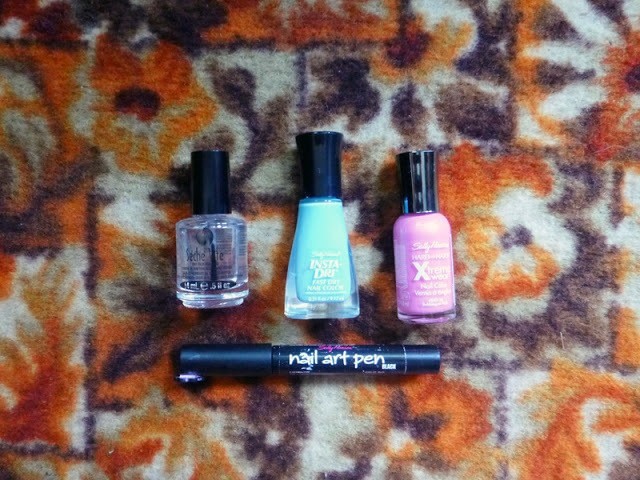
For this tutorial you'll need; Two different coloured nail polishes, (I usually use the darker colour as the base and the lighter as the blobs.) Your favourite top coat, (I recommend Seche Vite!) and you'll need a black nail art pen.
You can also use black nail polish and a tooth pick or a thin brush. You also don't really even need to use black, but dark colours look better for the outlines.
-
 Step 2
Start off with your base colour and put on as many layers as you need/want. I only did one coat of this blue. Make sure you wait for it to dry. If you want to rush things a bit, put on a layer of your top coat to speed things up.
TIP: I usually put on my base colour and wear it around for a day or two. The leopard print design is a great way to hide any chips/cracks you get in your nail polish.
-
 Step 3
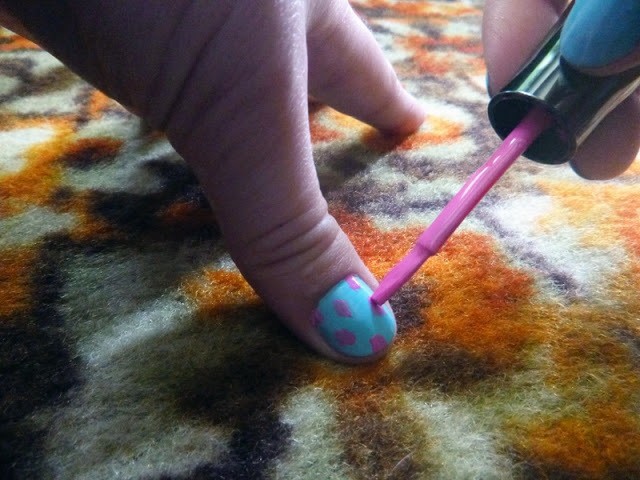
Add some random 'blobs' on your nails, you don't need a lot of nail polish on the brush for this part. Your blobs don't have to be perfect, in fact the weirder the shape the better your nails will look in the end. I try to keep my blobs all the same size and make sure you leave enough space between the blobs too.
TIP: I usually do about 4 - 7 blobs depending on my nail size. Pinky usually gets 4 or 5 blobs, thumb will get 6 or 7. I personally found that 5 is the best number of blobs for my nails.
-
 Step 4
This is what my nails looked like after I've added the 'blobs'. The blobs don't take much time to dry, I usually wait about 5 - 10 minutes before going to the next step.
-
 Step 5
Now for the fun part. Time to outline your blobs. A good way of doing this is to outline the blobs using a 'C' or 'U' shape, (think, brackets!) You don't want to make a complete circle around any of your blobs. You also don't have to make the lines perfectly straight. The more 'wiggly' the lines the nicer the look.
-
 Step 6
Hey, you're done!
Make sure you wait for the outlines to fully dry before putting on your top coat, or you'll smudge your design! Especially if you're using a nail art pen (those are usually water base).