About
Because just handing over an envelope is boring
When you don't know what kind of present to give someone, there's always money to give so they can go out and buy their own present. However, I hate just handing an envelope with the money in it. I usually at least make a card to go with it.
This time I wanted to fold the money into a butterfly and came up with the idea to put the butterfly on a plushy flower.
Tags
-
 Step 1
Gather your fabric scraps.
You can use as much colors as you like but I chose yellow for the flower heart, white for the petals and green for the stem. -
 Step 2
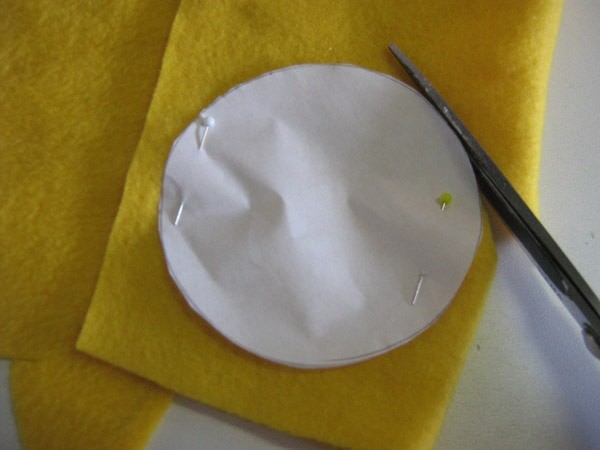
Decide how large you want your flower heart and petals and cut a pattern for each out of a sheet of paper.
Or you could do this project without a pattern of course.
-
 Step 3
Calculate/measure/decide how many petals you'll need. (Remember you'll also need space for the stem)
Fold your petal-fabric double.
Draw the petals on your fabric, one of the ends is on the fold.After cutting them, cut open the fold as well.
-
 Step 4
From the straight end (was folded in step 3) sew around the edges until you get to the straight end again. Leave that open.
-
 Step 5
Turn the petals inside out so the seam is inside.
-
 Step 6
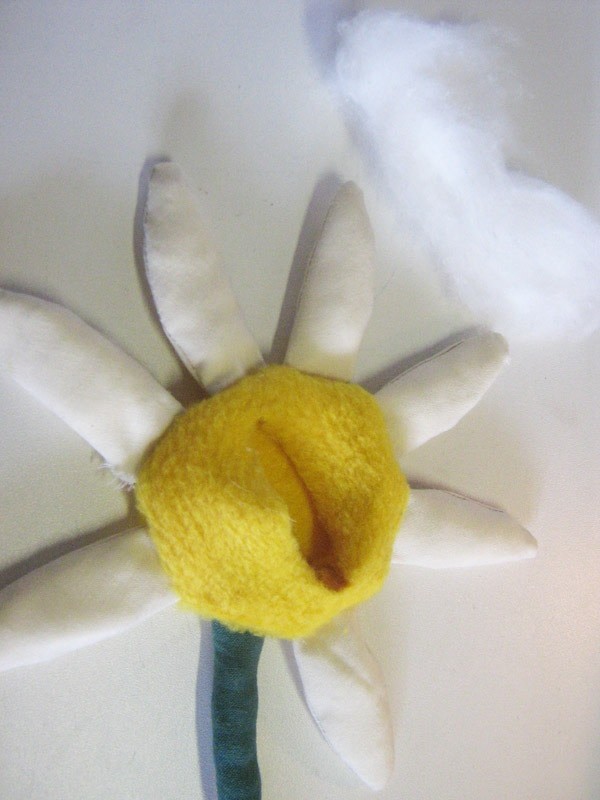
Fill the petals with the toy filling or use cottonwool.
Put the finished petals aside, you don't have to sew them closed.
-
 Step 7
Get your stem-fabric and put a piece of cord on it. Then fold the edge over the cord.
Fold as far as you want your stem to be thick, encasing the cord.
Cut this part off from the rest of the fabric. -
 Step 8
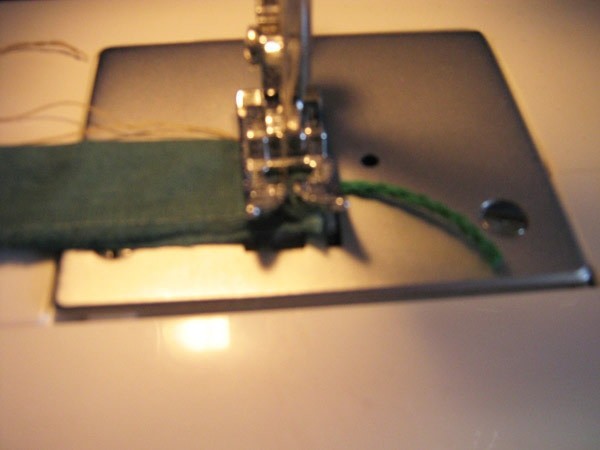
Sew the stem, starting from the short end that has a bit of cord sticking out.
Sew along the long end, make sure not to sew the cord between the layers, it should be able to move freely. -
 Step 9
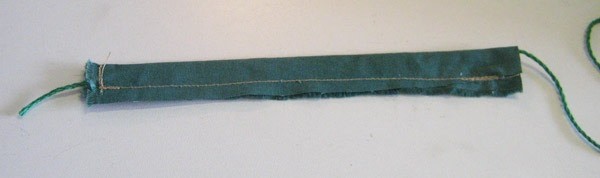
E voila, a tunnel with a piece of cord in it.
-
 Step 10
Use the cord to turn the stem right side out. This is rather finicky work.
Then fill it, pressing the filling really tight (with a pencil for example) into the stem so it will be sturdy.
-
 Step 11
My stem was so stiff that I could hold it upright.
-
 Step 12
Get your heart-fabric and cut out the heart pattern twice. (Or fold the fabric double and cut once)
-
 Step 13
In one of the heart pieces cut a slit.
-
 Step 14
Lay out the flower the way you would like it to look.
-
 Step 15
Flip the petals to the inside of the heart and pin them on the first heart piece.
Lay the petals on the right side of the heart fabric. -
 Step 16
Put the next heart piece on top (right side on the petals) and fiddle the petals through the slit so the edges of the heart get more or less flattened.
Sew from your first petal to the last. There should be a small gap left for your stem between the first and last petal.
-
 Step 17
Put the stem through the slit from the outside and finish sewing the heart, fastening the stem in the process.
You'll have to sew through a bit of filling with the stem so the stem will be able to carry the weight of the finished flower. -
 Step 18
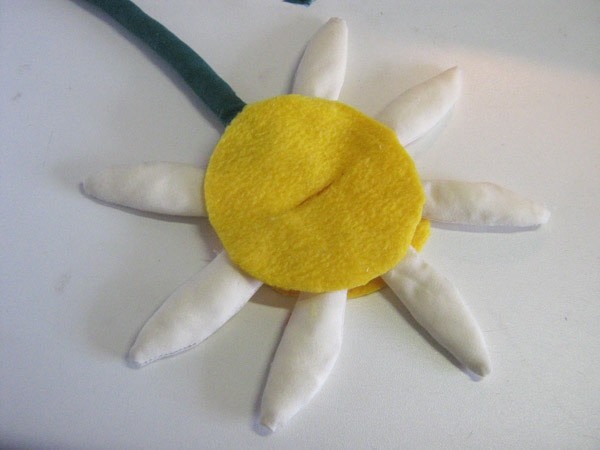
Pull the flower right side out.
-
 Step 19
Fill the flower heart with filling and then hand-sew the slit closed.
-
 Step 20
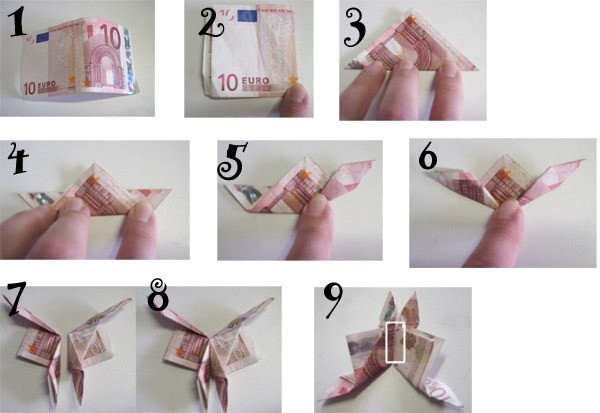
Here's how to fold the butterfly from two money bills. Step 1-6 should be followed for each bill to. Step 7-9 are for both bills together.
1) Get your bill
2) Fold it so that you get a square. A 10 Euro bill is not 2 squares wide so I had to measure it out.
3) Fold the square diagonally
4) Fold the center point over the straight folded edge. (I rotated my bill to do this)
5) Take the right corner and fold it upwards, but not past the middle of your bill. (see picture)
6) Repeat step 5 for the left side.
7) Turn your two wings like on the picture.
8) Make them touch.
9) Flip over and put a piece of Scotch tape to hold the wings together -
 Step 21
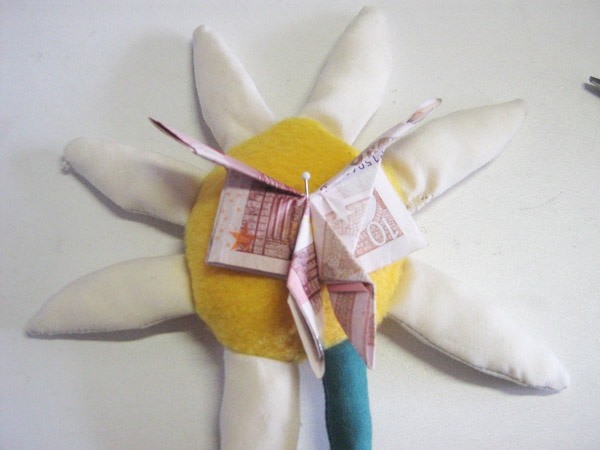
Use a pin (or more) to attach the butterfly to the flower.
Push it in all the way through the Scotch tape so you won't see it. Be careful not to have it sticking out in the end because that could hurt people. -
 Step 22
You're done! Now make someone happy with this gift.