


About
For the little witch (or wizard) in all of us!
This cute little boxes are a cinch to make! sorry I have no pictures of the process, but the instructions are simple enough to follow without them. Enjoy!
Tags
-
 Emilia L. favorited Miniature Hogwart's Travel Trunks
09 Jan 16:29
Emilia L. favorited Miniature Hogwart's Travel Trunks
09 Jan 16:29
-
 c c. added Miniature Hogwart's Travel Trunks to candy boxes
22 Oct 18:31
c c. added Miniature Hogwart's Travel Trunks to candy boxes
22 Oct 18:31
-
c c. favorited Miniature Hogwart's Travel Trunks
22 Oct 18:31
-
 Victorian Dreamer favorited Miniature Hogwart's Travel Trunks
12 Jan 13:12
Victorian Dreamer favorited Miniature Hogwart's Travel Trunks
12 Jan 13:12
-
Bek S. favorited Miniature Hogwart's Travel Trunks
03 Aug 02:18
-
kiki w. added Miniature Hogwart's Travel Trunks to Things I need to make for myself
29 Jan 18:57
-
 Sonia S. favorited Miniature Hogwart's Travel Trunks
06 Sep 10:17
Sonia S. favorited Miniature Hogwart's Travel Trunks
06 Sep 10:17
-
Rebecca M. favorited Miniature Hogwart's Travel Trunks
15 Jun 03:28
-
 Lillie N. added Miniature Hogwart's Travel Trunks to Harry Potter
12 Apr 02:16
Lillie N. added Miniature Hogwart's Travel Trunks to Harry Potter
12 Apr 02:16
-
 Abby H. favorited Miniature Hogwart's Travel Trunks
29 Feb 03:55
Abby H. favorited Miniature Hogwart's Travel Trunks
29 Feb 03:55
-
Step 1
To start, I watered down some Tim Holtz Distressed Ink (just a tiny bit of water) and used my paintbrush to liberally coat the boxes. Coat the inside of the lid and around the lip of the box. Painting the bottom half is not necessary and will be covered in a later step.
You can go as light or dark with the colors as you like. In my examples I used Walnut and Old Paper. Let dry.
-
Step 2
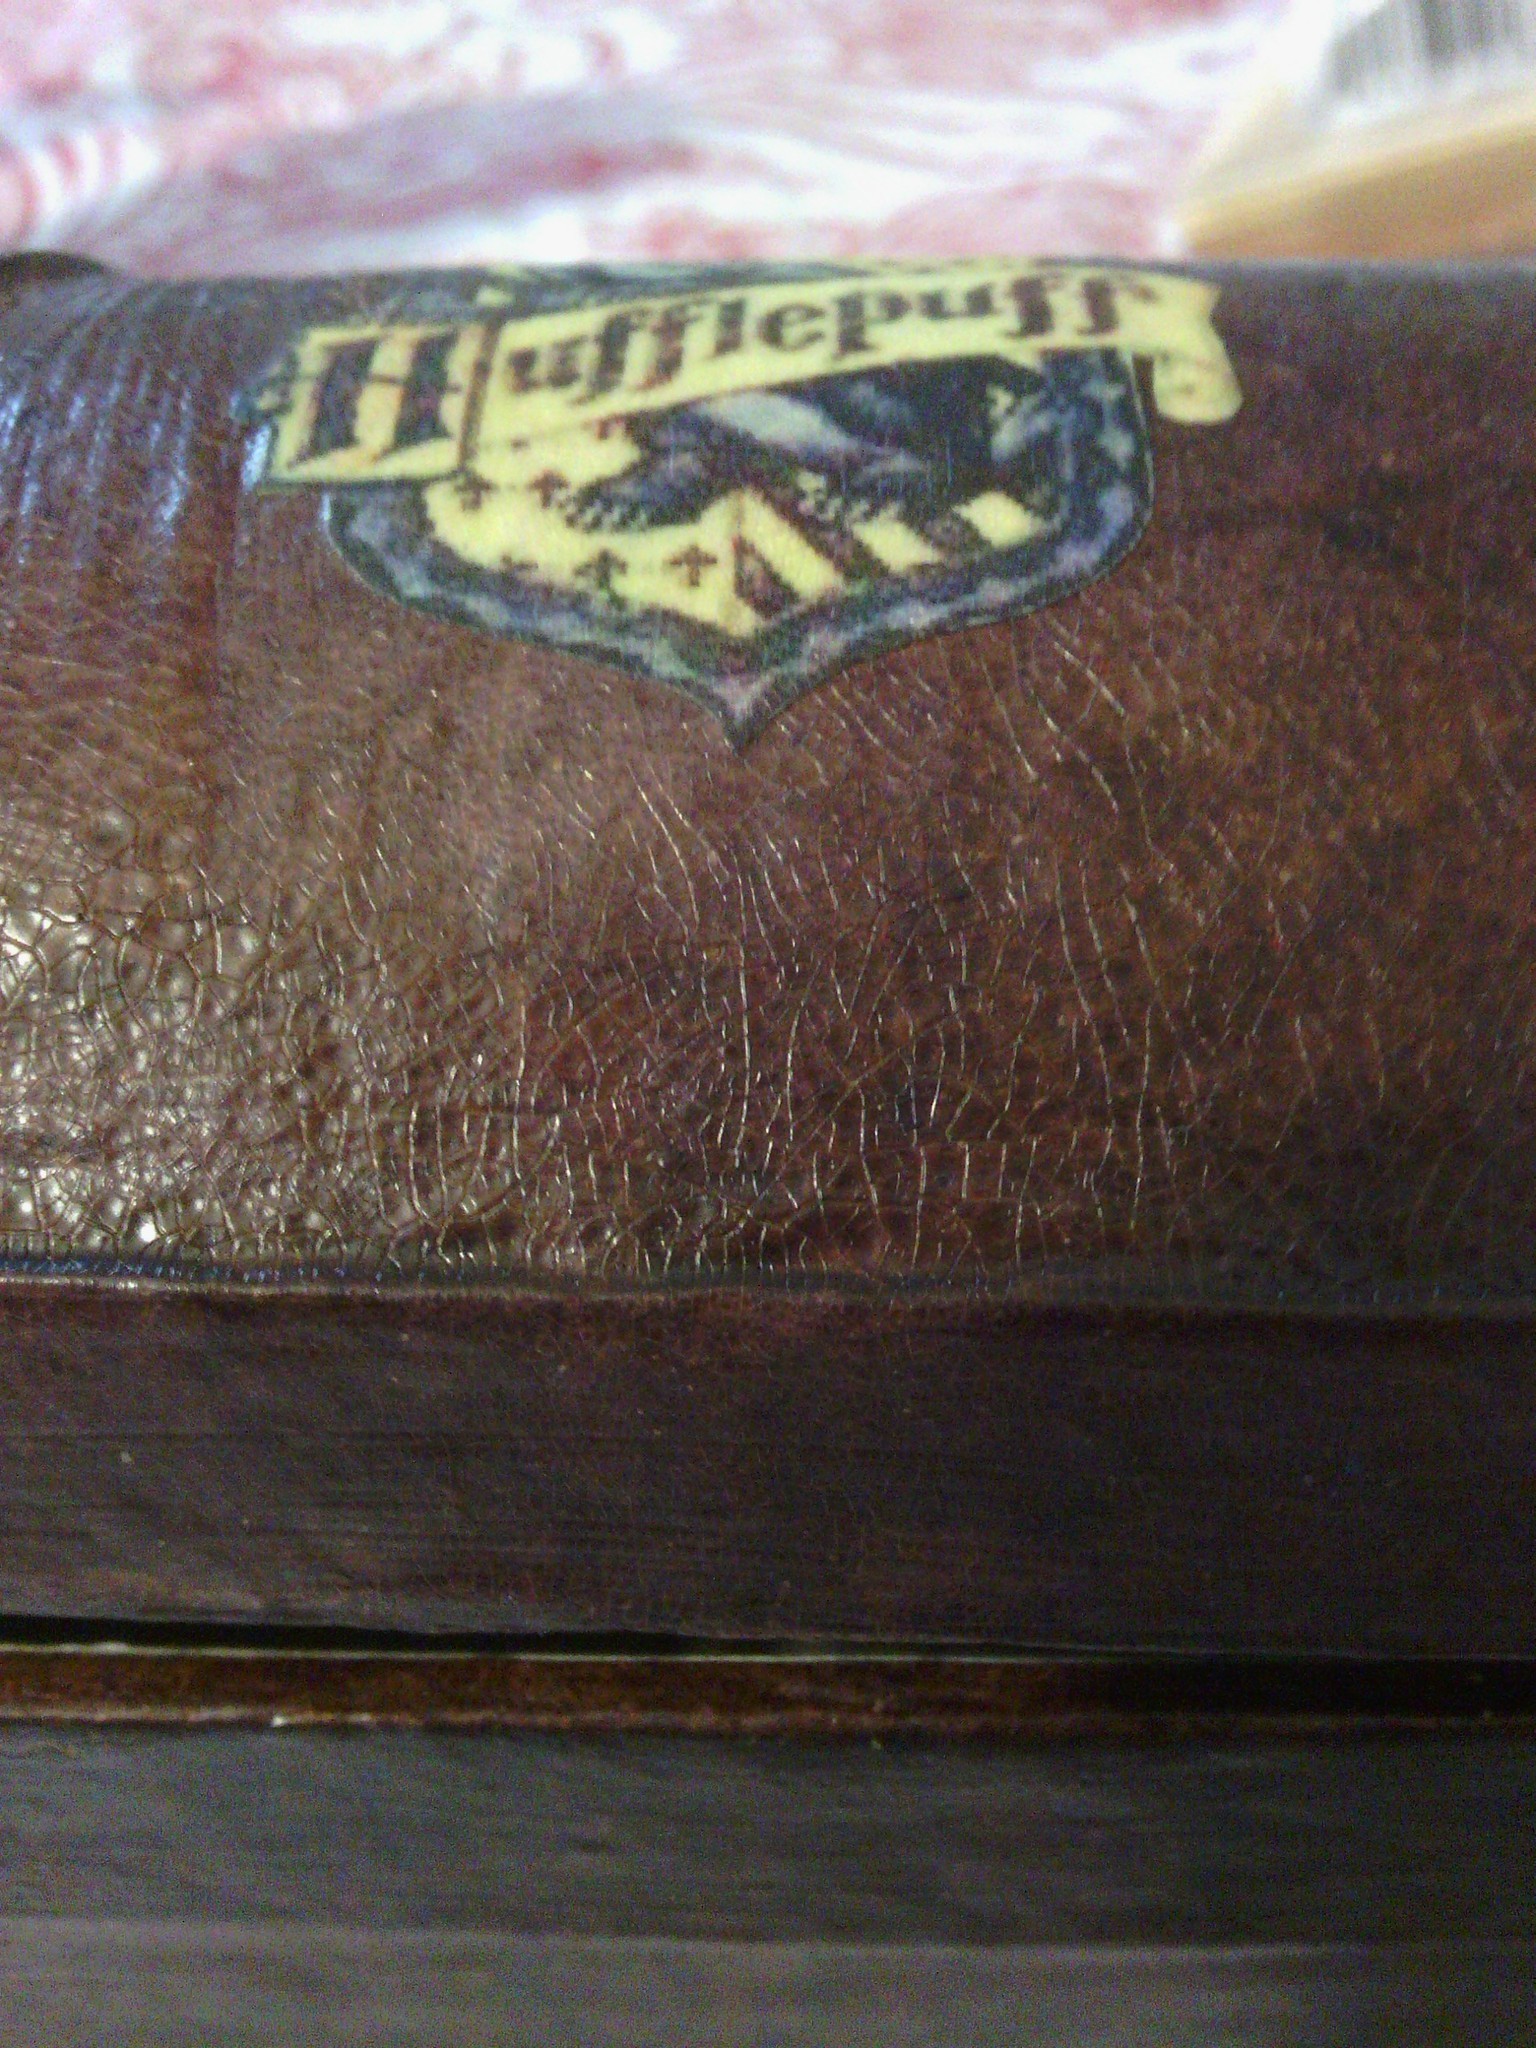
Use mod podge to glue on your insignia to the top of the trunk. Also use a thin layer of mod podge to seal the emblem.
-
Step 3
Coat the outside of your box (including the bottom) with the crackle paint.Thinner is better here. More crackle gives amazing texture, but it shortens the longevity of the box and cracks the lid clean off from opening and closing it.
Work in sections and let them dry completely before moving to the next. Do not get on the lip or it will seal your box shut. To dry crackle faster you can use a blowdryer on the lowest heat setting.
-
Step 4
Cut your scrapbook paper to fit the bottom half of the box and mod podge it in.
There are different ways of doing this. I cut out each section slightly bigger than each side and neatly overlapped them. How you do this is up to you.
-
Step 5
OPTIONAL: Dab a second color of tim holtz distressed ink over the crackle paint. It will seep into the cracks and make such a neat color effect.
-
Step 6
Coat the whole box, inside and out in a layer of mod podge. Try not to get it too thick! Remember to work in sections and let dry completely before moving to a new area.
-
Step 7
Once everything is dry, hit the inside and outside of the box with sealer. work in sections.Let Dry completely before touching box or you'll leave fingerprints in the sealer.
-
Step 8
Step back and admire your handiwork. You and your trunk are now ready for the wizarding world. Congrats!
Comments

