


About
Sew adorable mini witch's hat
Tags
-
 Key West Witch favorited Mini Witch Hat
26 Jun 22:33
Key West Witch favorited Mini Witch Hat
26 Jun 22:33
-
 Harmonee.seal added Mini Witch Hat to Wiccan Witch List
01 Nov 22:42
Harmonee.seal added Mini Witch Hat to Wiccan Witch List
01 Nov 22:42
-
 Kaitlynn L. favorited Mini Witch Hat
01 Sep 14:55
Kaitlynn L. favorited Mini Witch Hat
01 Sep 14:55
-
 mmotse03 favorited Mini Witch Hat
24 May 17:43
mmotse03 favorited Mini Witch Hat
24 May 17:43
-
 Chudames favorited Mini Witch Hat
04 Jan 19:34
Chudames favorited Mini Witch Hat
04 Jan 19:34
-
 Emma H. favorited Mini Witch Hat
31 Oct 22:49
Emma H. favorited Mini Witch Hat
31 Oct 22:49
-
 PixieFey added Mini Witch Hat to Happy Halloween
09 Jun 09:14
PixieFey added Mini Witch Hat to Happy Halloween
09 Jun 09:14
-
 Jessy added Mini Witch Hat to Wicked
25 Sep 12:22
Jessy added Mini Witch Hat to Wicked
25 Sep 12:22
-
 Amara Ann favorited Mini Witch Hat
30 Apr 19:18
Amara Ann favorited Mini Witch Hat
30 Apr 19:18
-
 Crafterella added Mini Witch Hat to Hocus Pocus
21 Apr 13:15
Crafterella added Mini Witch Hat to Hocus Pocus
21 Apr 13:15
-
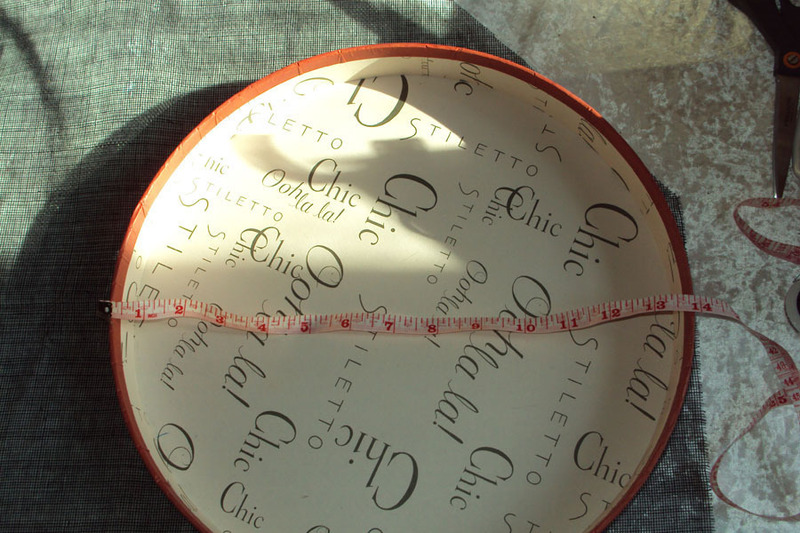
 Step 1
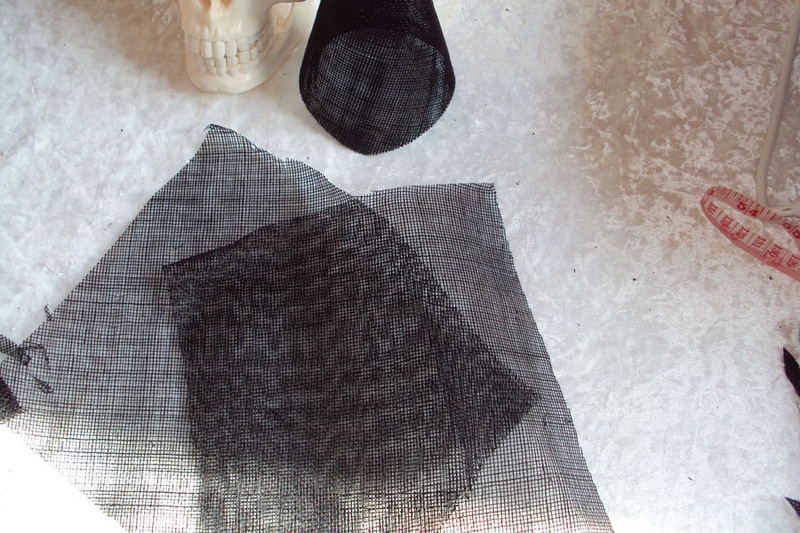
First of all you will need something round to draw around. The final hat height will be half the radius of the circle.
-
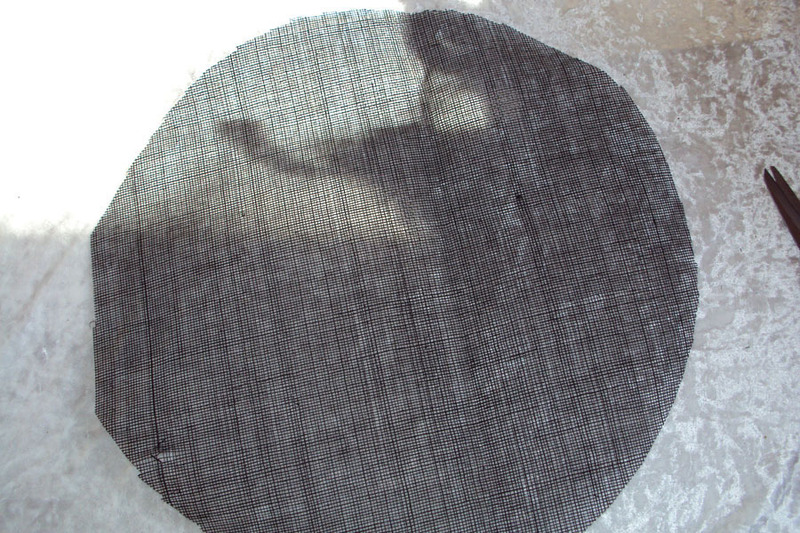
 Step 2
Cut out the sinamay.
-
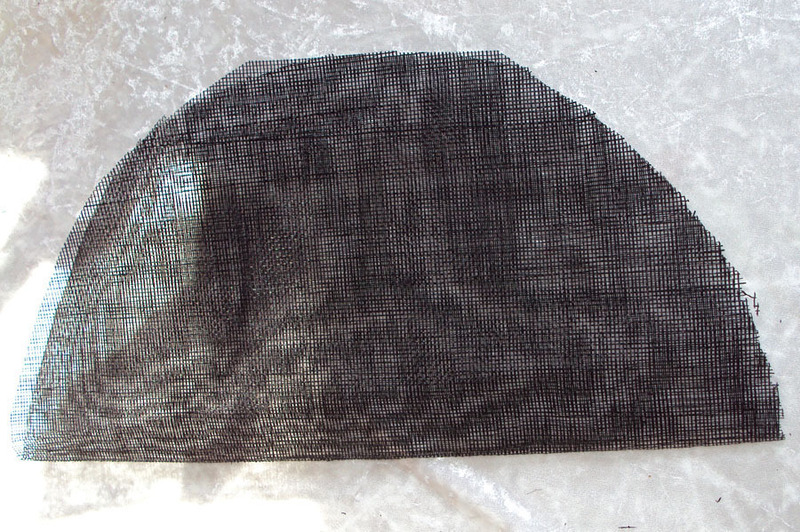
 Step 3
And then fold in half.
-
 Step 4
You can either cut in half and use two colours of sinamay.
-
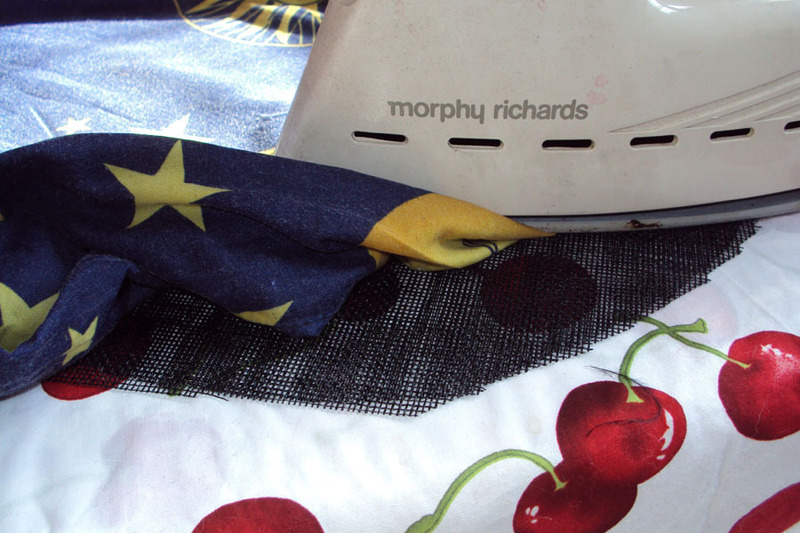
 Step 5
Or simplay use a damp cloth to release the glue and join the sinamay together.
-
 Step 6
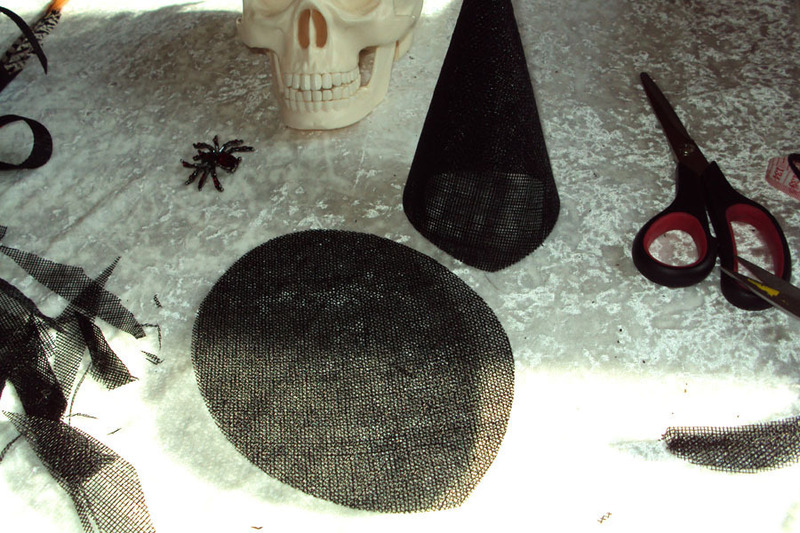
Take corners and pull into a cone shape. Trim off excess sinamay if you need to. Make a sinamay strip as seen in the fascinator tutorial and stitch this up the back seam of your witches hat.The bottom of the cone needs shaped with a curve so that it will sit properly on the head.
-
 Step 7
Stitch wire along the outside edge of the cone base using a blanket stitch. Make sure that the ends of the wire over lap each other by at least an inch.
-
 Step 8
Next decide on the shape and size of your brim. Make a paper template if it helps.
-
 Step 9
Again two pieces of sinamay joined using a damp cloth and iron will be needed.
-
 Step 10
Wire the top edge of the brim with wire and blanket stitch again.
-
 Step 11
Draw around the cone onto the brim.
-
 Step 12
Cut a good 2cm inside this shape and then cut flaps back to the outer edge.
-
 Step 13
Tuck the tabs under the cone of the hat and stitch tightly going around tow to three times.
-
 Step 14
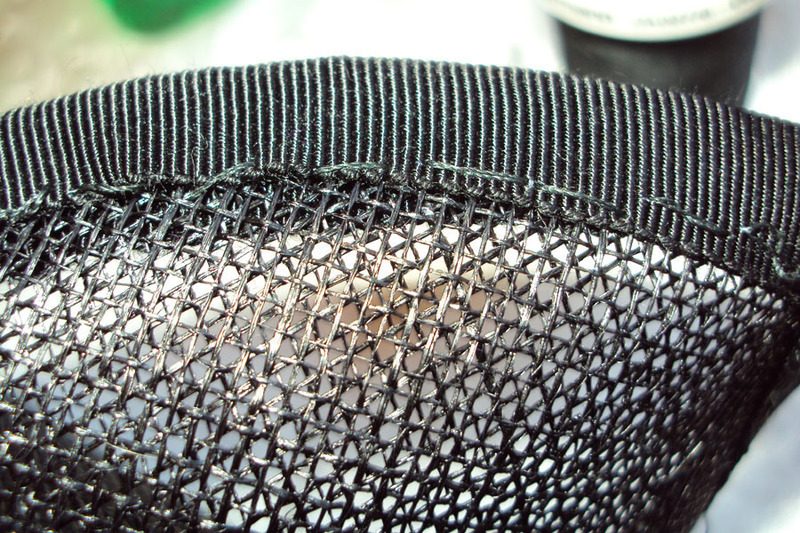
Choose a bias cut edging such as petersham. If you dampen the petersham before you stitch it on, it will dry smoother.
-
 Step 15
Use a stitch which only shows on one side and match the thread colour well.
-
 Step 16
I have used a looper braid to cover stitches on the underside of the brim.
-
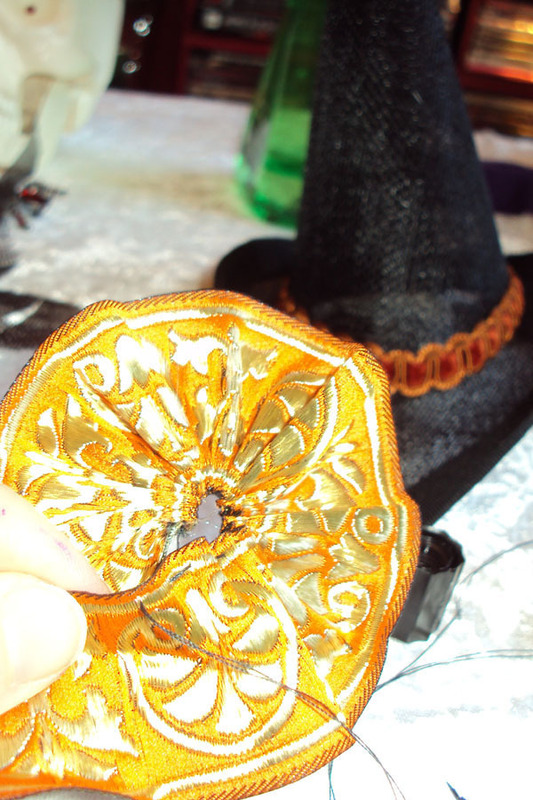
 Step 17
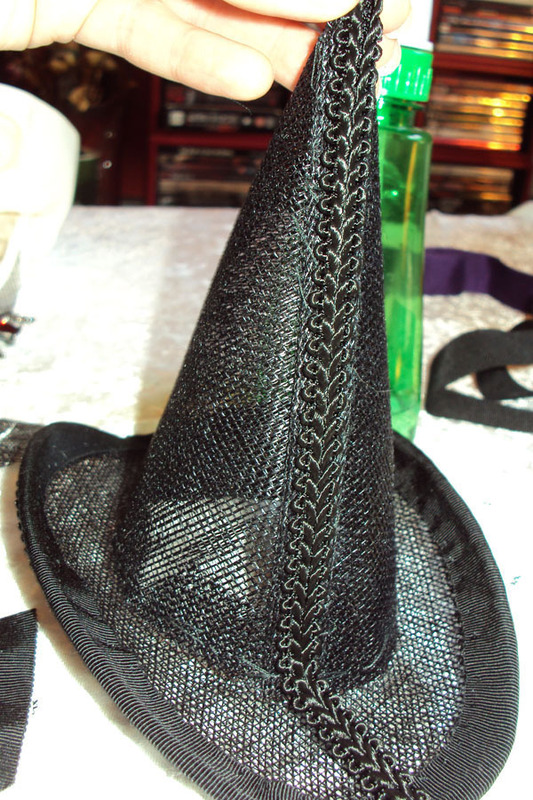
I have then decorated the little hat with another rosette and tiny pumpkin.
-
 Step 18
Covered the join between top and brim with some braid and used a little sinamay twist and burnt ostritch feather at the back.
-
 Step 19
The small feathers are called spikey goose and can be curved by running your thumb firmly down the back.
-
 Step 20
Usually a piece of elastic stitched into the underside of the hat and worn around the back of the head under the hair will keep the hat on. You can also sew in a couple of elastic loops which the wearer can slide hair clips inot to keep firmly on the head.


Comments


