


About
mini album with her special photos.
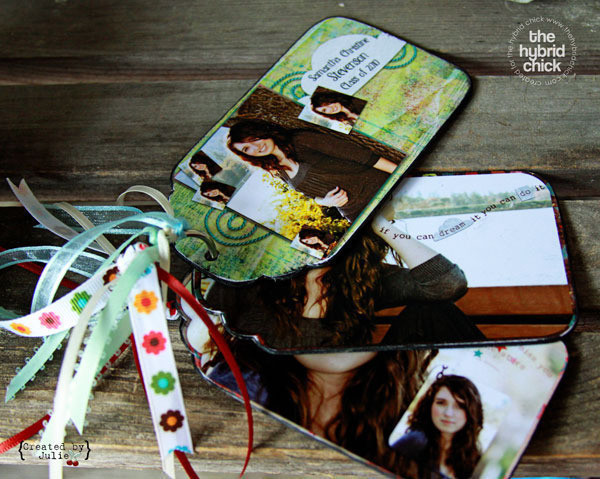
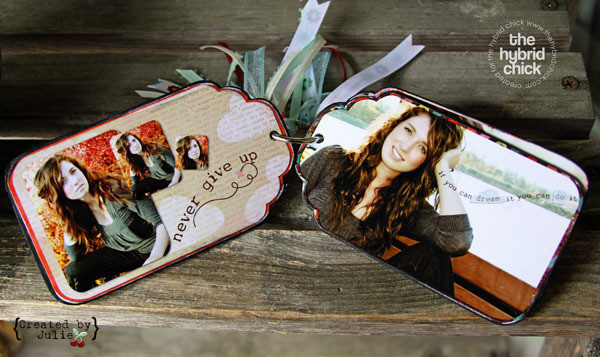
Graduation is almost here. My niece Samantha is graduating! I took her senior portraits for her. She is so beautiful. I thought it would be a great gift to make her a mini album with her special photos. Let’s get started.
-
 Asherah Arts (formerly Lee Rose) added Mini Tag Album to papercraft
14 Jul 13:44
Asherah Arts (formerly Lee Rose) added Mini Tag Album to papercraft
14 Jul 13:44
-
 Rachael H. added Mini Tag Album to Books/Journals
16 Dec 17:03
Rachael H. added Mini Tag Album to Books/Journals
16 Dec 17:03
-
 robin.atilano added Mini Tag Album to My Craft Favorites
16 Jun 06:50
robin.atilano added Mini Tag Album to My Craft Favorites
16 Jun 06:50
-
robin.atilano favorited Mini Tag Album
16 Jun 06:50
You Will Need
-
Step 1
You first step is to design your Mini Album pages in Photo Shop. The Hybrid Album Shapes Templates make this so easy! Just clip your papers and pictures to the shape with a clipping mask and embellish as you please with your digital elements.
-
 Step 2
Drag you flattened pages onto an 8.5×11 file and print. Here is my first set of prints…
You will see why I say “first set of prints” next, and remember this tip!
-
 Step 3
You are designing a book, which means you pages will go back to back…so, you can really have all your pages going the same way. This was my little learning process. I had to go back into PSE and redesign 3 of my pages by rotating the template to go the opposite way. Here is my second set of prints. Now we’re cooking!
-
 Step 4
So of course we have to cut them out, let them set for a bit before you cut them out, so the ink can settle.
I am using a piece of chipboard, I didn’t have a nifty Mini Album in my stash so I made my own. Just trace around your page onto the chipboard and cut. -
 Step 5
If you have a Mini Album of course you get to skip this step!
Next we will ink the edges of all the chipboard pages, front and back, like this. I sanded them a little too.
-
 Step 6
When the ink is dry attach your photo pages to your chipboard pages. I used an extra strong glue stick for this step.
-
 Step 7
Now just punch your holes. I like to punch my first hole then line up the other pages and make a mark in the middle of the whole. That way all my holes line up. Add you ring and some ribbons and your done!
Here are my album pages.


