

About
Mini Cardboard Notebook
These mini cardboard notebooks are perfect for gift giving! They can be made to give away at birthday parties for party favors, sleep overs, or for specific road trips when one wants to create a special book to write down some of the best memories from that road trip/vacation!
Cardboard can be used in so many ways in the art world! It happens to be one of my favorite materials to work with! In addition, this mini notebook could really be made to be any size you wish!
Tags
-
 Patrick Mclaren commented on Mini Cardboard Notebook
04 Oct 08:32
Patrick Mclaren commented on Mini Cardboard Notebook
04 Oct 08:32
-
Patrick Mclaren favorited Mini Cardboard Notebook
04 Oct 08:31
-
 Kinhime Dragon favorited Mini Cardboard Notebook
10 Aug 12:50
Kinhime Dragon favorited Mini Cardboard Notebook
10 Aug 12:50
-
Laura W. commented on Mini Cardboard Notebook
23 Aug 15:18
-
Laura W. favorited Mini Cardboard Notebook
23 Aug 15:18
-
 Ajay I. favorited Mini Cardboard Notebook
11 Jan 10:30
Ajay I. favorited Mini Cardboard Notebook
11 Jan 10:30
-
enzo f. favorited Mini Cardboard Notebook
06 Dec 16:16
-
 Nimble G. favorited Mini Cardboard Notebook
16 Nov 10:41
Nimble G. favorited Mini Cardboard Notebook
16 Nov 10:41
-
 Sarah Sylvia S. favorited Mini Cardboard Notebook
18 Jul 04:10
Sarah Sylvia S. favorited Mini Cardboard Notebook
18 Jul 04:10
-
 Miss_Fit favorited Mini Cardboard Notebook
10 Nov 20:17
Miss_Fit favorited Mini Cardboard Notebook
10 Nov 20:17
-
 Step 1
Start by cutting two pieces of cardboard (a front and a back) any size you wish! The mini notebook for this project is approx. 4 inches by 5 inches in size.
Go ahead and grab some blank paper as well to be used inside of the notebook. There is no special amount needed and you can add as you go as well if you feel you need to add more pages later on.
Go ahead and cut the sheets of blank paper to be the same exact size as the front and back cardboard covers.
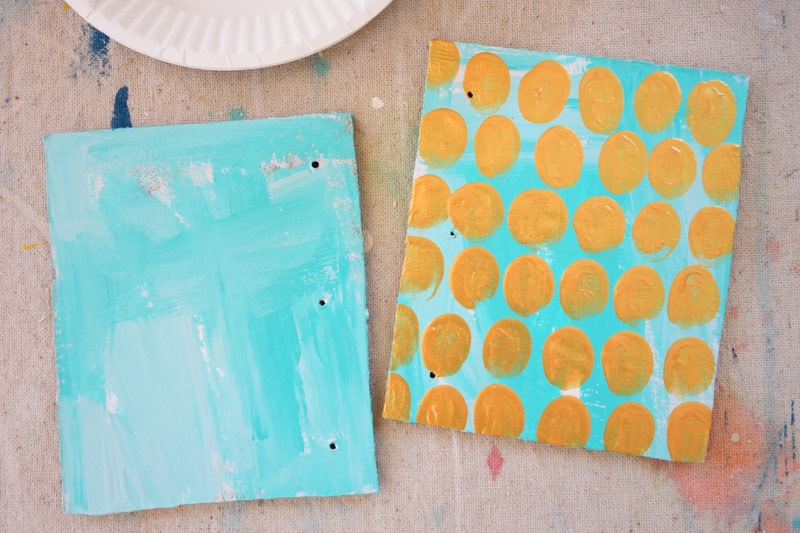
Make three holes and hole punch through all of the pieces. Make sure that everything lines up before you start the painting process.
-
 Step 2
This step is not a requirement but I do find that it always helps colors pop more when painting on cardboard.
Because cardboard is generally brown, most colors do not pop off of the brown color; therefore, I always start with a coat of white paint on the cardboard before adding any color.
Let the white paint dry completely.
-
 Step 3
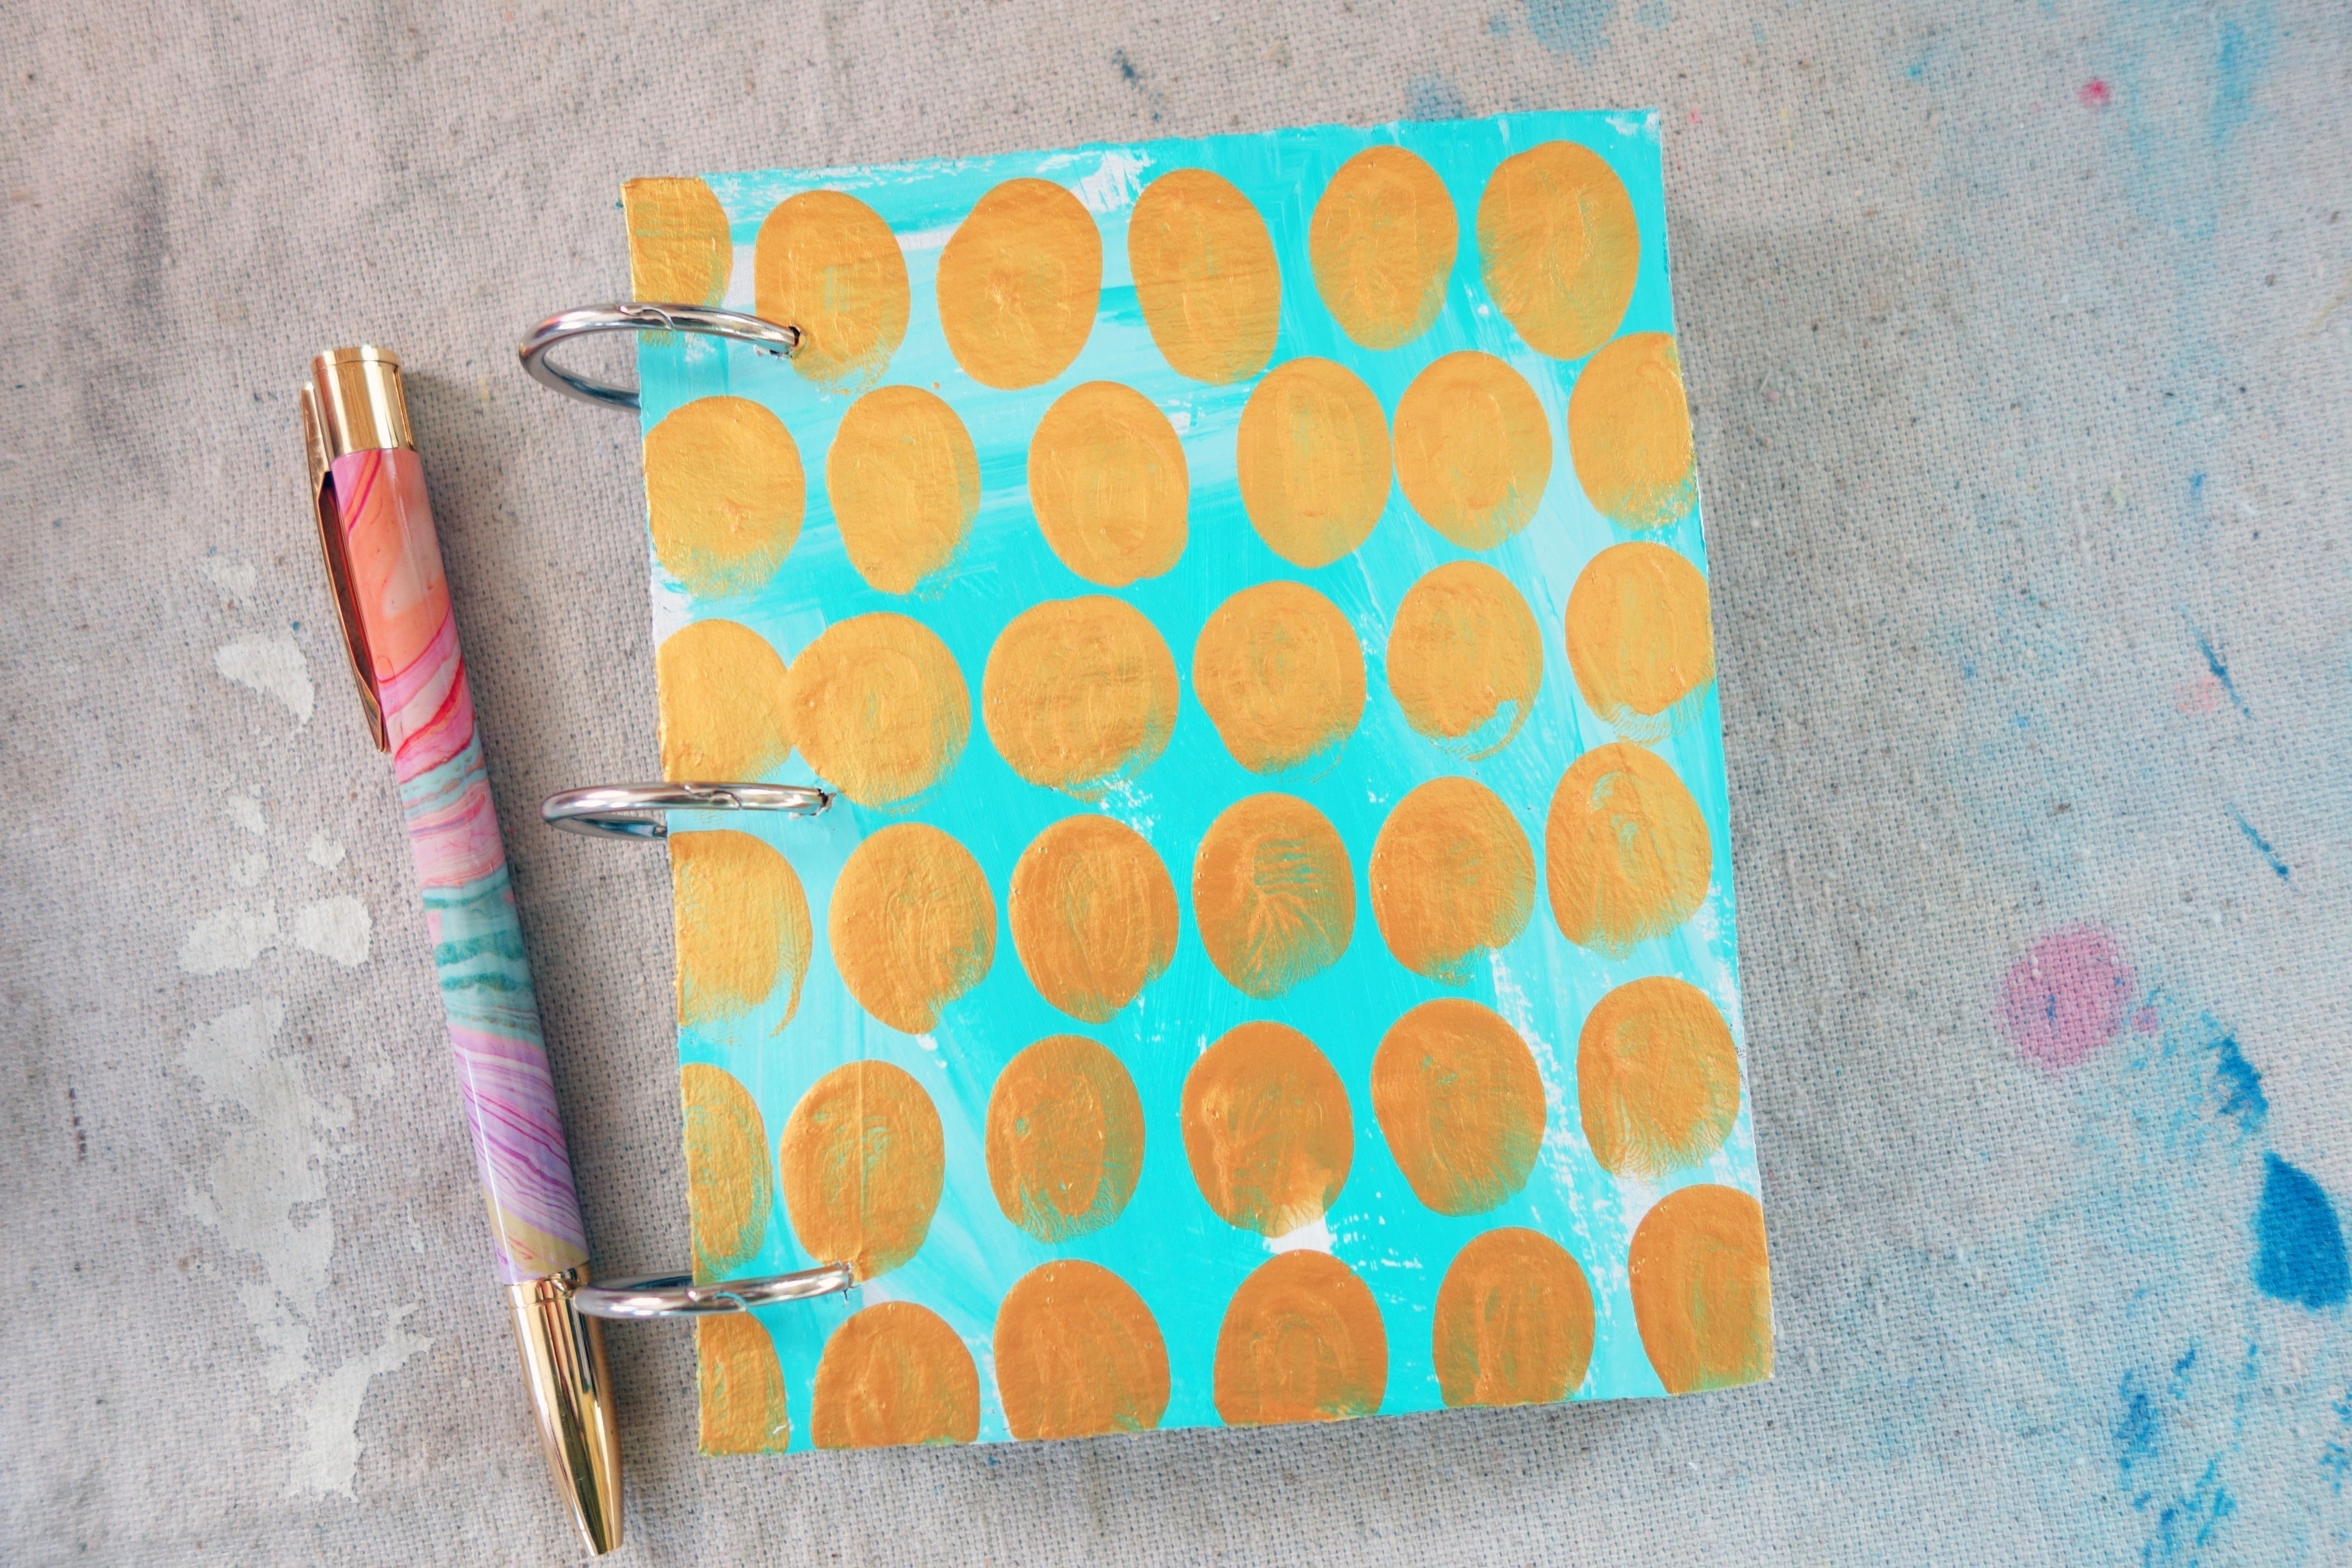
Go ahead and paint your front and back covers now however you wish! I chose to use a vibrant turquoise as my background color and added some gold finger prints after the background color dried.
You can do a pattern, draw/paint an object on the cover such as a flower, a animal or even do some Zentangles on the cover art!
I did the same pattern to both the front and the back cover.
-
 Step 4
When your front and back covers are completely dry, you can now assemble your notebook using three metal rings that can be purchased at an office supply store.
Line all of the layers up and add the rings to assemble your mini notebook!
-
 Step 5
Your mini cardboard notebook is now ready to use!


Comments

