

About
Use Old Fashion Milk Paint for a Rustic Look
I had already started making a table to use for a coffee & tea area in my kitchen when I got the opportunity to test The Genuine, Old-Fasioned, Home-Made, Milk Paint. Which was just the thing I needed (but didn't know it, yet).
Milk Paint is all natural, non-toxic and environmentaly safe. Its made with earth pigments so it matches the texture and finish of the old country look I was wanting. I picked Bayberry Green, but it comes in 20 colors, and you you can mix them to create a custom color to match your project.You can see all the colors at http://milkpaint.com/color.html
The Website for Milk Paint is
http://milkpaint.com/index.html
-
 Tracey H. favorited Milk Paint Refinished Table
19 Aug 15:07
Tracey H. favorited Milk Paint Refinished Table
19 Aug 15:07
-
 Pam added her project Milk Paint Refinished Table to Hobbit Hole
07 Mar 22:09
Pam added her project Milk Paint Refinished Table to Hobbit Hole
07 Mar 22:09
-
 mel M. favorited Milk Paint Refinished Table
19 Nov 02:58
mel M. favorited Milk Paint Refinished Table
19 Nov 02:58
-
 Corvus favorited Milk Paint Refinished Table
05 Sep 11:55
Corvus favorited Milk Paint Refinished Table
05 Sep 11:55
-
 Michelle G. favorited Milk Paint Refinished Table
06 Aug 13:03
Michelle G. favorited Milk Paint Refinished Table
06 Aug 13:03
-
 Alissa B. favorited Milk Paint Refinished Table
30 Jul 21:33
Alissa B. favorited Milk Paint Refinished Table
30 Jul 21:33
-
Pam ^_^ published her project Milk Paint Refinished Table
28 Jul 15:30
-
 Step 1
Get your supplies together.
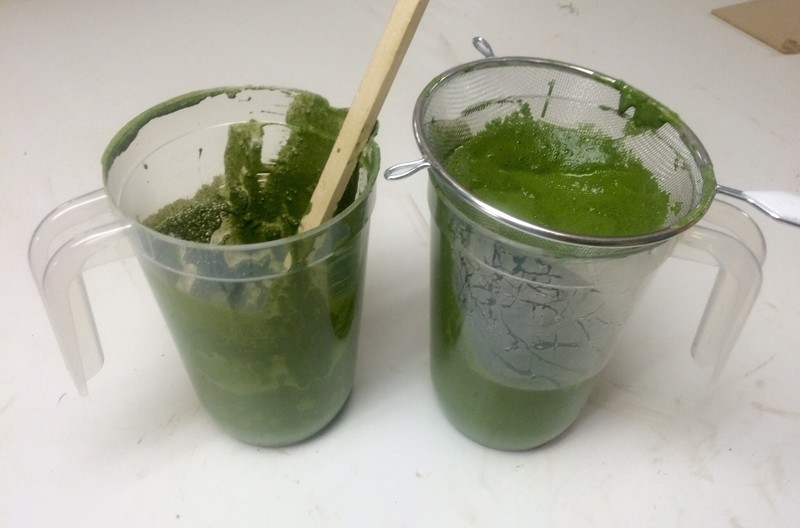
Mix your Milk Paint Powder with warm Water using a Paint Stick, for 2-3 minutes. The amount of water will change depending on how much powder your mixing and how thick you want it so read the info sheets that come with your Milk Paint. Avoid mixing it too fast, you dont want it foaming up. You can strain it through a mesh strainer if you cant work out the lumps. Let it sit for 10-15 minutes.
-
 Step 2
While your paint is sitting, get a damp towel and wipe down your surface your going to paint. You dont want dust or dirt geting painted into your new project.
-
 Step 3
Stir your paint one more time before you get started, and make sure to stir it every 10 minutes while working with it.
Paint the entire surface, this first coat is kind of like a primer. Make sure you put it on evenly. If you think you were too thick for your liking in some places you can wipe it off with a towel.
Let it dry for at least an hour. You will want to really let it dry all they way if you are going for a rustic, worn look. It looks a lot lighter and thinner when its dried the first time because the wood it soaking it all in.
-
 Step 4
Before you paint on your second coat you can sand down the paint in places where you applied it too thick or where you want it to look more worn, like on the edges and corners of a counter. After you sand it wipe it down gently to just pick up any dust on the surface.
If you think it looks just right already you can just do the one coat and skip to the Polishing step, or just leave it matte and for an rough texture look.
Stir your paint, then brush on your second coat evenly. and let it dry for another hour. If your adding more coats, repeat this step until your happy with the paint.
-
 Step 5
After a couple hours or overnight, you can work on distressing your piece. I wanted to make mine look well worn but not beat up so I used fine sand paper and rubbed down each side then lightly on all the edges and corners. Then I wiped it down again with a damp towel.
-
 Step 6
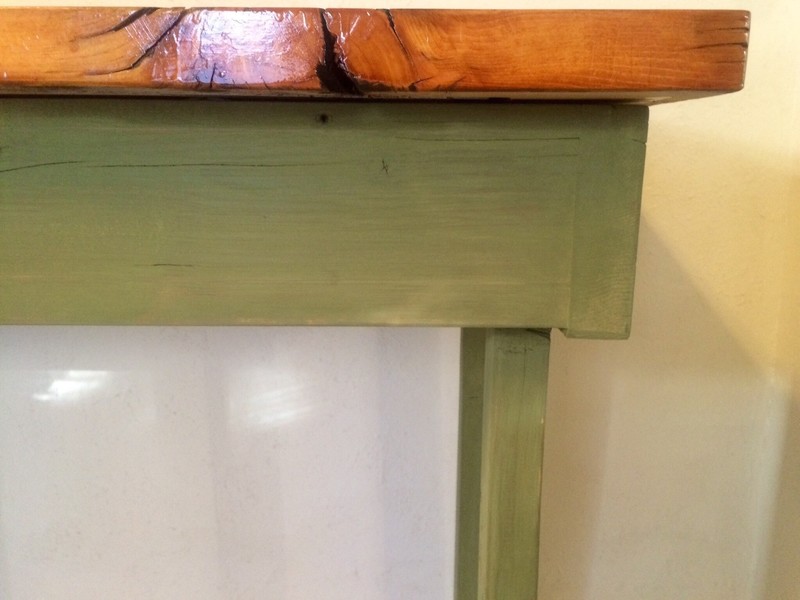
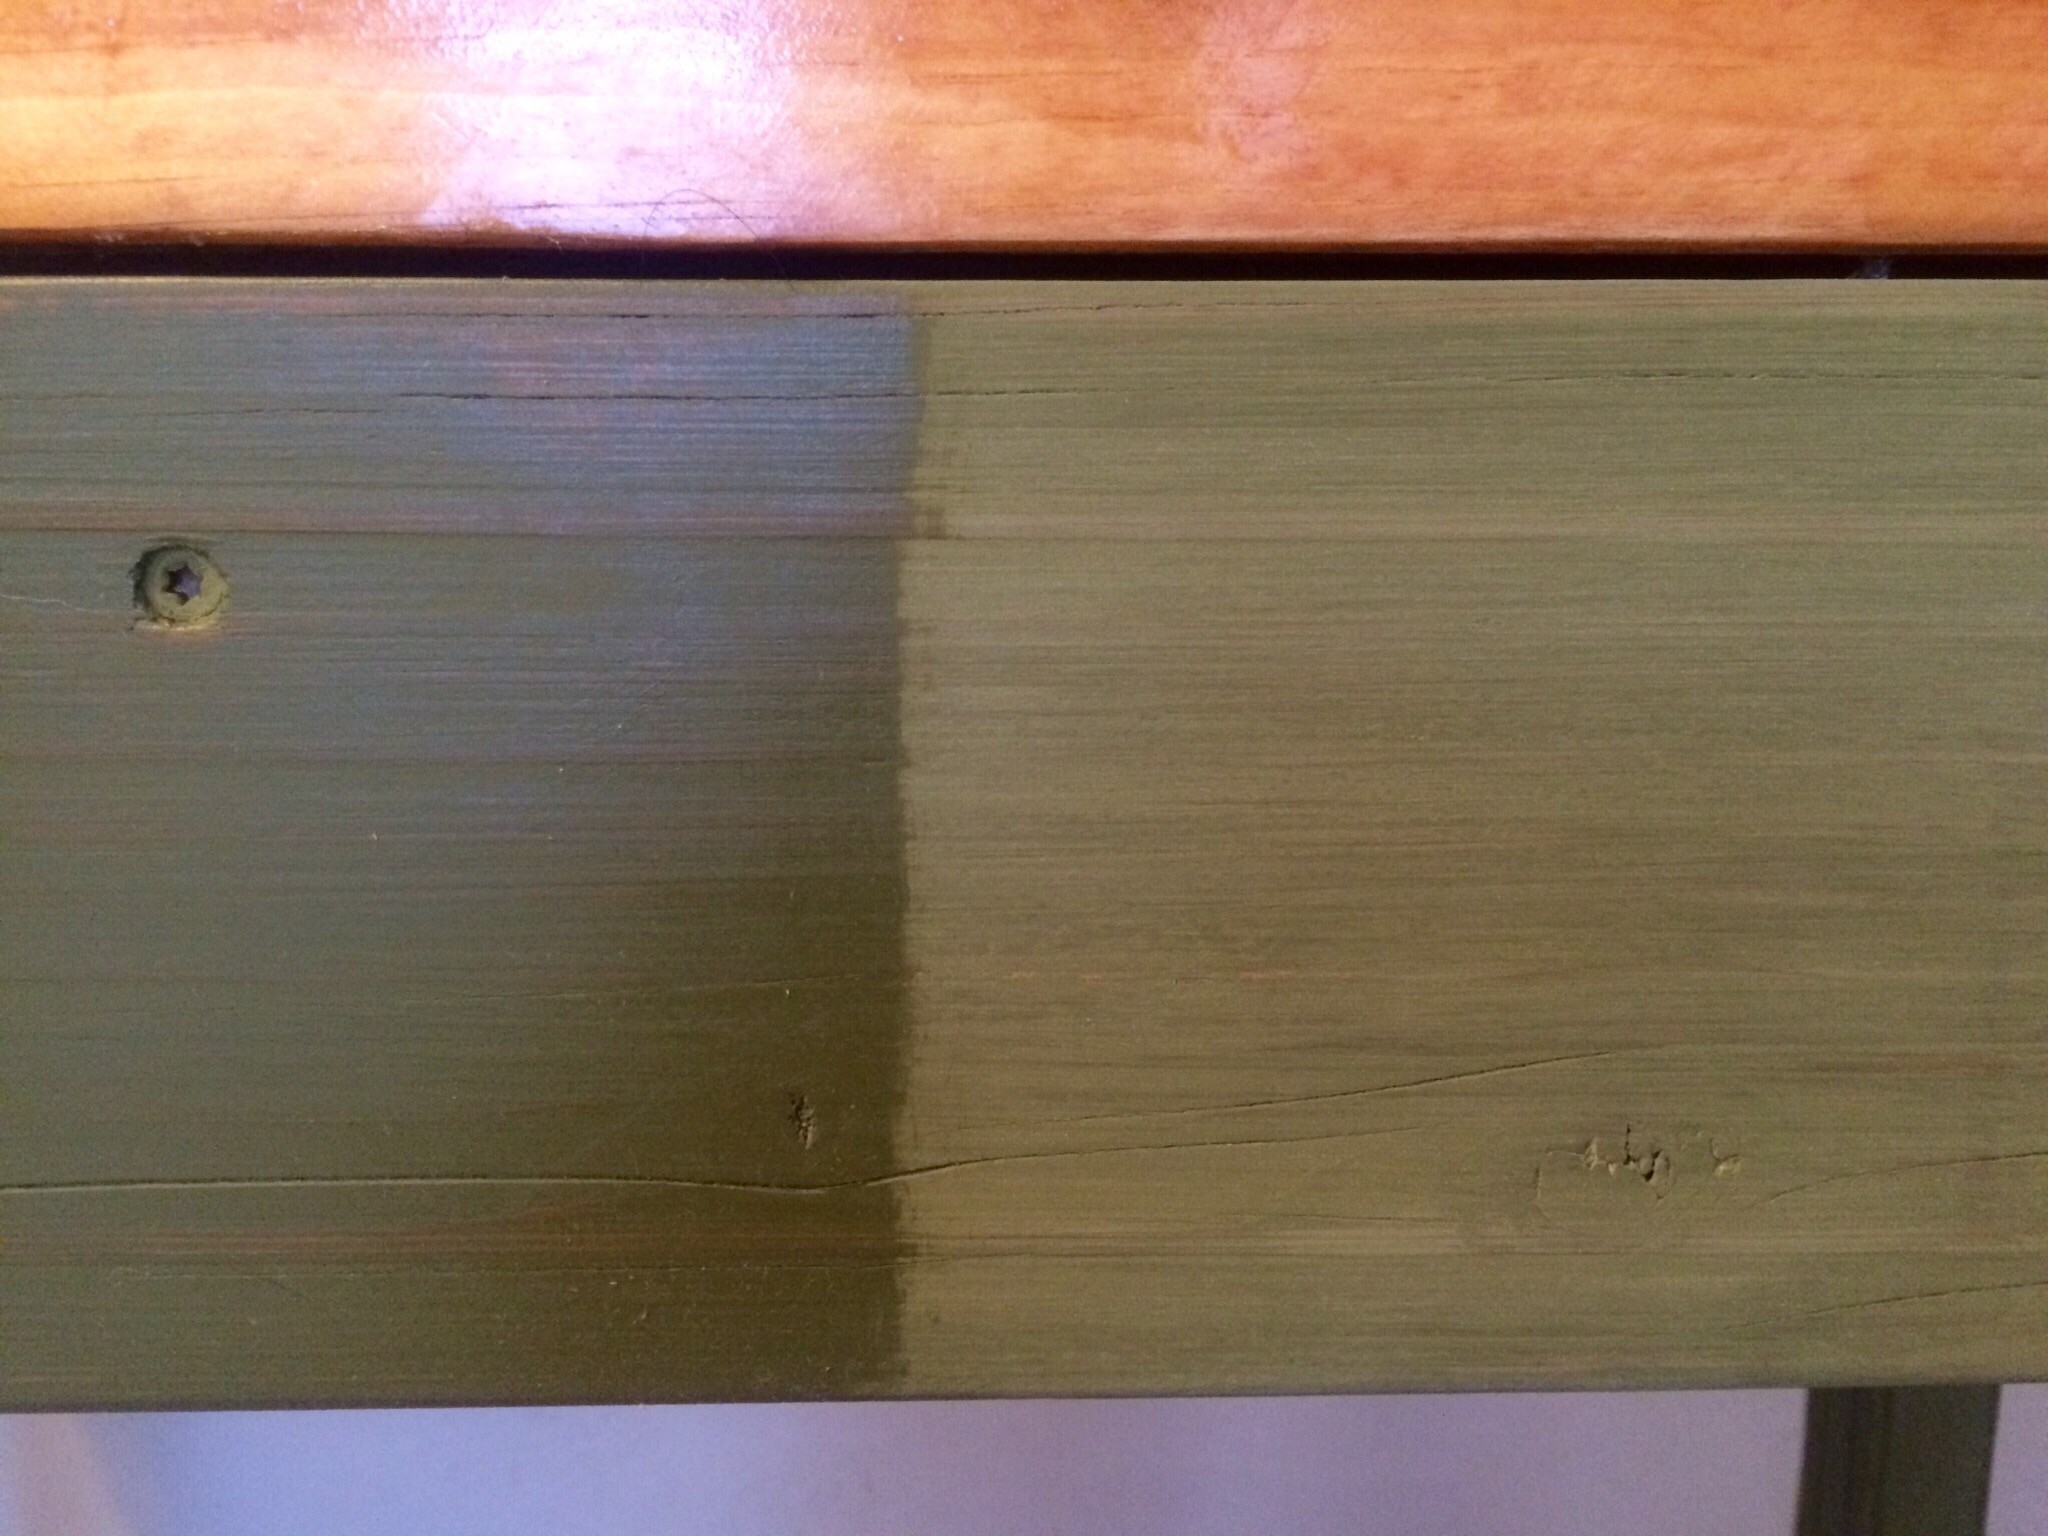
Lastly I used Daddy Van's All Natural Funiture Polish to finish off my project it really made it look complete. You just rub it on with a cotton cloth, like an old T-shirt, then let it sit for a few minutes. Then buff off whats left. It shoudn't look shiny, but more of a warm wood glow. You can see the difference on this table leg in the picture!
-
 Step 7
Show off your new piece!
Mine is for a coffee/tea station in my kitchen, so I added some hooks to the front to hang a towel or our favorite cups from. And some cool baskets to store everything on the botton shelf.