


About
Glitzy Hearts & Big Blue Sparkles
I painted this design freehand with nail art pens. The pattern isn't difficult, but does take a while to paint and dry.
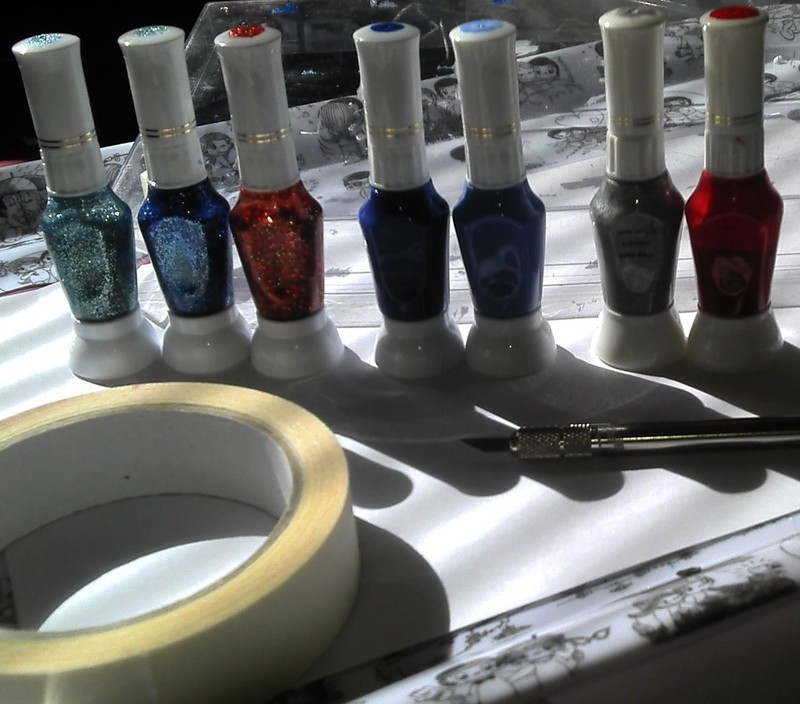
I used a striking glittery red against pale matte blue, a glossed deep navy and turquoise and dark blue glitters.
I hope you enjoy my first tutorial ^_^
Tags
-
 Step 1
I used acrylic false nails, but this design would work well on your own nails if you have a steady hand.
To paint, I stick my false nails down onto a plastic lid using double sided or masking tape. If you do this, you'll need to slice them off the tape when they're mostly dry with a craft knife.
-
 Step 2
If you're painting on a plastic lid, fold the masking tape back on itself and stick down to the plastic surface.
Then line the nails up on the tape, spaced out enough for you to paint the detail.
-
 Step 3
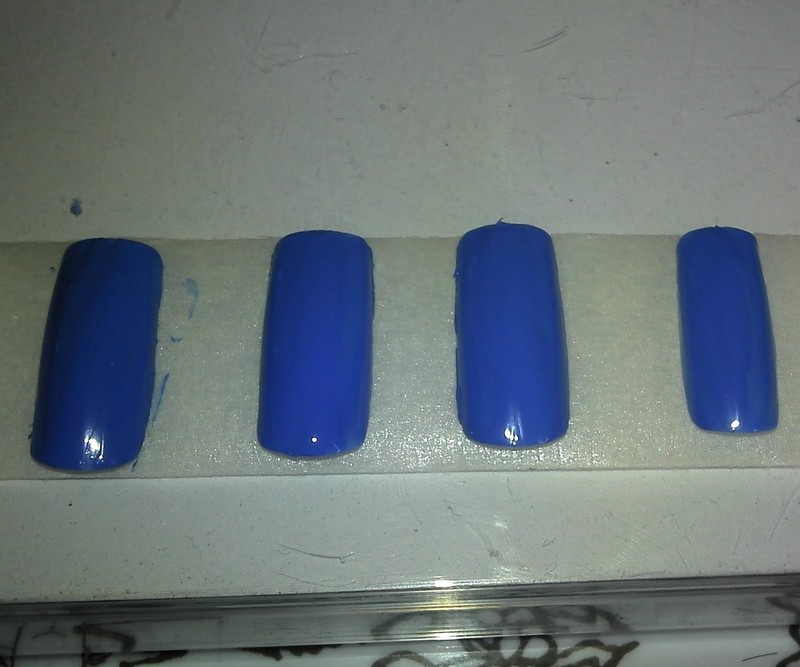
Two Coats Pale Blue:
Give four nails a double coating of pale blue nail varnish.
Allow them to dry, go to step 10 to start the base coats of the other nails while you wait.
-
 Step 4
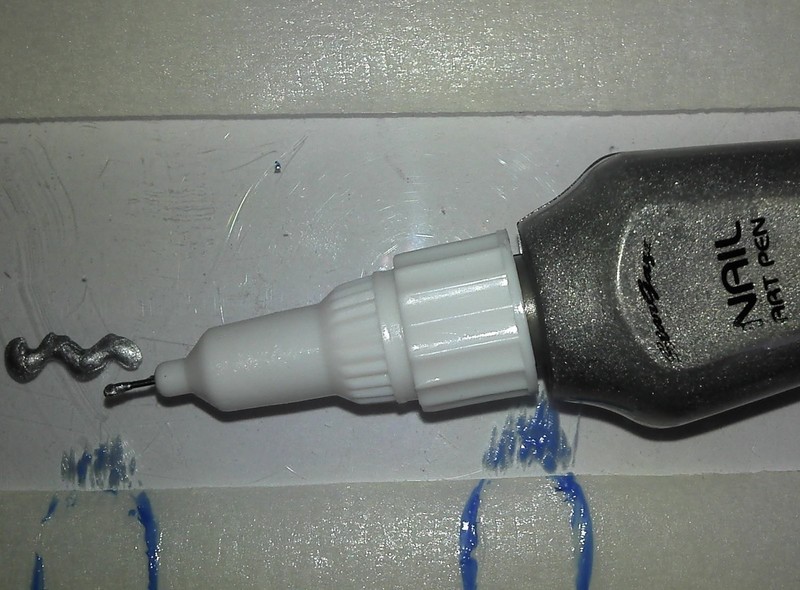
This is where nail art pens come in handy. The metallic one I'm using here (Stargazer) comes out quite thick from the nib, but that's fine because I'm using it as more of a base coat here.
What ever brand and colour you use, it's a good idea to test how the paint is coming out before application.
-
 Step 5
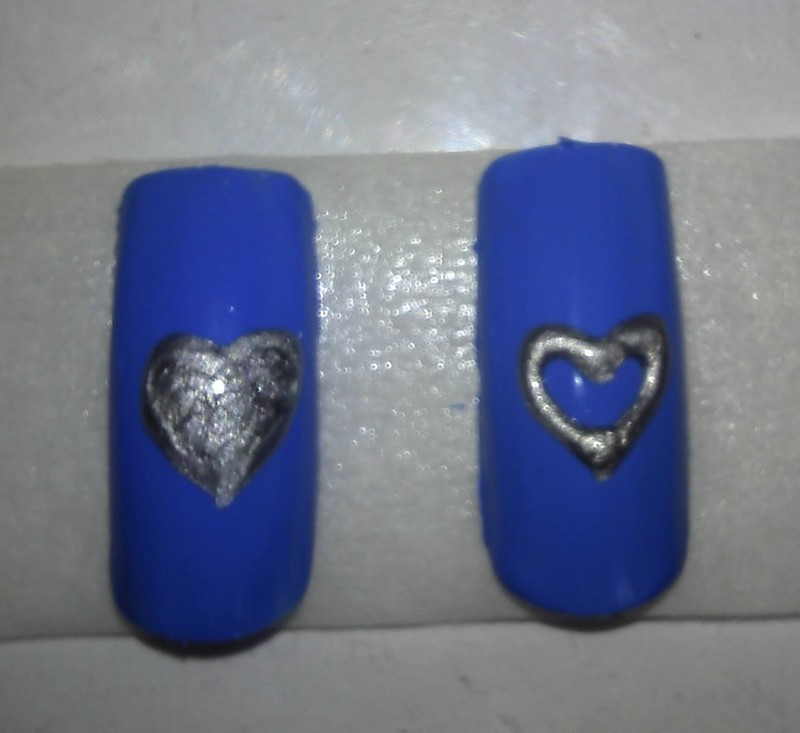
Silver Hearts:
Outline and fill one heart at a time because the varnish is easier to work with while it's still wet.
Outline first by squeezing the bottle very gently and tracing the nib in one fluid motion for each side of the heart.
If you have quite a thick outline, don't squeeze more varnish out, just smudge it to the centre with the pen tip.
-
 Step 6
Allow the hearts to dry, go to step 11 to add coats of glitter while you wait.
Red Hearts:
I used the thin brush rather than the pen nib because it gives a better curve.
Wipe off most of the excess varnish, keeping a small drop at the tip. Paint this drop into the centre of the silver heart and in one fluid motion, smudge to paint one side of the heart. Repeat for the other side of the heart and fill.
-
 Step 7
I used e.l.f. Matte Finisher as a top coat here. It dries quite quickly, but be careful because you can still smudge the layers underneath.
-
 Step 8
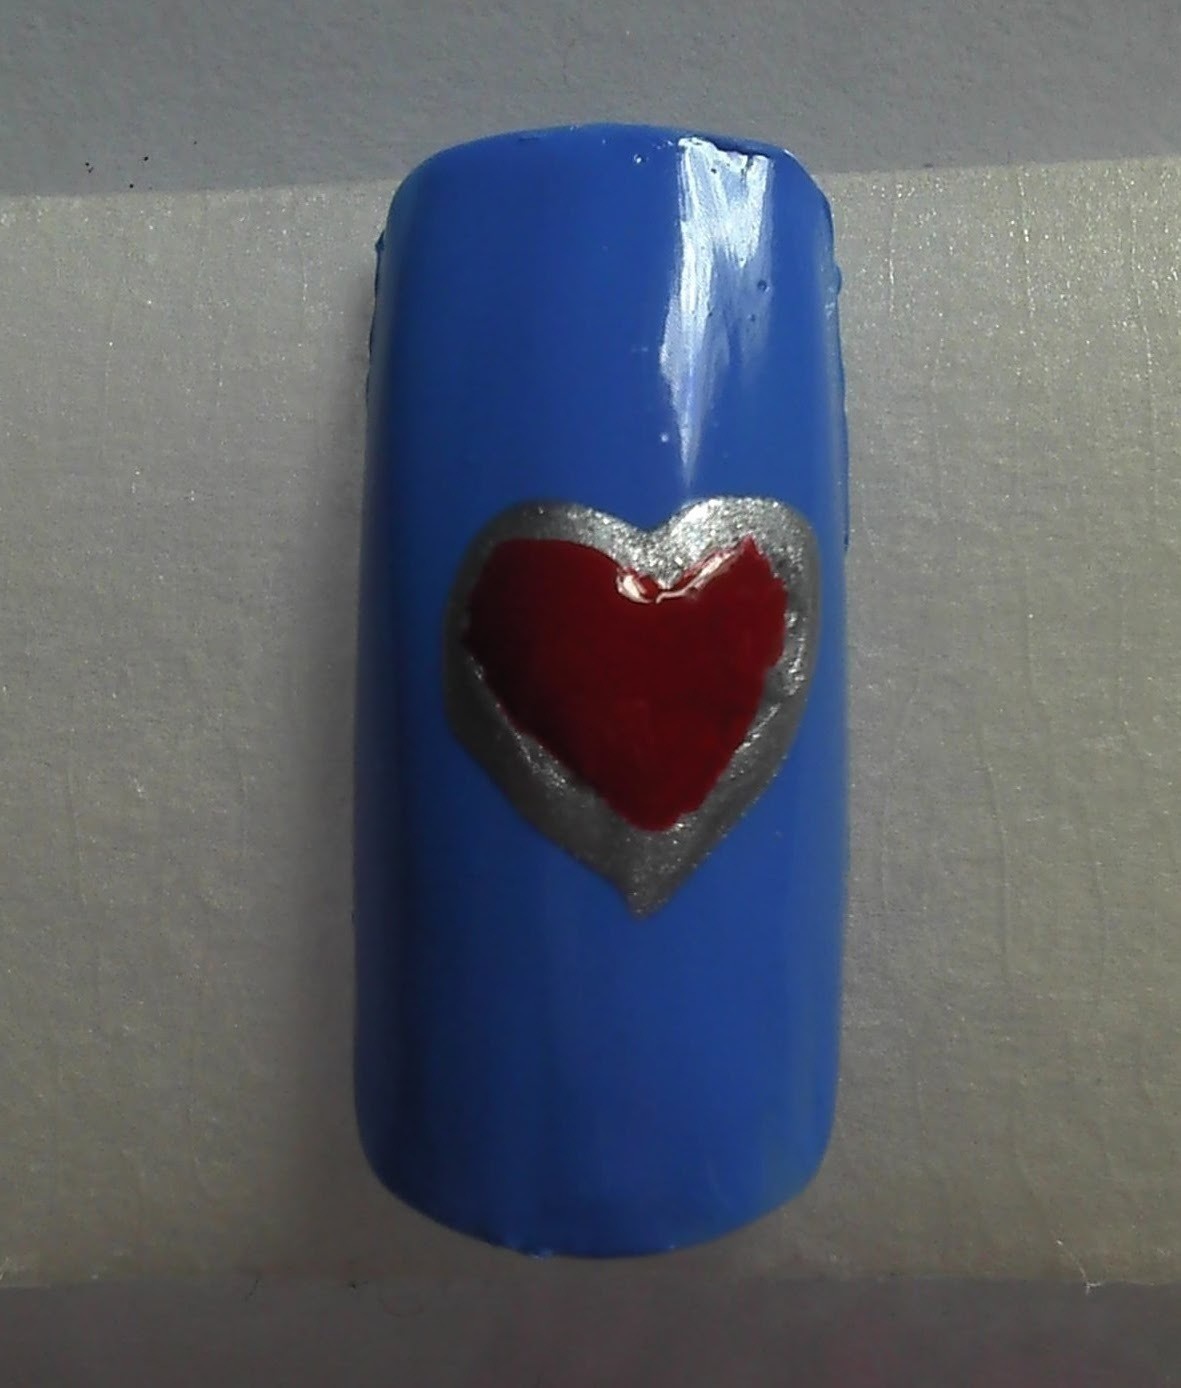
Matte Effect:
The heart nail with matte effect.
-
 Step 9
Red Glitter:
I then topped the hearts with some red glittery varnish.
I forgot to take a close up, but skip to the end to see the finished effect.
-
 Step 10
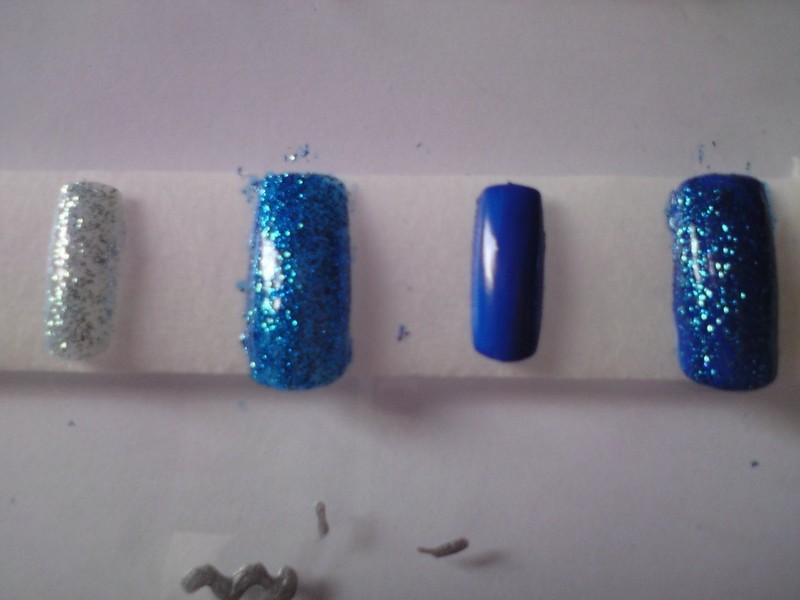
The Blues:
I painted two nails with turquoise glitter (see nail one) and then a layer of dark blue glitter (nail two).
The last four nails I painted deep navy (as nail three), leaving two of these glossy, the other two I gave a layer of dark blue glitter (nail four).
-
 Step 11
Matte & Gloss:
Lastly, I painted matte effect over one turquoise and one dark blue glitter, and a glossy top coat over the others. This step is to give a smooth finish, protection and further variation.
-
 Step 12
I hope you like the finished look! When I wear them, I will post more pics.