


About
Wear this set with a plain tee-shirt to give an antique twist to your outfit.
Or add elegance to a special dress.
Jump rings are linked together to create delicate flowers and chain linked elements that are easily combined to make a stunning jewellery set. The same techniques are used to create a pair of drop earrings.
Make this set with silver jump rings and different coloured beads for a completely new look. You could even mix the colours of the jump rings for another alternative.
Please note: jump rings shown in silver are to aid instructions.
-
 Key West Witch favorited Medieval Jewellery Set
08 Aug 01:51
Key West Witch favorited Medieval Jewellery Set
08 Aug 01:51
-
Key West Witch added Medieval Jewellery Set to Jewelry Necklaces
30 Jun 13:15
-
Key West Witch added Medieval Jewellery Set to Jewelry
30 Jun 01:09
-
 Coreen M. favorited Medieval Jewellery Set
29 Sep 12:44
Coreen M. favorited Medieval Jewellery Set
29 Sep 12:44
-
 Sarania H. added Medieval Jewellery Set to Jewerly
20 May 23:02
Sarania H. added Medieval Jewellery Set to Jewerly
20 May 23:02
-
Katrina C. favorited Medieval Jewellery Set
09 Aug 08:30
-
 RareJewel favorited Medieval Jewellery Set
20 Jul 06:26
RareJewel favorited Medieval Jewellery Set
20 Jul 06:26
-
 rochelle.c.barton favorited Medieval Jewellery Set
19 Jul 21:57
rochelle.c.barton favorited Medieval Jewellery Set
19 Jul 21:57
-
 Kassie T. favorited Medieval Jewellery Set
12 May 12:35
Kassie T. favorited Medieval Jewellery Set
12 May 12:35
-
Nancy C. favorited Medieval Jewellery Set
19 Dec 21:54
You Will Need
-
 Step 1
Make three links of 2- in-1 chain using 8mm and 5mm jump rings.
-
 Step 2
Float two 8mm jump rings around the 5mm jump rings, in between the three 8mm jump rings. Open the 8mm jump ring as wide as possible without bending out of shape to make this step easier.
-
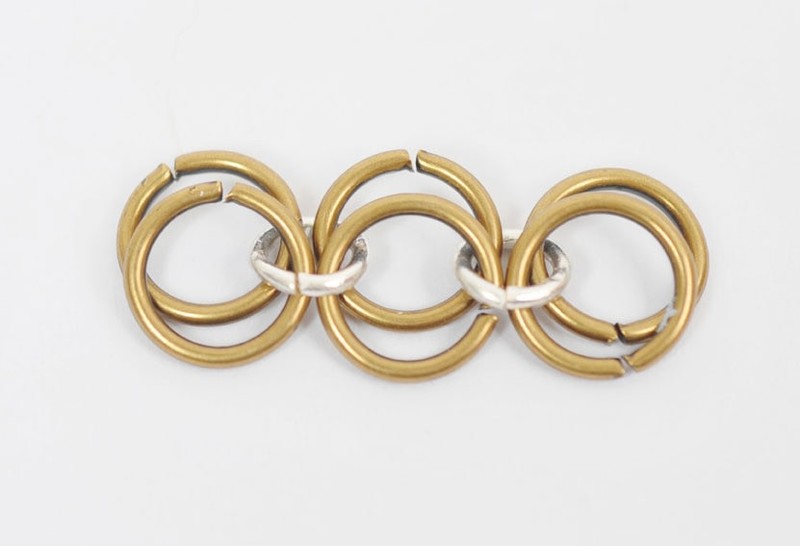
 Step 3
Join the two floating rings in the middle to each other with a 5mm jump ring. Add a 5mm jump ring to each outer side of the two floating 8mm jump rings.
-
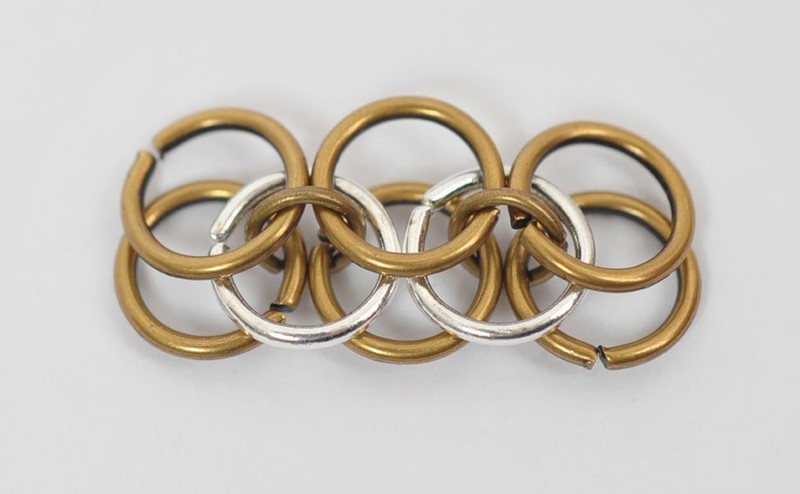
 Step 4
Float two 8mm jump rings through the 5mm jump rings added in step 3.
-
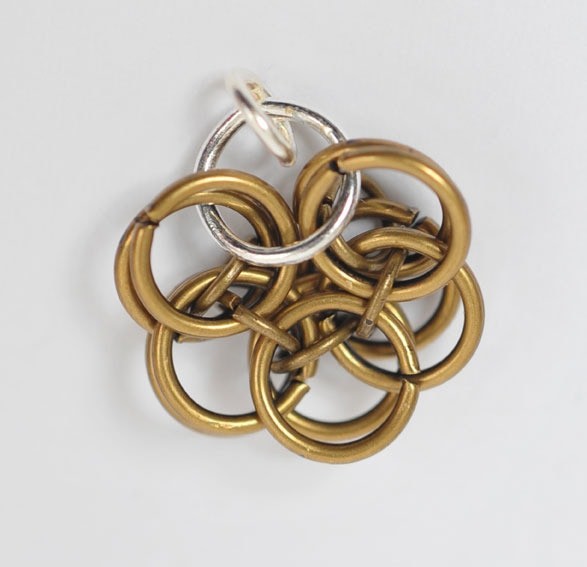
 Step 5
Attach an 8mm jump ring to the two outer 8mm jump rings on each side to make a flower shape. Repeat steps 1 to 5 to make five more flowers. Add a 5mm jump ring to the single 8mm jump ring, only on two of the flowers.
-
 Step 6
Follow steps 1 and 2 to make five links of 2- in-1 chain using 8mm and 5mm jump rings. Float four 8mm jump rings between the five 8mm jump rings.
-
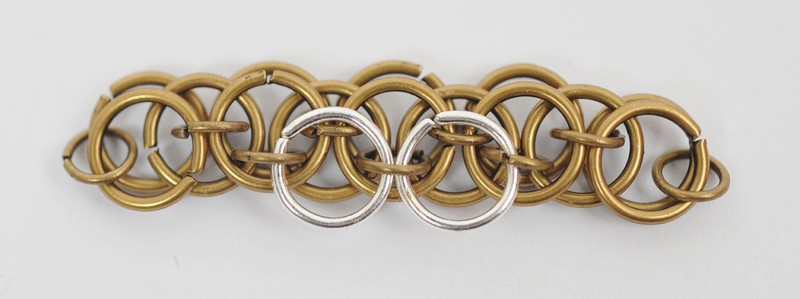
 Step 7
Join the four floating rings to each other with a 5mm jump ring. Add a 5mm jump ring to each side of the end 8mm jump rings.
-
 Step 8
Float two 8mm jump rings through the 5mm jump rings in the middle of the section added in step 7. Make six more linked sections following steps 6 and 7.
-
 Step 9
Thread a 7mm bead onto an eyepin, trim 1cm above the bead, bend into a loop (make), and two 5mm. Make two headpins using 5mm beads (in the same way as the eyepins).
Thread a 7mm bead onto a headpin, trim off 2cm. At halfway bend into a loop, wrap around towards the bead (make). -
 Step 10
Construct in the following way:
Linked section, 5mm bead, linked section, 7mm bead, linked section, 7mm bead, flower with 5mm ring, 7mm bead (make). Add the final linked section to the 7mm beads. Add an 8mm jump ring to one end and an 8mm jump ring with trigger clasp to the other. -
 Step 11
Join an 8mm jump ring to the centre two jump rings of the middle linked section. Attach the single 8mm ring on a flower and add a 5mm headpin. Add a 5mm ring to the bottom 8mm ring on the flower. Repeat for the second flower. Attach a 5mm ring and a 7mm looped headpin to finish.
-
 Step 12
Open the loop at the bottom of a long ballwire, attach a 7mm beaded eyepin, attach the single 8mm ring on a flower. Open a 5mm jump ring and add a 7mm beaded looped headpin to the bottom back 8mm jump ring, close and repeat to make a pair.
-
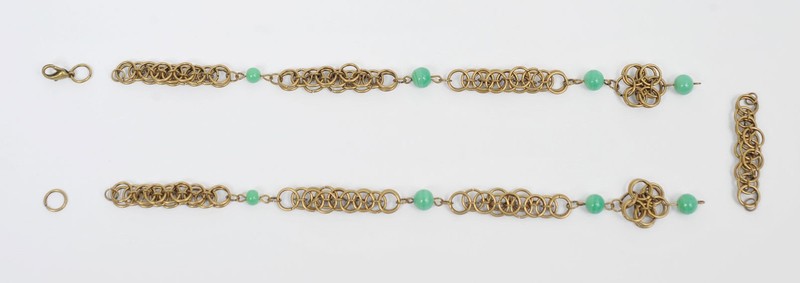
 Step 13
This is what your finished set should look like.


Comments


