


About
The beyond versatile bag
Great for use as a computer bag, book carrier diaper bag or overnight tote. Using a good stabilizer gives it great shape and structure with too much bulk. Laminated cotton outer fabric is easy to keep fresh looking too. Padded inner pockets let you carry things large and small and keep them all organized.
-
 LeAnn M. favorited Laminated Messenger Bag
12 Jan 22:53
LeAnn M. favorited Laminated Messenger Bag
12 Jan 22:53
-
 drevanhoussen added Laminated Messenger Bag to DIY Crossbody bag ou messenger bag
26 May 11:46
drevanhoussen added Laminated Messenger Bag to DIY Crossbody bag ou messenger bag
26 May 11:46
-
drevanhoussen favorited Laminated Messenger Bag
26 May 11:46
-
 pandanomz favorited Laminated Messenger Bag
08 Sep 15:00
pandanomz favorited Laminated Messenger Bag
08 Sep 15:00
-
 marilyn.steckly favorited Laminated Messenger Bag
21 Apr 03:46
marilyn.steckly favorited Laminated Messenger Bag
21 Apr 03:46
-
 Lunchboxx favorited Laminated Messenger Bag
31 Dec 00:01
Lunchboxx favorited Laminated Messenger Bag
31 Dec 00:01
-
 sweetstuffbymisty favorited Laminated Messenger Bag
13 Jul 19:39
sweetstuffbymisty favorited Laminated Messenger Bag
13 Jul 19:39
-
Monica C. favorited Laminated Messenger Bag
26 Jun 22:37
-
 Grimgirl101 favorited Laminated Messenger Bag
20 Jun 21:35
Grimgirl101 favorited Laminated Messenger Bag
20 Jun 21:35
-
 Selina C. favorited Laminated Messenger Bag
03 Jun 07:04
Selina C. favorited Laminated Messenger Bag
03 Jun 07:04
-
 Step 1
Cut the following pieces:
- Front/Back Piece 16"w x 14"h (cut 2 outer fabric, 2 lining, 2 fusible)
- Side Piece 6"w x 14" h (cut 2 outer fabric, 2 lining, 2 fusible)
- Bottom Piece 16"w x 6"h (cut 1 outer fabric, 1 lining, 1 fusible)
- Flap Piece 15"w x 18"h (cut 1 outer fabric, 1 lining, 1 fusible) To curve the bottom corners, use a glass or small plate to trace a curve shape and then cut.
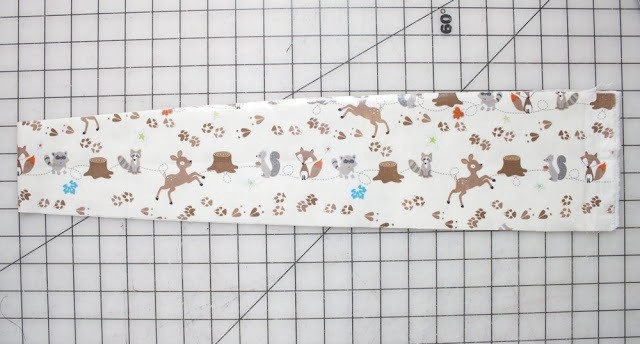
- Strap 44"l x 5" w (cut 1 outer fabric, 1 lining, 1 fusible, 1 batting)
- Outer Pocket 6" w x 6"h (cut 2 outer)
- Inner pocket 16" w x 16" h (1 lining) and 16"w x 8"h (1 batting) -
 Step 2
Fuse the stabilizer to the wrong sides of all the brown pieces. Set aside. Take folded inner pocket fabric and measure inward 5 inches on either side. Draw lines downward with marking pen. Insert batting into fold. Encase the folded end into bias tape and stitch in place.
-
 Step 3
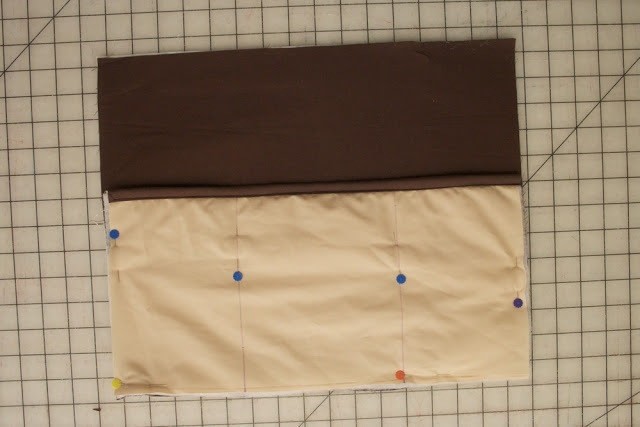
Line up inner pocket along the bottom of back lining piece and pin together. Stitch down lines to form the pockets.
-
 Step 4
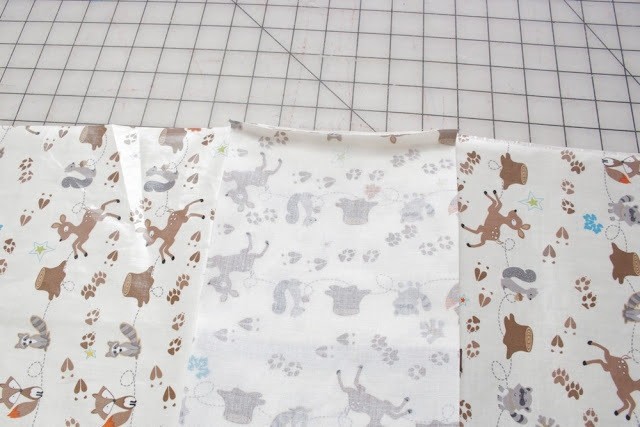
Fold strap in half as shown. Measure 1.5 inches inward on each side of folded end. Lay a ruler along this point and angle out towards the fabric edge about half way down the strap and cut to get this shape.
-
 Step 5
With right sides facing out, layer the outer strap and inner strap with the batting in between and attach bias tape on either side to complete strap. With right sides facing out on flap pieces, attach along sides and bottom with bias tape. Stitch bias tape along tops of outer pocket pieces.
-
 Step 6
With right sides facing stitch a side piece to either long side of the bottom piece with a .5 inch seam allowance.
Repeat with lining, but leave a 2 inch gap in the middle of side without inner pocket (this will be needed for turning the bag right side out at the end).
-
 Step 7
Line up the outside pocket with side bottom. Place these stacked pieces face down over the bottom side edge and stitch together - leaving .5 inch unstitched at beginning and end. Repeat on other side.
-
 Step 8
Next pull together long sides of side piece and front & back pieces and stitch together. Repeat on with other side. Do the same with lining pieces. Trim all the seam edges close to stitching.
-
 Step 9
Take flap piece and measure down 4 inches from raw edge on outer fabric side and mark horizontally. I use such a big allowance so it's easier to position the flap when pinning it to the bag & it's easier to hold in place when stitching together.
-
 Step 10
With the outer bag fabric turned wrong side out, pin together back side of outer bag with the flap along this newly drawn line. With the outer side of the strap facing the outer fabric of the bag sides, pin the raw edges together too.
-
 Step 11
With the lining bag's right side out, insert into outer bag so that the inner pocket is facing the inner side of the flap.
Stitch together all the way around with a .5 inch seam allowance. Trim off excess Pin all fabrics together along raw edge:
Pull bag right side out through the opening in the bottom of the lining. Smooth all corners into place and then hand stitch the opening closed.


Comments

