


About
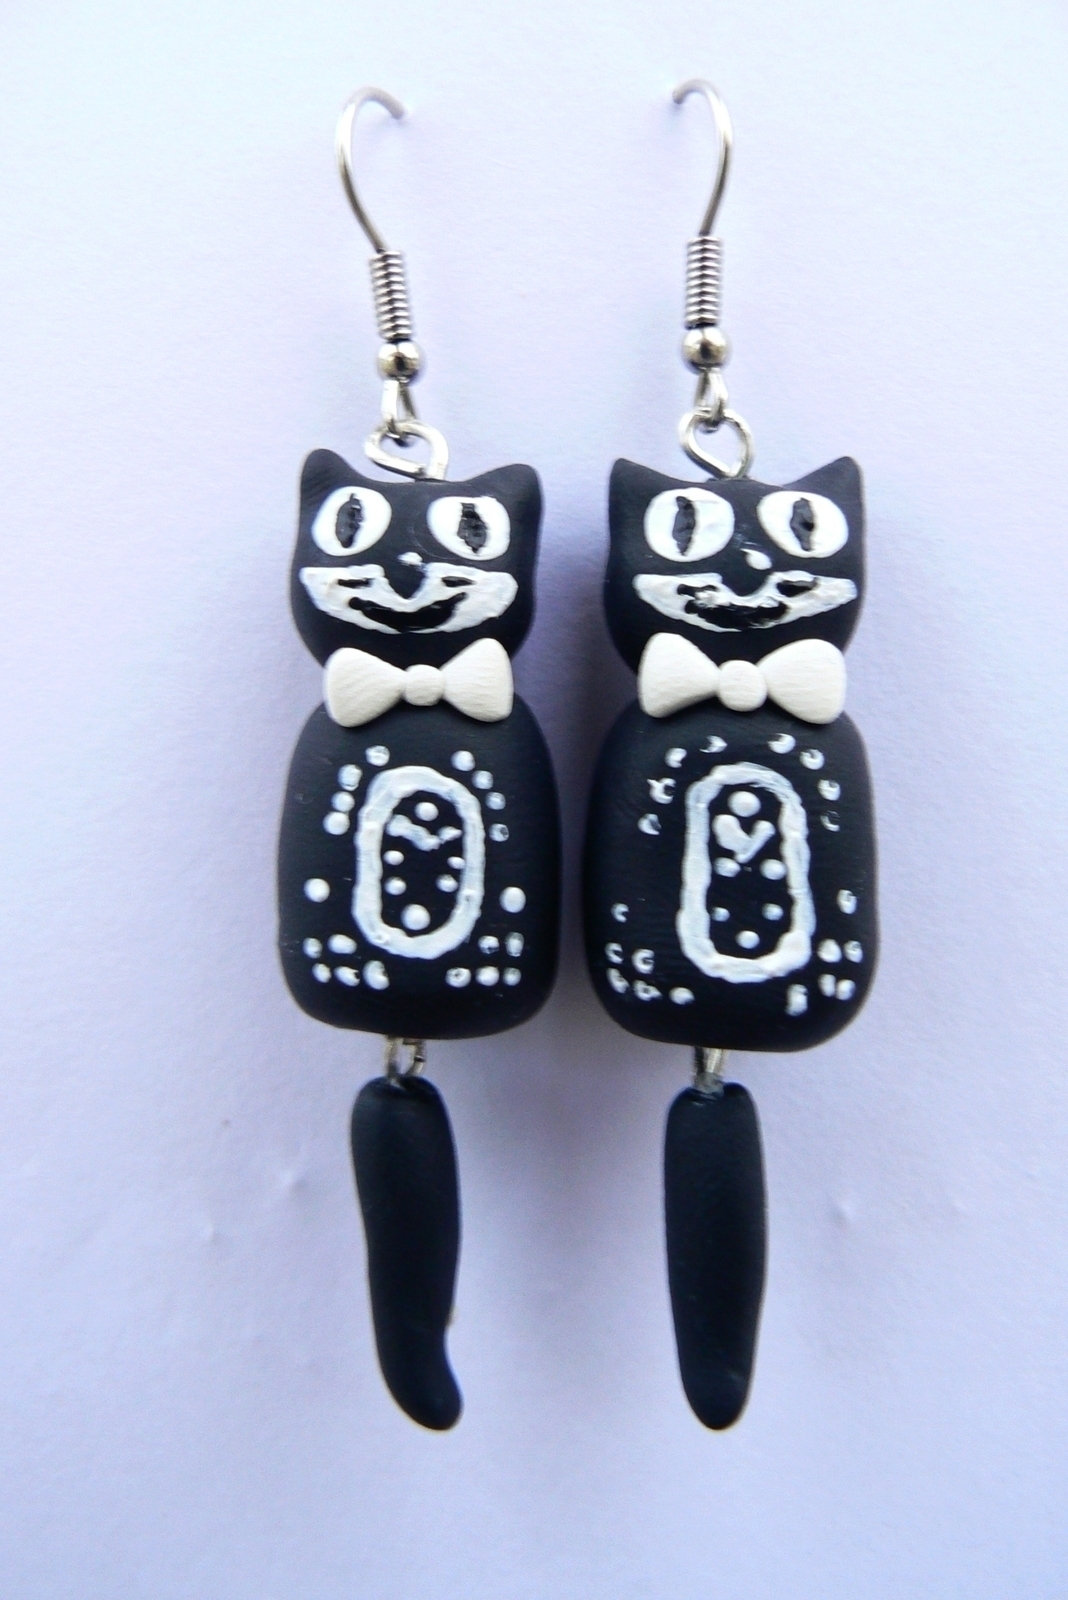
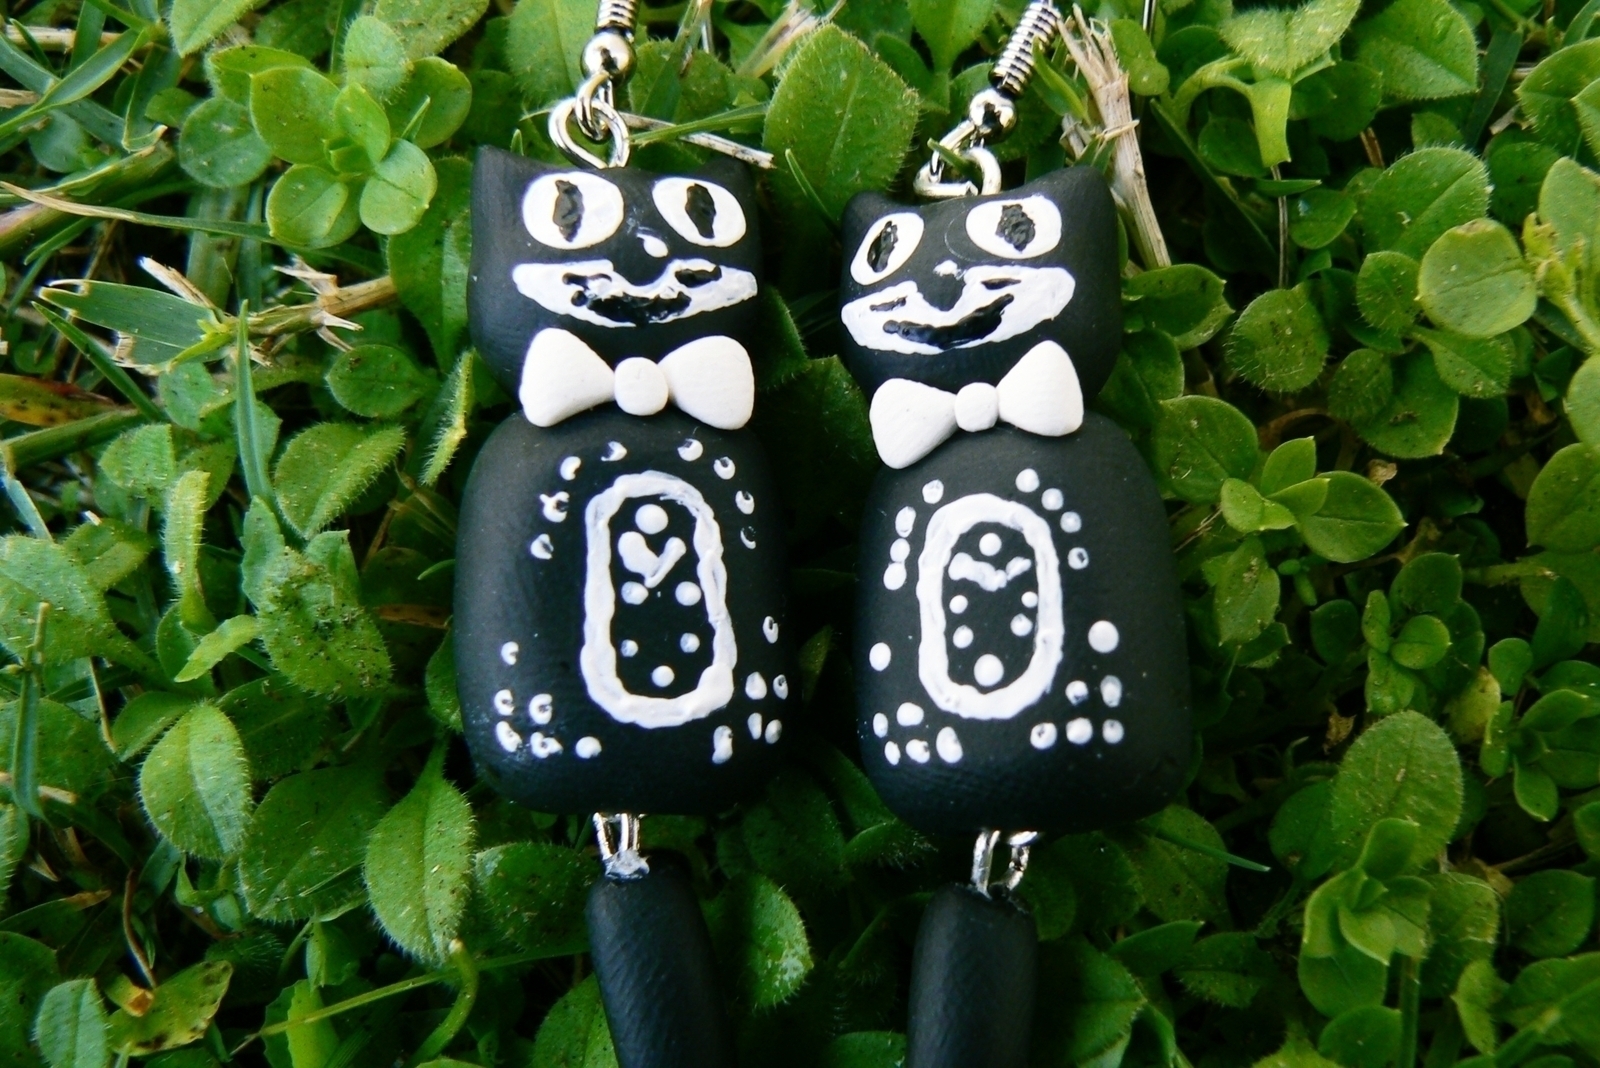
Cute little polymer clay earrings and necklace, based on the iconic Kit-Cat clock!
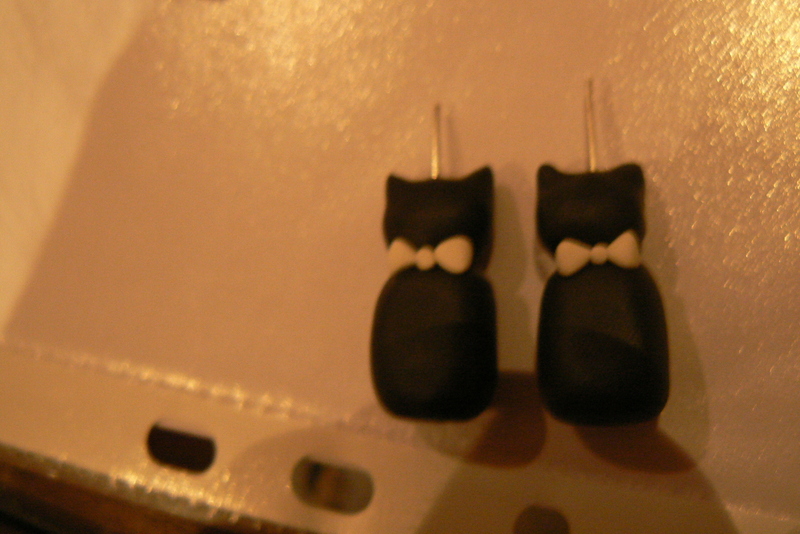
I was inspired by the Kit-Cat clock to make these polymer clay earrings. I used eye pins to attatch the tail seperately, giving the impression that it moves from side to side, just like on the actual clock. :)
Please upload your version of this project if you give it a try! :)
Tags
-
 Key West Witch favorited Kit Cat Clock Inspired Jewellery Set
24 Sep 23:24
Key West Witch favorited Kit Cat Clock Inspired Jewellery Set
24 Sep 23:24
-
 man m. commented on Kit Cat Clock Inspired Jewellery Set
08 May 09:14
man m. commented on Kit Cat Clock Inspired Jewellery Set
08 May 09:14
-
Barbara M. favorited Kit Cat Clock Inspired Jewellery Set
31 Jan 00:49
-
Barbara M. added Kit Cat Clock Inspired Jewellery Set to projects I likes...
31 Jan 00:49
-
veronica f. favorited Kit Cat Clock Inspired Jewellery Set
10 Feb 16:56
-
Alecia B. favorited Kit Cat Clock Inspired Jewellery Set
01 Jul 06:25
-
abigail r. added Kit Cat Clock Inspired Jewellery Set to Jewellery
06 Feb 06:30
-
 Cassie D. favorited Kit Cat Clock Inspired Jewellery Set
21 Jan 15:30
Cassie D. favorited Kit Cat Clock Inspired Jewellery Set
21 Jan 15:30
-
Shannon S. favorited Kit Cat Clock Inspired Jewellery Set
04 Nov 01:20
-
 viktoria.hutter.22 favorited Kit Cat Clock Inspired Jewellery Set
18 Oct 19:53
viktoria.hutter.22 favorited Kit Cat Clock Inspired Jewellery Set
18 Oct 19:53
-
 Step 1
Take two small amounts of clay, both the same size. Shape them into a sort of flat-bottomed oval prism shape. This will be the body of your cat.
-
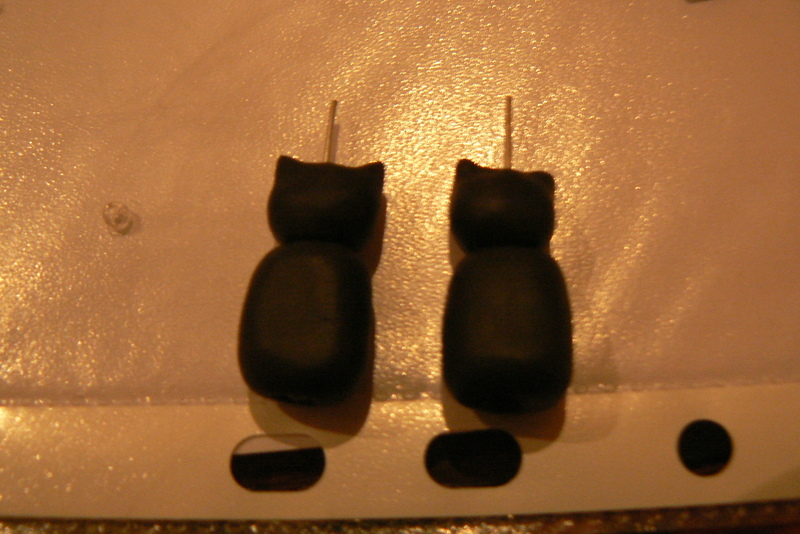
 Step 2
Stick an eye pin through the centre of each little blob. Pull it up quite far, without completely covering the eye of the pin.
-
 Step 3
Take two more small blobs of clay, both the same size, and roll them into balls.
-
 Step 4
Pull the tops of the ball into two points, forming ears. Look at a picture of the Kit-Cat clock for reference.
-
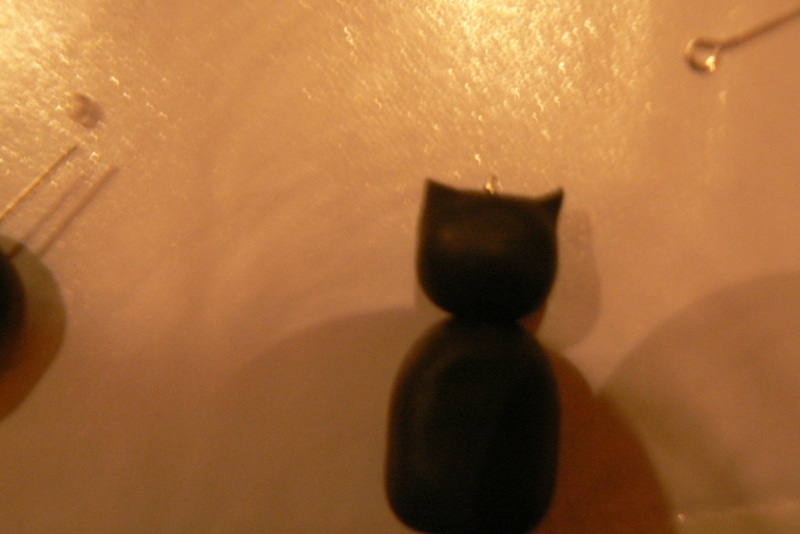
 Step 5
Once you are happy with the shape of the head and ears, slide the head onto the eye pin above the body.
-
 Step 6
Using a tiny amount of white clay, make four little triangular shapes and two near-inisible little round balls. Press these onto your cat on its neck, between the head and body, to form a bowtie - have two triangles pointing to the centre and the little ball in the middle, between the two.
-
Step 7
Bake the clay at the temperature recommended by the manufacturer.
-
 Step 8
Paint two circles onto the head with white acrylic paint. These will be your eyes.
-
 Step 9
Paint on white for the mouth and a speck above the nose area for the nose. Once this is dry, add mouth details and eye pupils in black.
-
 Step 10
Add clock face and detail to body using white acrylic paint.
-
 Step 11
Turn the pins in the tails and form a loop. Cut off the excess of the pin.
-
 Step 12
Attach the hoop on the tail to the eye of the pin through the body.
-
 Step 13
Form a loop with the excess pin at the top of the head and cut off excess if necessary. Attach to earring hook.
-
 Step 14
You're done with your earrings! :)
-
 Step 15
For the necklace, repeat steps 1-13 but slightly larger, and making only one this time. Instead of attaching it to earring hooks, attach it to a jump ring and a chain necklace, and you're finished! :)


https://mobdro.onl/
https://vidmate.onl/
Thanks for sharing.I found a lot of interesting information here. A really good post, very thankful and hopeful that you will write many more posts like this one.