


About
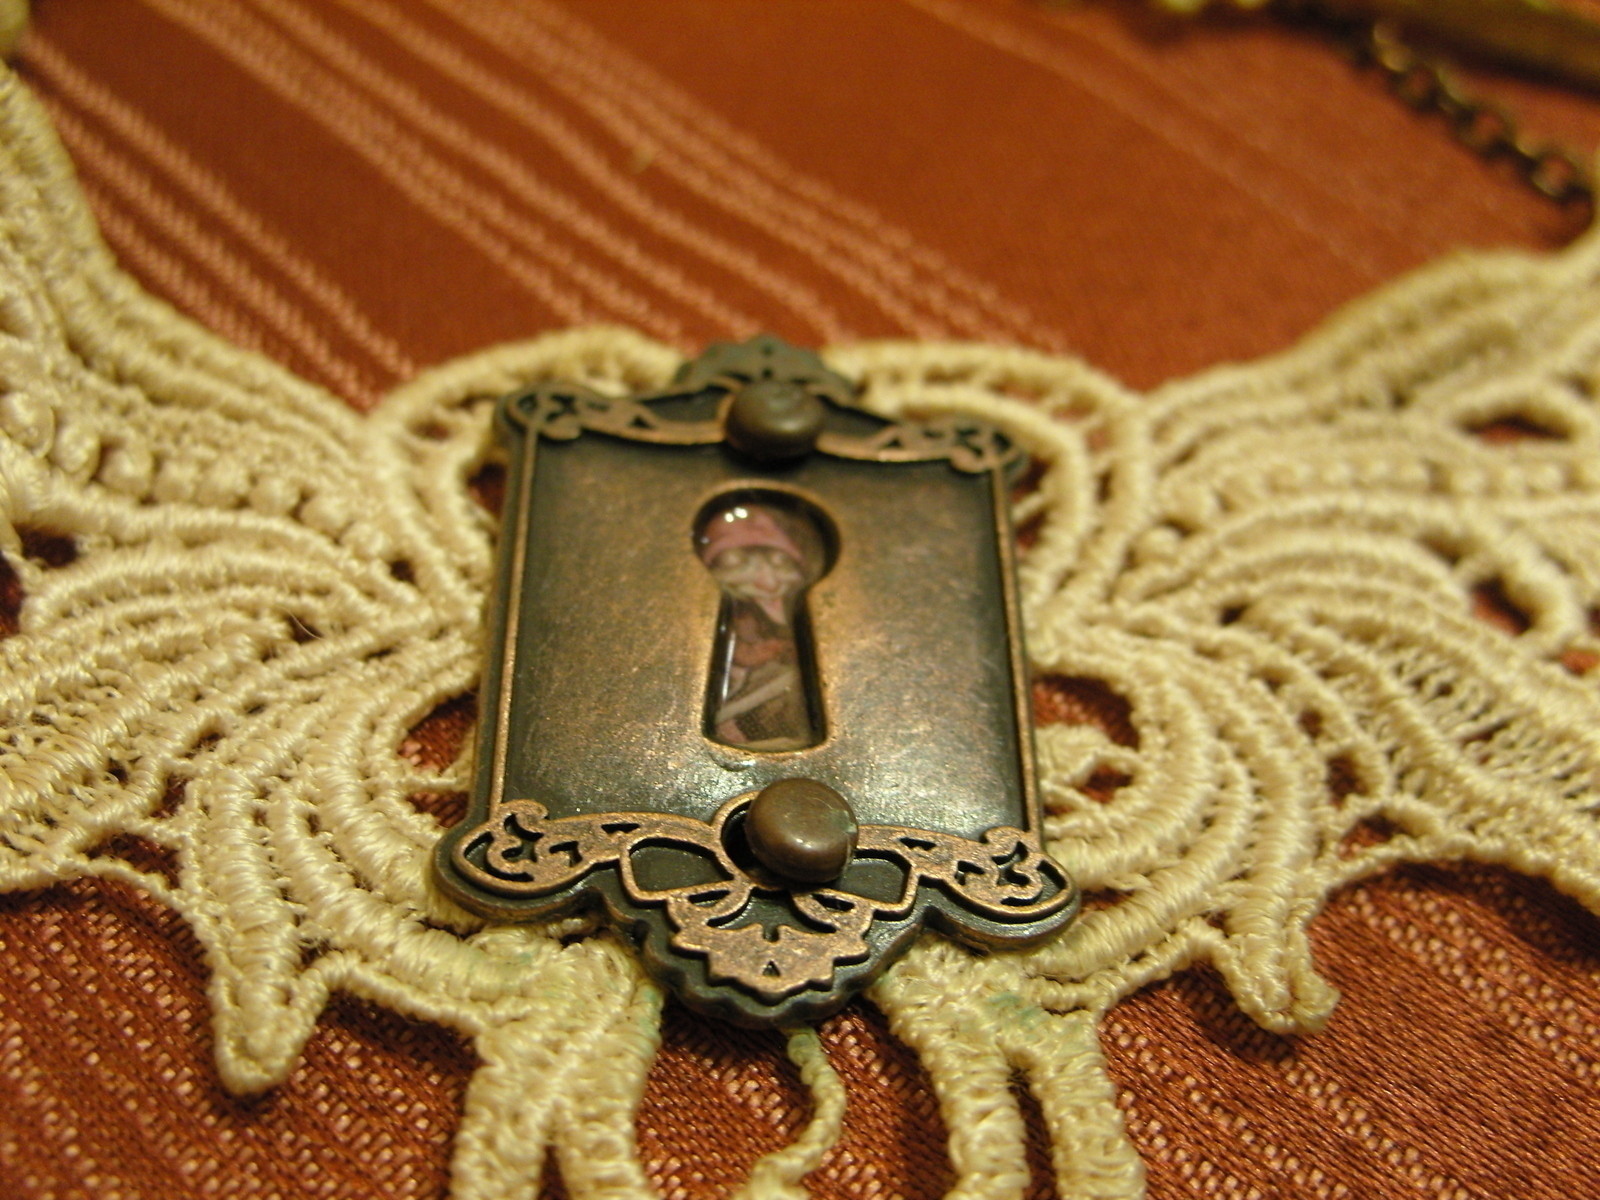
An enchanting look into your world through a small keyhole on your necklace.
An enchanting look into your world through a small keyhole on your necklace.
Along with the pictured items you will need scissors and the image you intend to use on your necklace.
Tags
-
 Key West Witch favorited Keyhole Choker.
28 Jun 18:31
Key West Witch favorited Keyhole Choker.
28 Jun 18:31
-
 Jessica S. favorited Keyhole Choker.
22 Feb 05:51
Jessica S. favorited Keyhole Choker.
22 Feb 05:51
-
 veronica r. favorited Keyhole Choker.
12 Aug 14:49
veronica r. favorited Keyhole Choker.
12 Aug 14:49
-
 Emma H. added Keyhole Choker. to Steampunk Tea Party
17 Jul 14:47
Emma H. added Keyhole Choker. to Steampunk Tea Party
17 Jul 14:47
-
Emma H. favorited Keyhole Choker.
17 Jul 14:46
-
 Lisa W. favorited Keyhole Choker.
05 Apr 01:25
Lisa W. favorited Keyhole Choker.
05 Apr 01:25
-
 greenstyle added Keyhole Choker. to Jewellry
29 Dec 06:38
greenstyle added Keyhole Choker. to Jewellry
29 Dec 06:38
-
 Knittin' Kitten added Keyhole Choker. to Melisandre
25 Jun 09:57
Knittin' Kitten added Keyhole Choker. to Melisandre
25 Jun 09:57
-
Maxine M. added Keyhole Choker. to To-make list
19 Apr 17:09
-
 Sarah W. favorited Keyhole Choker.
15 Feb 23:38
Sarah W. favorited Keyhole Choker.
15 Feb 23:38
-
 Step 1
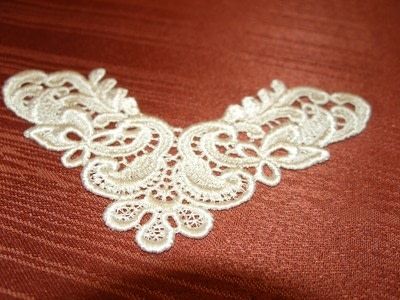
You will need venise lace that you can turn into a choker.
I find mine on etsy and ebay.
-
 Step 2
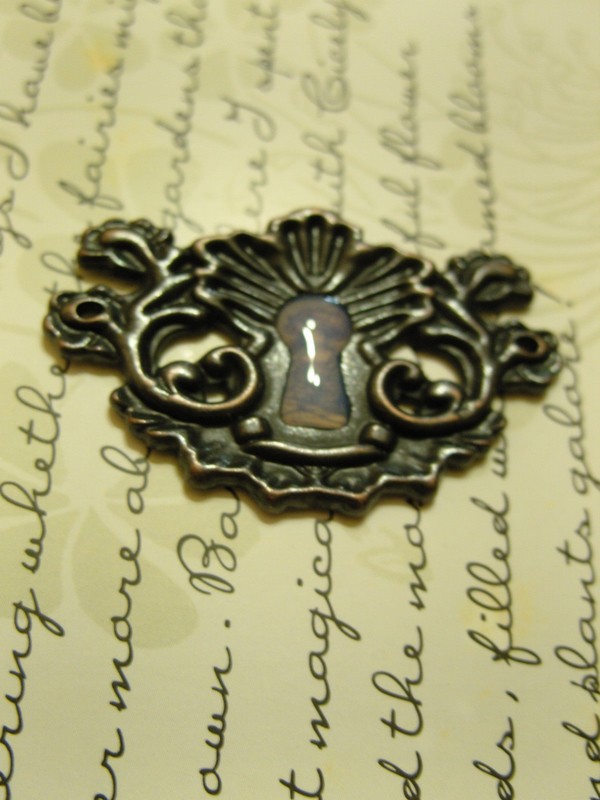
Some fancy keys and keyholes or escutcheons. These sets of Tim Holtz keys and keyholes can be found at JoAnne's, Michaels and Hobby Lobby and are perfect for this project!
-
 Step 3
A length of chain, a clasp and some jump rings. You may need jewelry tools in order to bend the jump rings but if you do not have any, needle nose pliers will work.
-
 Step 4
And last but not least, Glossy accents by Inkssentials. Also found at most popular craft stores.
I know this stuff takes a while to dry but after that, the project moves pretty quickly.
-
 Step 5
Find the perfect image. I like to use fairies.
Make sure your image fits inside the keyhole .
You can use old books, small pictures, and most printed images.
Also consider magazines, dvd inserts (for your favorite movie characters) and scrap book paper for images small enough to fit in the keyhole. -
 Step 6
When you cut out your image, it does not have to be the exact shape of the key hole, just make sure that it is wide enough to cover the whole opening of the key hole from the back of the escutcheon.
-
 Step 7
When you use your Glossy Accents, you'll want to make sure you gently squeeze all of the bubbles out of the tip of the bottle before applying it to your image. Air bubbles will remain in the glossy coating after it has dried.
-
 Step 8
Try to apply the Glossy Accents slowly and in one application. You are less likely to get bubbles or make a mistake. I find it is best to keep the tip of the bottle slightly under the Glossy Accents as I slowly squeeze it out. Your image will appear cloudy until it has dried.
-
 Step 9
Once the Glossy Accents has fully dried, you can attach your escutcheon to the piece of venise lace of your choice. I use the brads that come in the Tim Holtz sets but you might want to consider securing it with some sort of craft glue that works on a variety of surfaces.
-
 Step 10
Use your imagination. You can attach your key in a number of different ways.
-
 Step 11
Enjoy your work or give it as a gift!!


Comments

