
About
a simple kawaii zombie bunny stuffed animal from Japan
I DONT OWN THE ORIGINAL PATTERN!! I just changed it for my purposes, please observe the original creator.
I found this, but didn't like how he did it or how it turned out very well. some parts I also didn't use.
NOTE: please look at this before you continue
http://b4astudios.blogspot.com/2013/09/how-to-make-zombbet-plushie-tutorial.html
Tags
Downloads
- 2014-04-05-033105-zombitt_20pattern.jpg 73.7 KB [ Download ]
-
 Barbara M. favorited Kawaii Zombbit San X Plushie
30 Aug 20:47
Barbara M. favorited Kawaii Zombbit San X Plushie
30 Aug 20:47
-
 Neko-San K. favorited Kawaii Zombbit San X Plushie
31 May 20:50
Neko-San K. favorited Kawaii Zombbit San X Plushie
31 May 20:50
-
 Emma H. favorited Kawaii Zombbit San X Plushie
28 Dec 19:13
Emma H. favorited Kawaii Zombbit San X Plushie
28 Dec 19:13
-
 Summer O. favorited Kawaii Zombbit San X Plushie
16 Jul 01:27
Summer O. favorited Kawaii Zombbit San X Plushie
16 Jul 01:27
-
 angel.zoey favorited Kawaii Zombbit San X Plushie
07 Sep 15:14
angel.zoey favorited Kawaii Zombbit San X Plushie
07 Sep 15:14
-
 Bunny favorited Kawaii Zombbit San X Plushie
27 Apr 12:46
Bunny favorited Kawaii Zombbit San X Plushie
27 Apr 12:46
-
 Jordyn N. favorited Kawaii Zombbit San X Plushie
13 Apr 16:15
Jordyn N. favorited Kawaii Zombbit San X Plushie
13 Apr 16:15
-
Jordyn N. added Kawaii Zombbit San X Plushie to Mom Birthday Ideas
13 Apr 16:15
-
Jordyn N. added Kawaii Zombbit San X Plushie to Stuffed Animals
13 Apr 16:03
-
 alexandra g. published her project Kawaii Zombbit San X Plushie
05 Apr 03:22
alexandra g. published her project Kawaii Zombbit San X Plushie
05 Apr 03:22
You Will Need
-
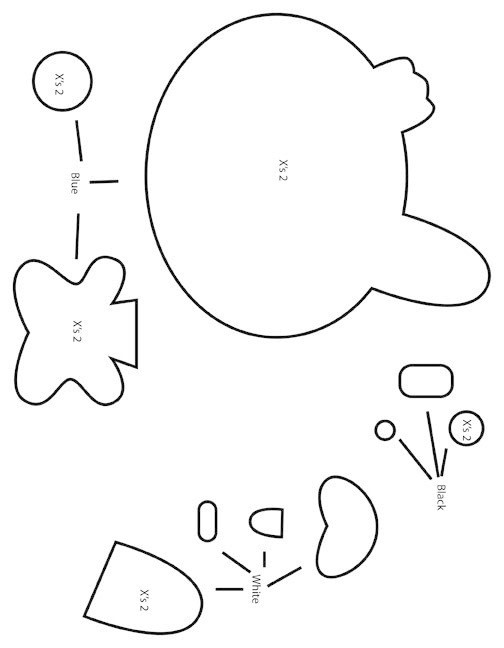
 Step 1
print out pattern. I printed mine on 11 by 17 inches paper so it would be bigger
-
 Step 2
draw outline on fabric. cut around outline. put piece on top of more fabric and cut around it to get second part. pin them together
-
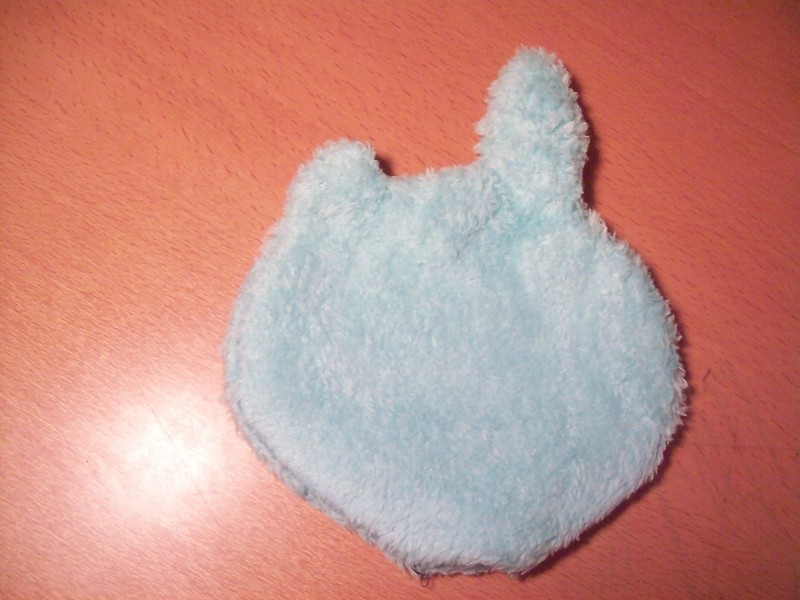
 Step 3
sew along line. leave space at bottom just big enough to insert neck of the body (later step). cut slits around edge.
-
 Step 4
turn head inside out
-
 Step 5
sew on face.
-
 Step 6
sew body the same way you did the head. leave neck open
-
 Step 7
turn body inside out, and sew on a pompom tail
-
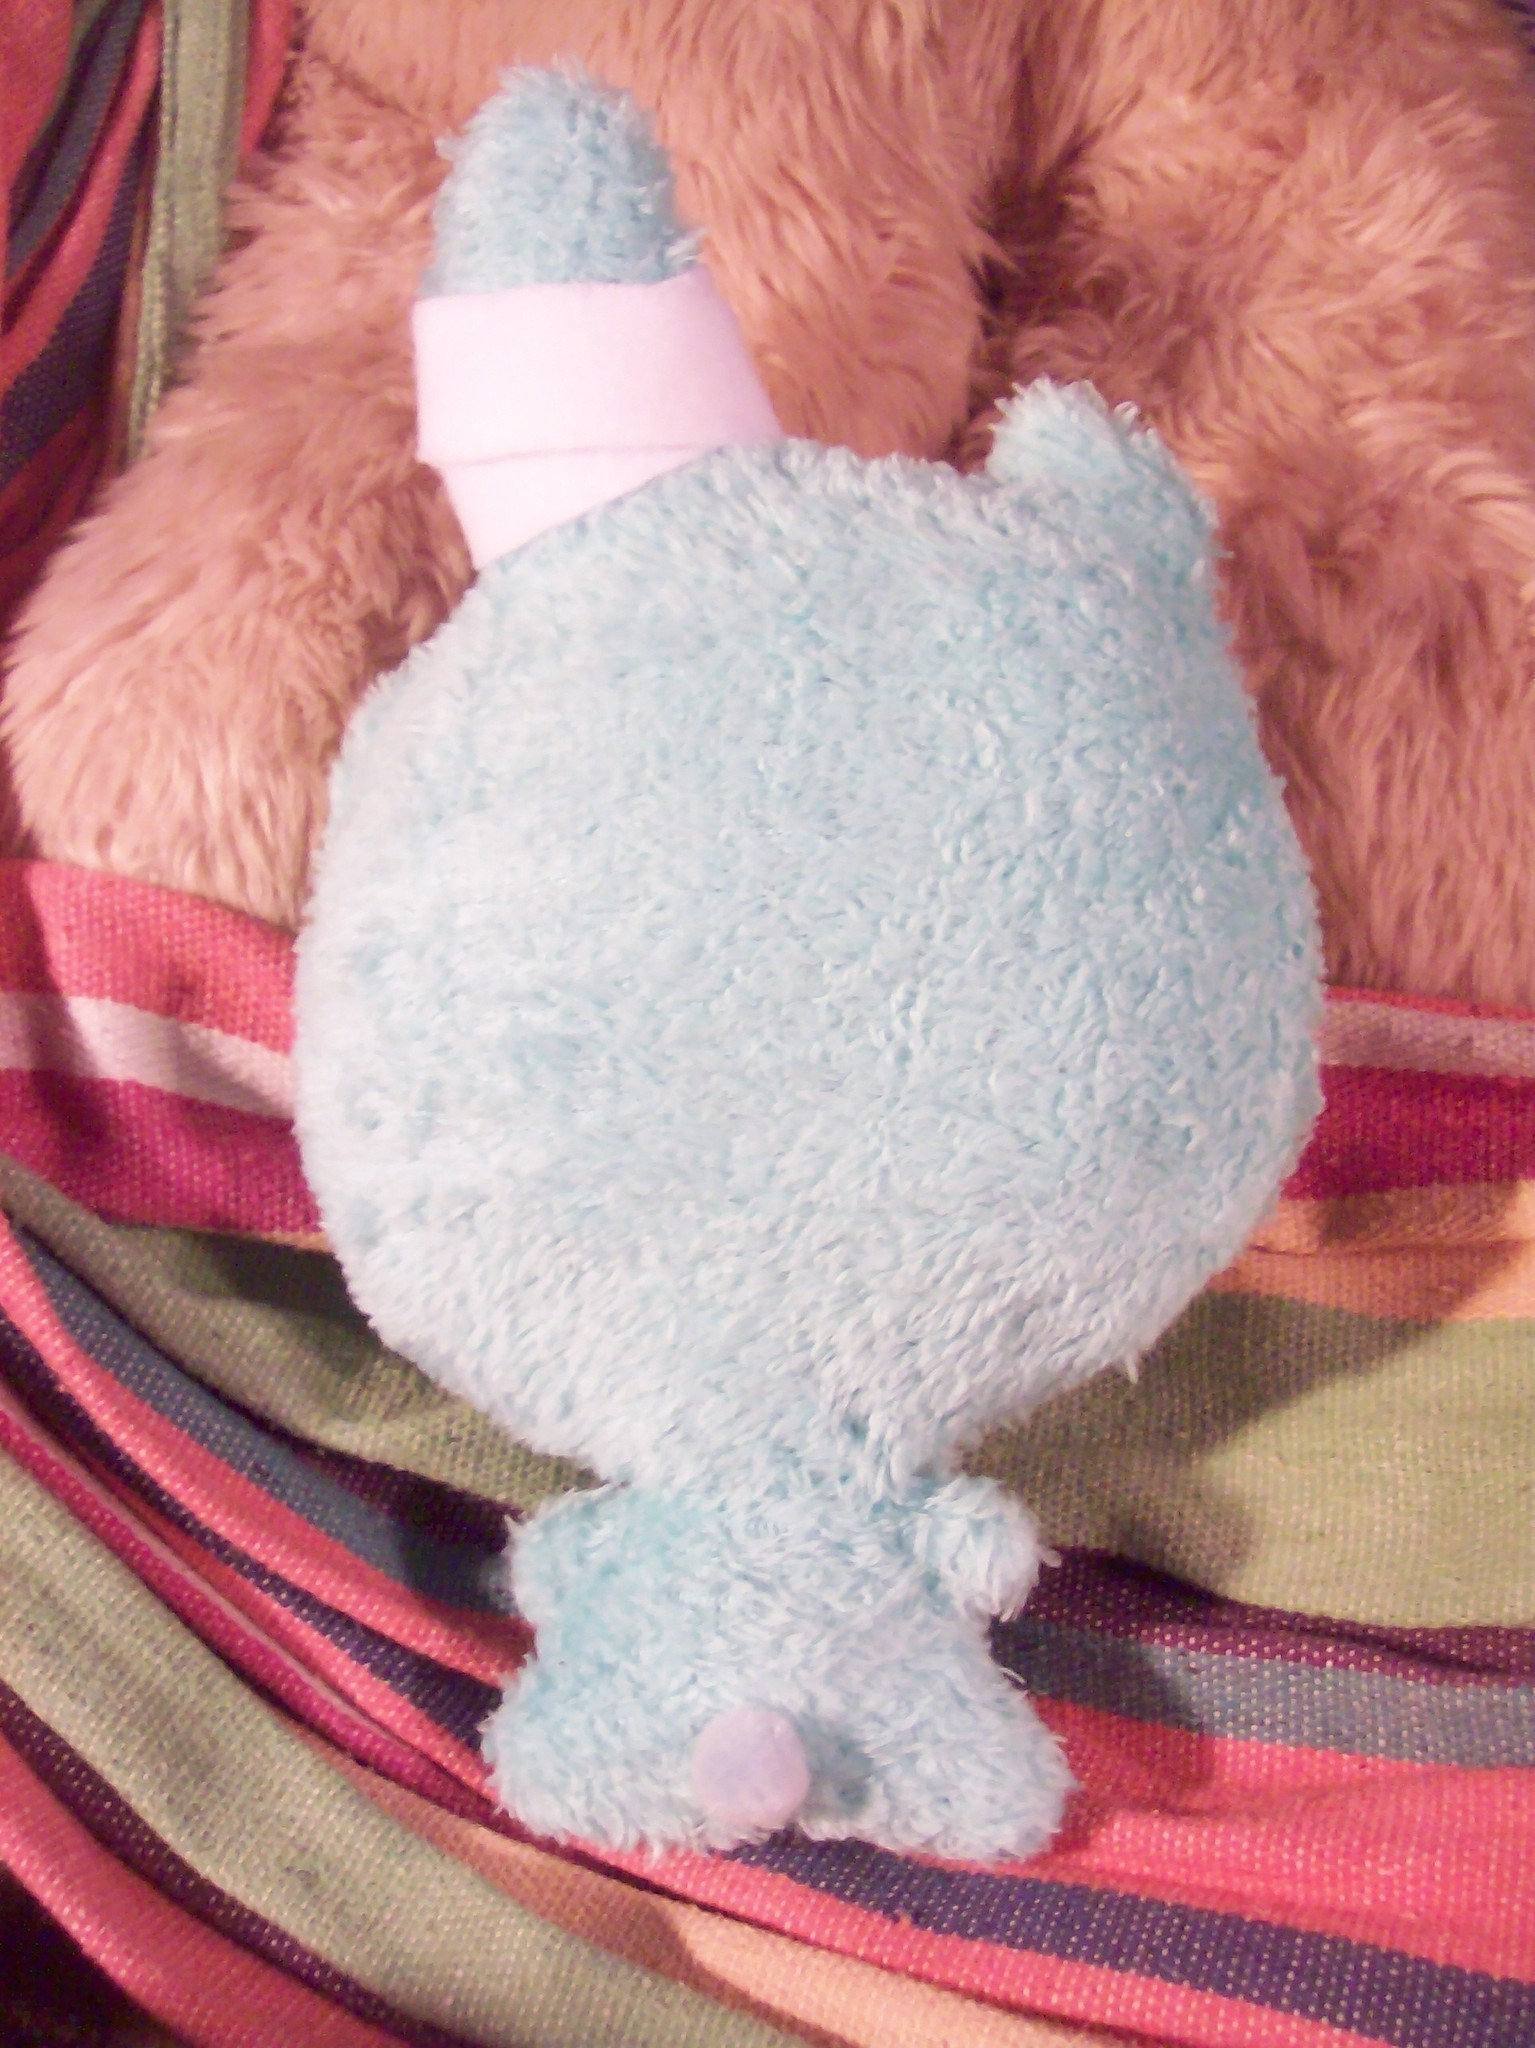
 Step 8
stuff body and head. turn raw seams inward on the head, stick neck into opening, and sew the body to the head. for a bandage, cut a strip of white about so long.
-
 Step 9
wrap bandage around ear and sew on.