About
Easy recycled tote that can be made in different sizes!
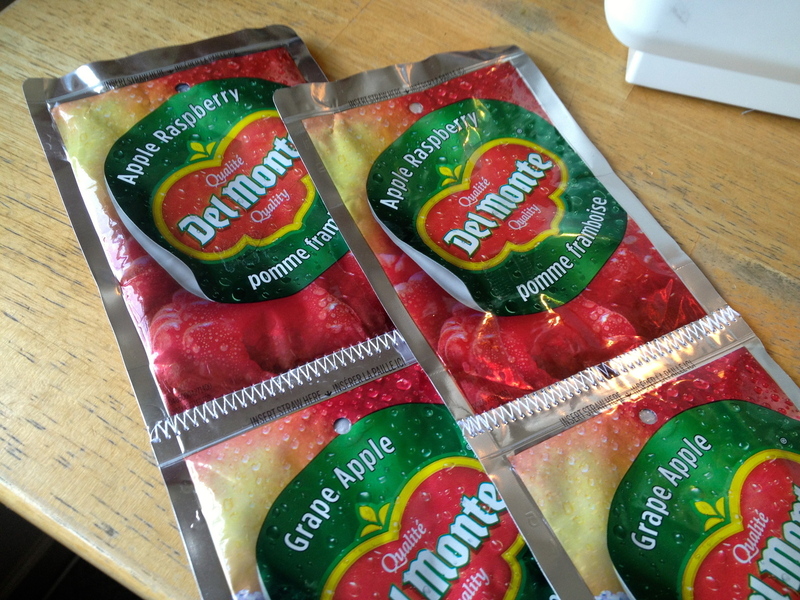
Don't throw away those juice pouches! You can use them to create this great tote. This is a great project for beginners since it doesn't require cutting out any patterns and is fully customizable. Please let me know in the comments if there is a step that isn't very clear!
Quick notes: When I give dimensions (small x), I mean number of pouches height x width x depth.
When I give quantities, I use big X's.
Tags
-
 Key West Witch favorited Juice Pouch Tote
27 Jun 13:32
Key West Witch favorited Juice Pouch Tote
27 Jun 13:32
-
 Alex B. favorited Juice Pouch Tote
10 Jul 02:41
Alex B. favorited Juice Pouch Tote
10 Jul 02:41
-
 Lyly K. favorited Juice Pouch Tote
12 Nov 00:20
Lyly K. favorited Juice Pouch Tote
12 Nov 00:20
-
Iris E. favorited Juice Pouch Tote
17 Aug 06:55
-
 darlene.mickey.9 favorited Juice Pouch Tote
11 Aug 22:41
darlene.mickey.9 favorited Juice Pouch Tote
11 Aug 22:41
-
 Reina M. favorited her project Juice Pouch Tote
24 Jul 19:31
Reina M. favorited her project Juice Pouch Tote
24 Jul 19:31
-
 melia.person favorited Juice Pouch Tote
21 Jul 15:09
melia.person favorited Juice Pouch Tote
21 Jul 15:09
You Will Need
-
 Step 1
PREPARATION
Once you've collected your juice pouches, slit the bottoms with a pair of scissors and clean them out with warm soapy water and let them air dry. You don't want sticky juice on our tote.
Take a look at my "juice pouch purse" project if you aren't sure how to do this.
You can set your sewing machine to a zig zag stitch with a length between 1 and 2. Make sure to test your tension by running a few tests on a folded juice pouch. If the threads are bunching up at the bottom, adjust the tension so that the top thread is tighter.
-
 Step 2
CREATING THE PATTERN
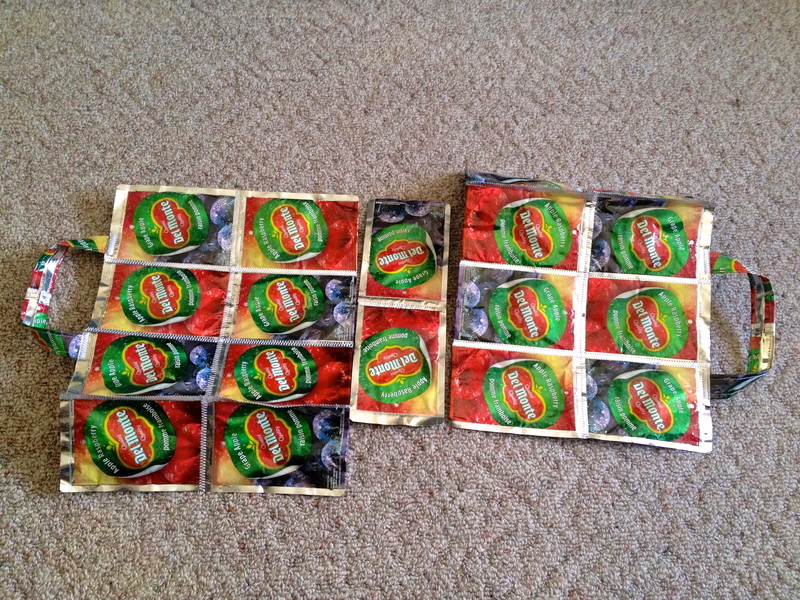
For this project, I decided to make it 2x3x1, but you can make your bag whatever size you want. To make this size, you'll need 20 pouches ( 2X6 [front/back panels], 2X2 [side panels], 1X2 [bottom panel], 2X1 [handles] ) I also have a bag that is 2x2x1 which is perfect as a lunch bag.
*I'll start abbreviating the panel names from here (i.e. front panel = FP, bottom panel = BP, etc.)
Once you have decided on the dimensions, you're going to lay them out like this so that the SPs are on the right side of the FP/BP, and turn the BP+its SP upside down.
-
 Step 3
FRONT & BACK PANEL
To make the FP, we're going to sew the 1x3 pieces, and then we'll join the two pieces together.
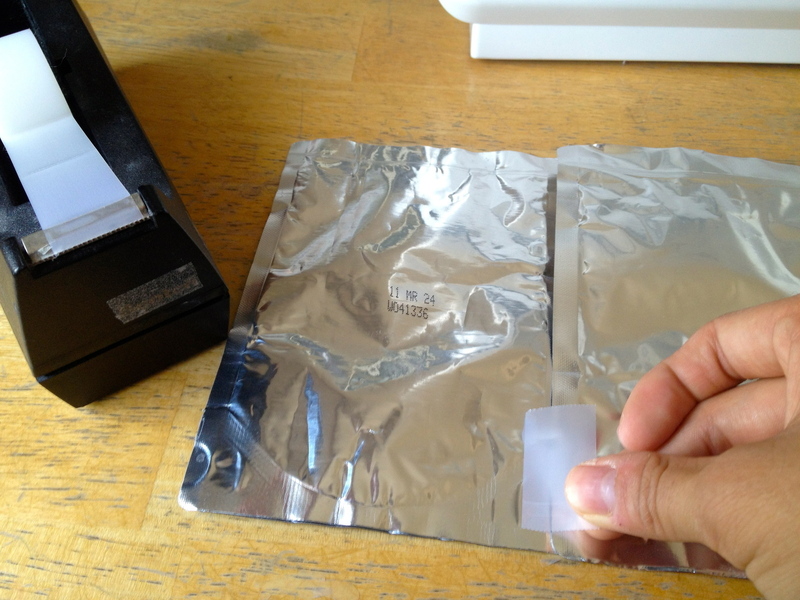
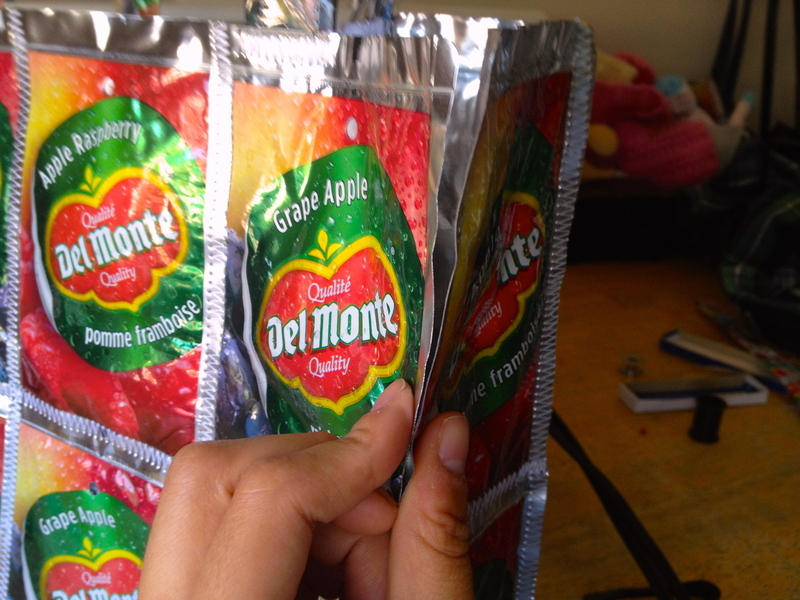
You want to arrange your pouches so that the silver parts on the sides are overlapping. Since needles will leave holes in the plastic, I opt for some regular old scotch tape (don't worry, we'll take most of it off after!). You can flip it over and adjust it in the front.
Do this for all 4 of your 1x3 pieces from the FP and the BP
-
 Step 4
When sewing, you want to make sure to back stitch at the beginning and the end to make sure the thread doesn't come out.
-
 Step 5
You should end up with 4 of these; 2 for your FP and 2 for your BP.
-
 Step 6
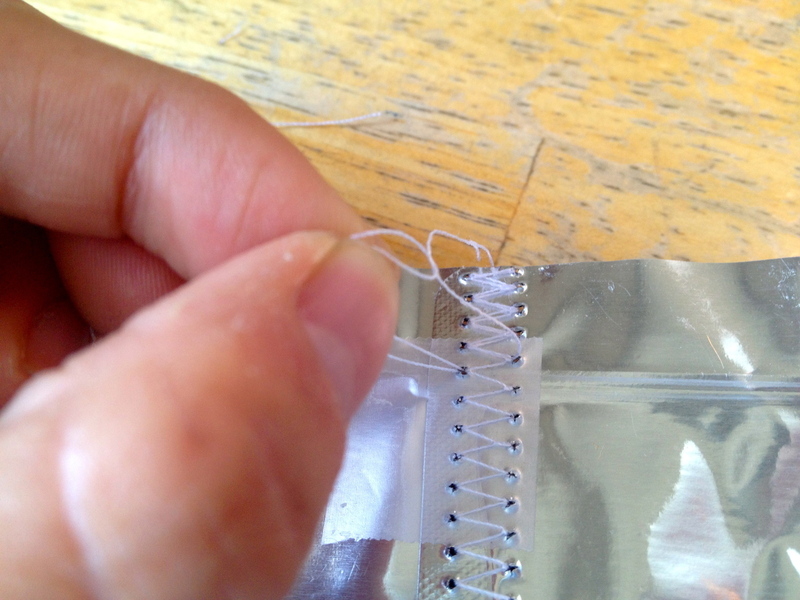
Once you have finished sewing all your 1x3 pieces, you can clean up the back by peeling off the tape (some of it will stay on), pulling the front threads to the wrong side, and trimming the loose threads.
-
 Step 7
Now you're going to overlap the top and bottom pieces and sew all the way across. Once you're done, clean up the back (I'll assume you'll do this after all the sewing steps)
-
 Step 8
.
-
 Step 9
SIDE PANELS
To make the side panels, you're going to have the same height as your FP, and whatever depth you like. I kept mine 1 pouch deep. Go ahead and tape the overlapping two pieces and sew across.
-
 Step 10
You should end up with 2 SPs that look like this.
-
 Step 11
BOTTOM PANEL
The instructions of the BtP change depending on what the width of your pouch is, but for this tote you can simply make another SP piece since it pretty much fits the width of the FP.
Otherwise, if you decide to make a pouch that has a smaller or larger width, you're going to have to adjust the BtP by overlapping until it fits the width of the FP.
-
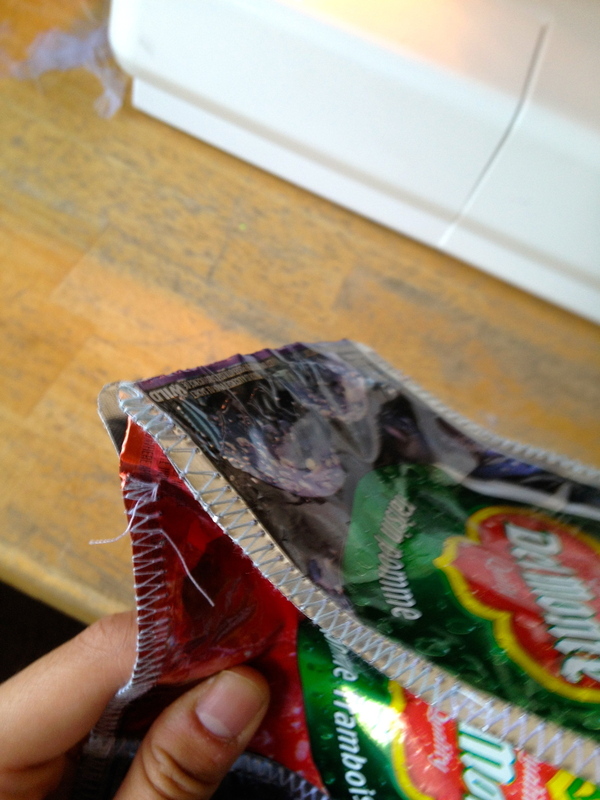
Step 12
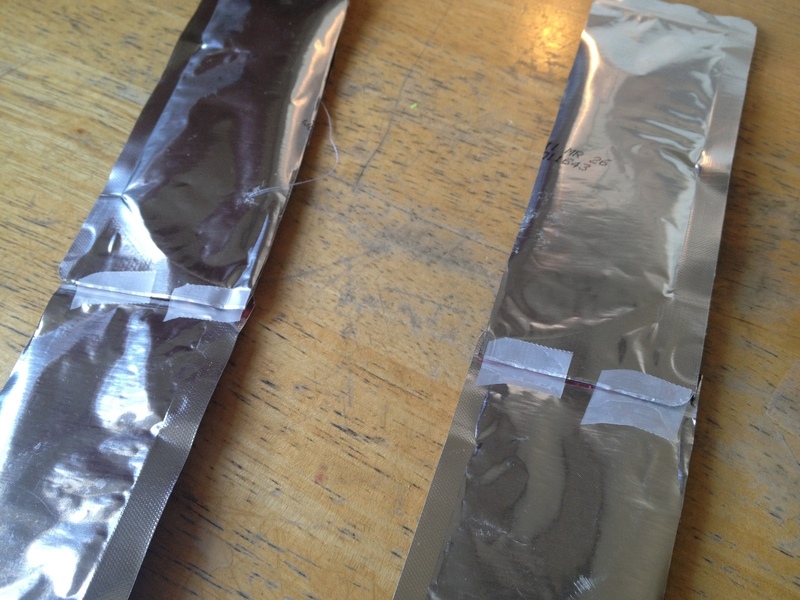
In this other pouch I made, you can see that the pouches are overlapping a lot and has two stitches across where the end of both pouches are. Alternatively, you can cut one of the pieces so it fits and make only one stitch.
-
 Step 13
HANDLES
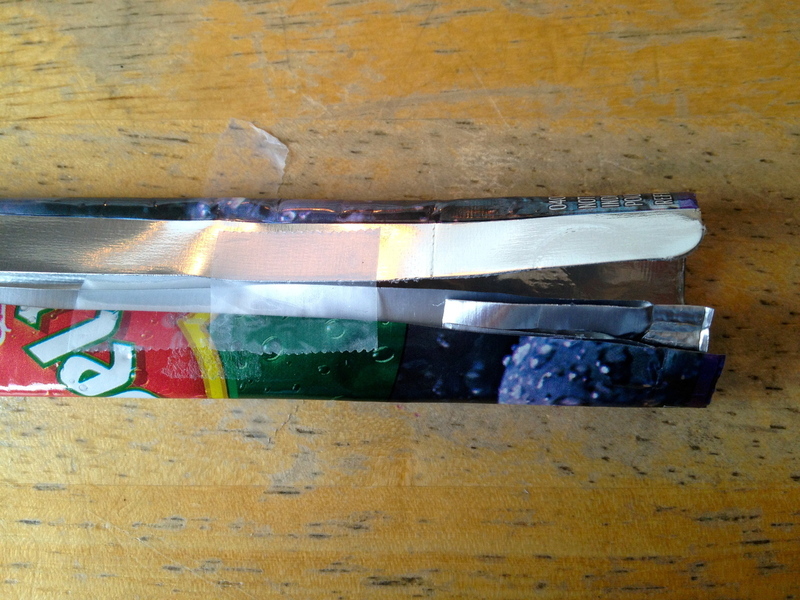
To make the handles, you're gonna go ahead and fold the 2 pouches in half, and cut them straight down the middle.
I tend to keep it to 2 pouches per bag whatever the size is, but I guess you could use 3 or more if you want a longer handle.
-
 Step 14
.
-
 Step 15
Stack them on top of each other like this and tape.
-
 Step 16
You want to make sure you go back and forth 2-4 times since this part holds a lot of the weight.
-
 Step 17
Take the edges and fold them into the middle like so and tape them down.
-
 Step 18
Now this is more for style, but if you want, you can change your sewing machine to a straight stitch (I like to use the one thats to the side so I can line up the foot with the edge of the handle). I also change my length to 2-3.
Again, test on a folded juice pouch to see how it looks before you sew since you can't take just take out the thread and try again.
-
 Step 19
Repeat this on the other side and repeat the whole process with the other handle so you end up with 2 handles.
-
 Step 20
.
-
 Step 21
ASSEMBLY: HANDLES
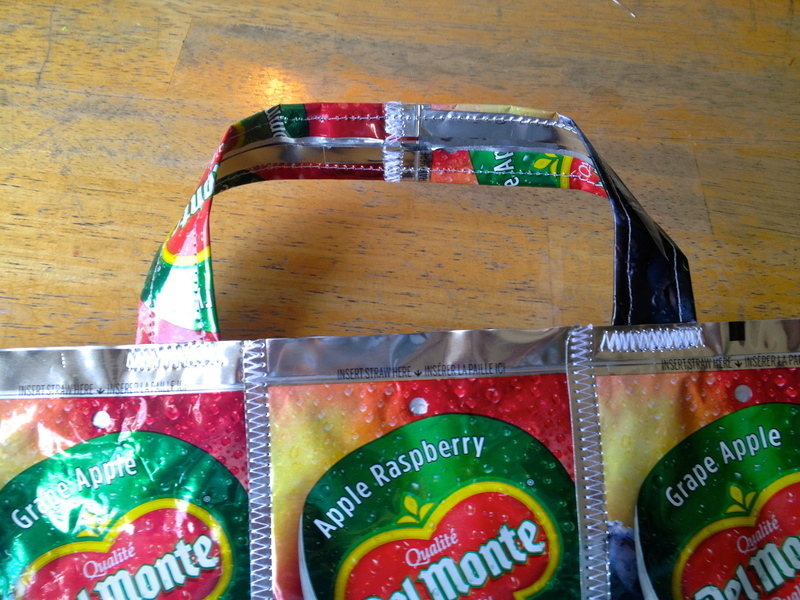
We can finally assemble all these pieces into a tote! First, we're going to attach the handles to the FP and the BP.
Go ahead and tape the handles onto the wrong side of the FP like so, making sure that the right side is facing the right way.
Make sure to change the sewing machine back to the same settings as before with a zig zag stitch and a shorter length.
-
 Step 22
Again, this part will carry a lot of weight so you're going to want to go over it 3-4 times. Repeat this with the other handle.
-
 Step 23
.
-
 Step 24
ASSEMBLY: SIDE PANELS
Next you're going to sew the side panels onto the right sides of the FP and BP. (I actually sewed it on the left side here, but it doesn't matter as long as you do the same thing for the FP and the BP) From here on, you're gonna want to zig zag stitch right to the edge for a more polished look.
By the way, I like to tape it here since it won't get in the way of the needle and I can peel it off easily.
Repeat this on the BP, and make sure you sew it the same way as the FP.
-
 Step 25
.
-
 Step 26
ASSEMBLY: BOTTOM PANEL
These are the pieces you are going to be left over with. First you're going to sew the BtP to the FP, then the BP.
-
 Step 27
You might not be able to sew all the way to the edge, but that's okay. You don't really want to sew over the SP stitch or else it'll be pinched in the corner.
Now sew the other side to the bottom of the BP.
-
 Step 28
This is what you should end up with.
-
 Step 29
ASSEMBLY: FINAL
Now fold it up into the tote shape and tape the unsewn SP. Here, I like to tape the edges, and take off the tape as I go. Don't b afraid to squish the rest of the bag so you can flatten it and sew easier.
It is possible
Repeat with the other unsewn SP edge.
-
 Step 30
I wasn't able to get a really good picture of this, but to sew the bottom, you want to align the unsewn BtP and the SP and squish it so it's flat enough to sew.
Again, you don't need to sew all the way to the edge (maybe leave 5-10mm) so it doesn't pinch at the bottom.
Repeat with the other unsewn BtP and SP edge.
-
 Step 31
.
-
 Step 32
There! You're done!
I know there seems to be a lot of steps, but don't be afraid to try it! It's a good project for beginner sewers and doesn't require cutting out patterns.
I hope this tutorial was helpful, please comment and let me know if you give it a try!