


About
keep and show your treasures on the inside and outside!
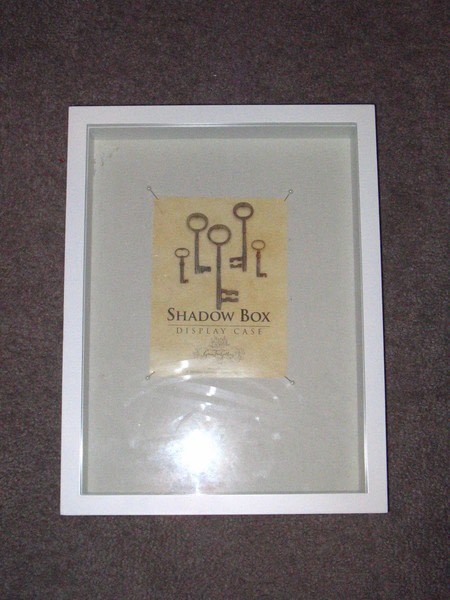
I had this idea last year to make a picture that opened and jewelry could be stored behind it, so I was going to make my own box from scratch, but my mom found this shadow box that has a hinge and magnet so it could be easily opened... then this past year Wal-Mart started carrying the exact thing I wanted to make! this is why when you have an idea you need to jump on it right away! anyhoo... this is my version from the premade hinged shadow box.
-
 alp.zoey added Jewelry Box Picture Frame to Storage
18 Aug 05:27
alp.zoey added Jewelry Box Picture Frame to Storage
18 Aug 05:27
-
 Debbie P. favorited Jewelry Box Picture Frame
05 Aug 01:24
Debbie P. favorited Jewelry Box Picture Frame
05 Aug 01:24
-
 Kinhime Dragon added Jewelry Box Picture Frame to alter
09 Jul 19:12
Kinhime Dragon added Jewelry Box Picture Frame to alter
09 Jul 19:12
-
 Len favorited Jewelry Box Picture Frame
01 Jun 18:45
Len favorited Jewelry Box Picture Frame
01 Jun 18:45
-
Kinhime Dragon commented on Jewelry Box Picture Frame
31 Oct 15:53
-
Kinhime Dragon favorited Jewelry Box Picture Frame
31 Oct 15:53
-
Kinhime Dragon added Jewelry Box Picture Frame to things to make
31 Oct 15:53
-
Sue S. favorited Jewelry Box Picture Frame
24 Jul 07:07
-
 Joyb22 favorited Jewelry Box Picture Frame
25 Jun 10:04
Joyb22 favorited Jewelry Box Picture Frame
25 Jun 10:04
-
 BJenkin added Jewelry Box Picture Frame to Display ideas
09 Nov 19:49
BJenkin added Jewelry Box Picture Frame to Display ideas
09 Nov 19:49
-
 Step 1
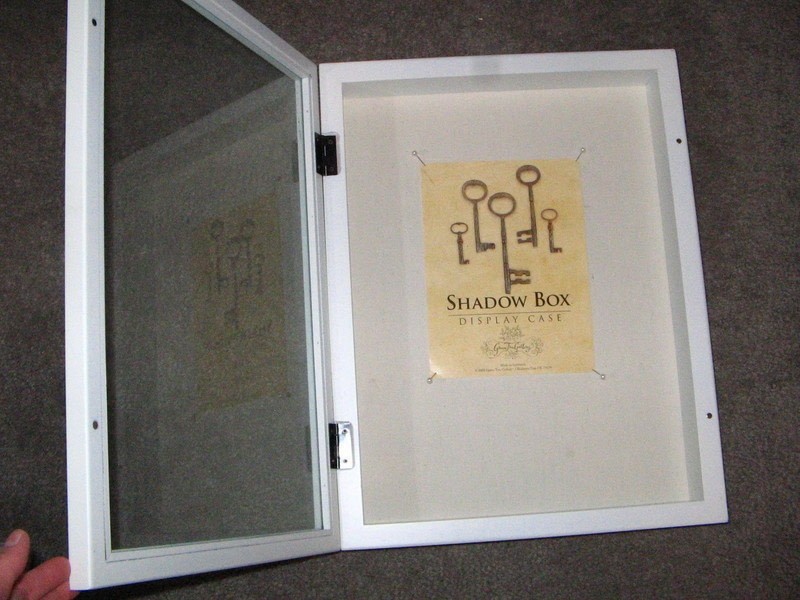
either find this kind of shadow box, or adapt a shadow box and frame to do the same thing... or make one from scratch.
-
 Step 2
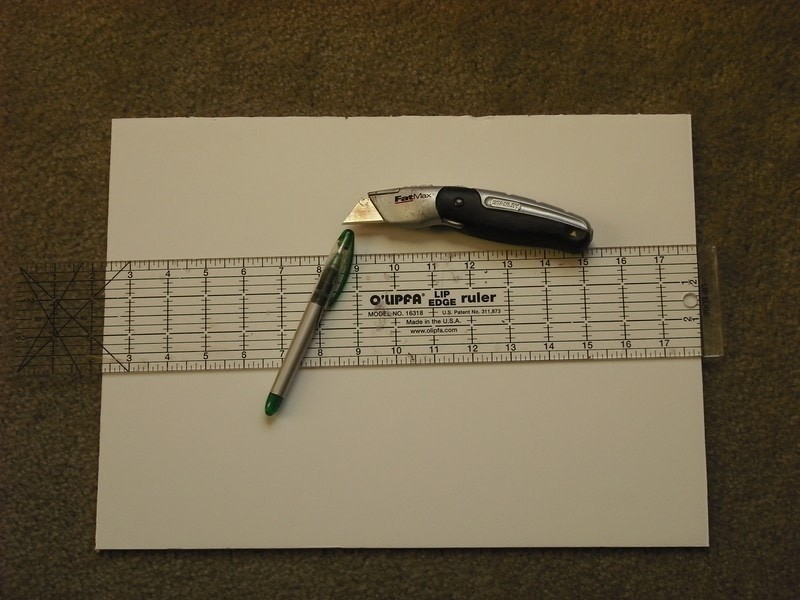
measure the inside of the frame.
-
 Step 3
cut your foam board to fit - this is optional, I just wanted to add dimension behind my pictures, but if you don't use foam board just cut your paper to fit the glass.
-
 Step 4
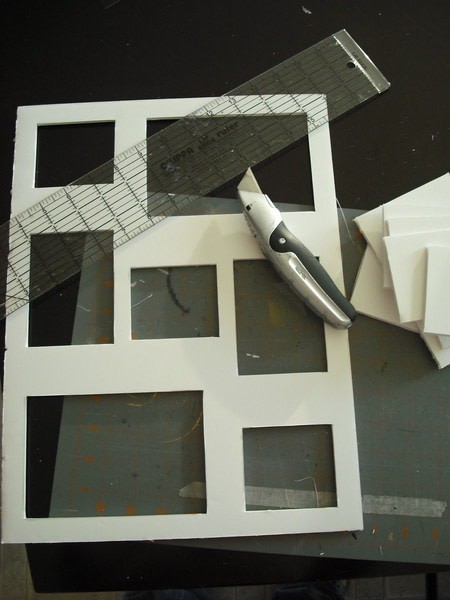
decide the placement of your pictures and trace around them on your foamboard.
-
 Step 5
cut out the along the lines you traced with a SHARP blade. if you use foamboard, this is VERY important so you don't chew up the foam around the edges if you're not going to cover them in paper.
-
 Step 6
cut sequencially smaller frames (I just did two) to add behind the picture sized holes in the main foamboard piece.
-
 Step 7
cover your foam board edges with paper or paint it... or leave it how it is.
I did doodles with a felt tip marker on plain white cotton paper to cover my edges with. -
 Step 8
after your have your pictures and foreground in place, it's time to finish the inside.
the back of the picture board looked like crap when I got it all glued up, so I covered it with a piece of cardboard and some fabric since it's visible when opened. also gave me another surface to put pins in - just remember if you do that not to poke through your pictures!!
-
 Step 9
anyway - got a little ahead of myself there! - I cut my board so it was a snug fit inside the part that holds the glass in so I didn't need to do anything but press it into place for it to stay. you may need to use some tape or something not so permanent to fix it into place if the inside of your frame doesn't have enough of a lip.
-
 Step 10
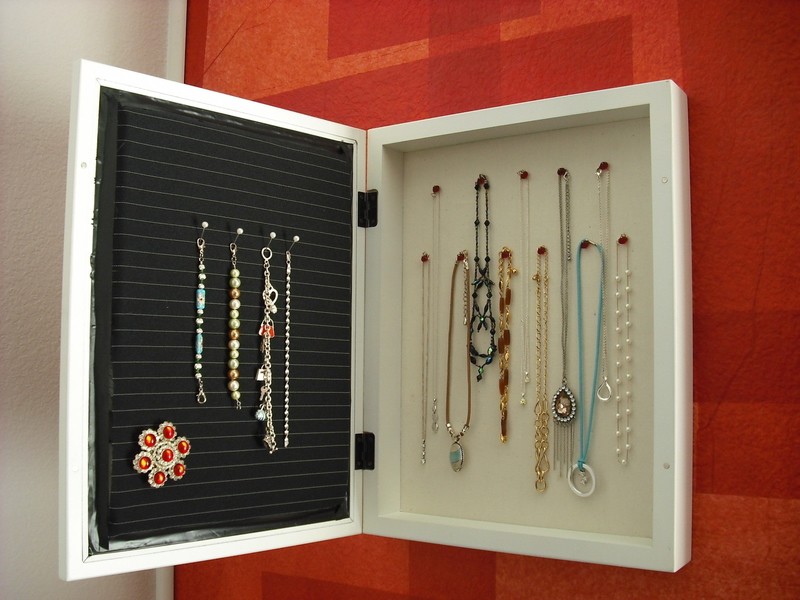
mine came with a fabric covered board that you can push pins into on the back, but if yours doesn't you can take a piece of foam or cardboard or more foam board that fits snug inside the box and cover it with fabric so you have a place to push the pins into to hang your jewelry on.
you can also have more permanent hangers and find small hooks and knobs to attatch to the back of the box with screws. I want to be able to have the freedom to move mine around so I just put beads on pins.
-
 Step 11
mount to the wall and hang all your stuff in it.
I hung mine so the hinge side isn't visible when you walk in the room... makes it a little more secret!


<3