
About
Illustrations with embroidery
When I was in elementary school my family moved from the city to a small village and I found myself suddenly in a new school with needlework as a subject. The other kids in my class could knit and crochet and I could tilt juice over my needlework and make some quite elaborate knots with yarn, which unfortunately were all completely unintentional.
A year later, I changed to the next school, which had a shop class and decades have passed in which I always slightly winced when I saw a cross-stitch somewhere. So no one is more surprised than I* am that I have now tried myself on embroidery. In fact, embroidery is just like painting with yarn and if you do not want to, you don´t even have to use a cross-stich! Who knew?
-
 Ellie C. favorited Illustrations With Embroidery
03 Feb 13:53
Ellie C. favorited Illustrations With Embroidery
03 Feb 13:53
-
 Leia B. added Illustrations With Embroidery to make arts & crafts supplies
20 Apr 19:18
Leia B. added Illustrations With Embroidery to make arts & crafts supplies
20 Apr 19:18
-
 Gemma favorited Illustrations With Embroidery
02 Apr 19:16
Gemma favorited Illustrations With Embroidery
02 Apr 19:16
-
 Kimya J. favorited Illustrations With Embroidery
29 Oct 22:41
Kimya J. favorited Illustrations With Embroidery
29 Oct 22:41
-
 Cake Eater Sarah added Illustrations With Embroidery to Home Decor
12 Oct 23:54
Cake Eater Sarah added Illustrations With Embroidery to Home Decor
12 Oct 23:54
-
 Alissa B. favorited Illustrations With Embroidery
30 Jul 21:50
Alissa B. favorited Illustrations With Embroidery
30 Jul 21:50
-
 Chudames favorited Illustrations With Embroidery
27 Jul 08:04
Chudames favorited Illustrations With Embroidery
27 Jul 08:04
-
 Amalie favorited Illustrations With Embroidery
25 Jul 20:30
Amalie favorited Illustrations With Embroidery
25 Jul 20:30
-
 Emma H. favorited Illustrations With Embroidery
24 Jul 21:08
Emma H. favorited Illustrations With Embroidery
24 Jul 21:08
-
 ale_corason favorited Illustrations With Embroidery
24 Jul 06:52
ale_corason favorited Illustrations With Embroidery
24 Jul 06:52
-
 Step 1
First, you need an embroidery hoop. The size of the hoop depends on what method you want to use to print on the fabric.
-
 Step 2
I have cut my fabric to a Din-4-size and ironed it on this paper. This way I could print on the fabric with my inkjet printer like with normal paper. Afterwards, you just have to remove the wax paper from the fabric.
-
 Step 3
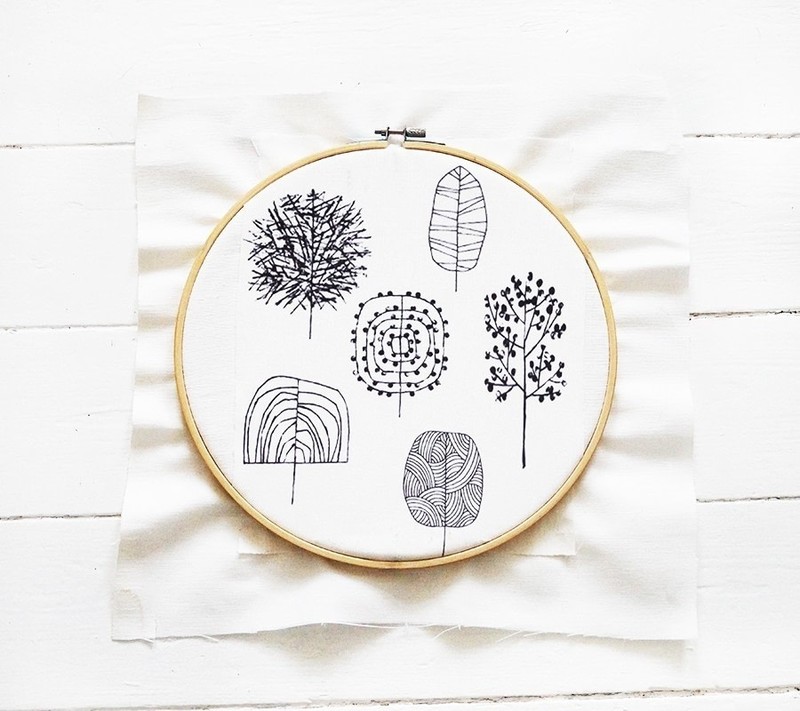
Next, you need a motive. This step did cost me a week. That's what happens when you look for illustrations on Pinterest! These trees are made by the designer Eloise Renouf, which creates absolutly wonderful prints and fabrics.
-
 Step 4
Since two of my hoops were larger than DIN-4 I have cut a bigger extra layer of fabric on which I glued my DIN-4 print. Days later a friend of mine asked me why I didn´t make a DIN-3 print at a copy shop. Well, good Question!
-
 Step 5
Now you only need to clamp the fabric in the hoop...
-
 Step 6
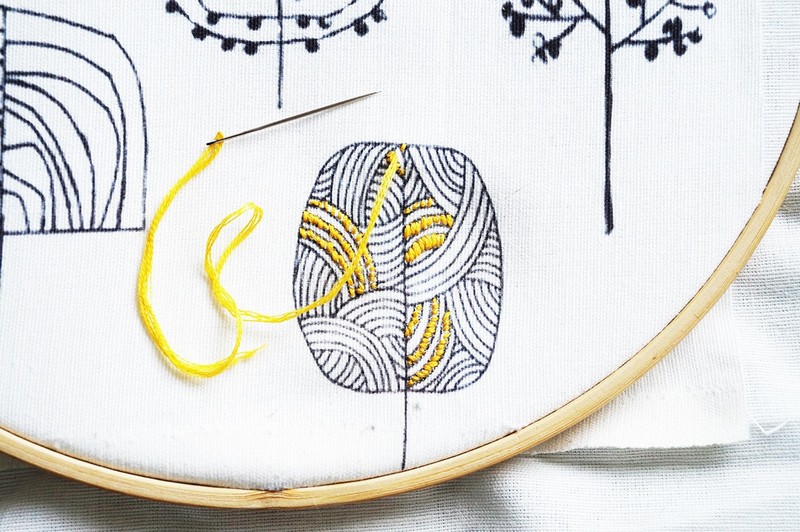
... and then you can begin to embroider. When you're done, you leave the fabric inside the hoop and just cut off the edge. Here is my little finished gallery.
-
 Step 7
First
-
 Step 8
Second
-
 Step 9
Third