
About
Make button holes by knitting an i-cord with Knit Purl in Portland
I-cord is an easy addition to a variety of projects. It can be added on to weight a stockinette edge, or attached along the edge of a sweater to create button loops. Use the same color as your project, or choose a coordinating color to brighten up a basc.
-
 bigrthanlasagna favorited I Cord Buttons
12 Nov 11:05
bigrthanlasagna favorited I Cord Buttons
12 Nov 11:05
-
 Shop Showcase published her project I Cord Buttons
04 Nov 12:52
Shop Showcase published her project I Cord Buttons
04 Nov 12:52
You Will Need
-
 Step 1
To do an afterthought i-cord edge, you start by casting on two stitches onto your desired double-pointed needles. It’s very important to use a double pointed needle for this, since you’ll be sliding your stitches back and forth on the single needle instead of turning the work.
-
 Step 2
Next, without turning the needle, you’ll knit the first two stitches — if you’ve done an i-cord before this will seem familiar. If you haven’t, just trust us — we know the yarn coming from the wrong direction seems weird, but it works!
-
 Step 3
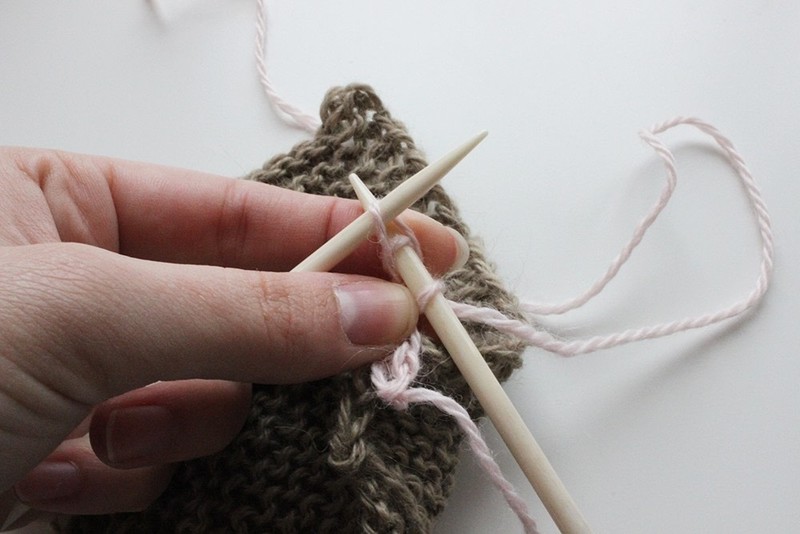
To add your ‘third’ stitch, you’ll slide the left-hand needle into the fabric and loop the yarn around, as if the picked up edge is your third stitch. Knit this as normal:
-
 Step 4
Then, you’ll have 3 stitches on your needle. Slide them from the left end of the right-hand needle to the right end, and knit them, bringing the yarn around in the back, like you would for standard i-cord.
-
 Step 5
At this point, you’ll slip the middle stitch over the furthest left stitch (the one that is connected to the edge of your piece,) to return you to two stitches.
-
 Step 6
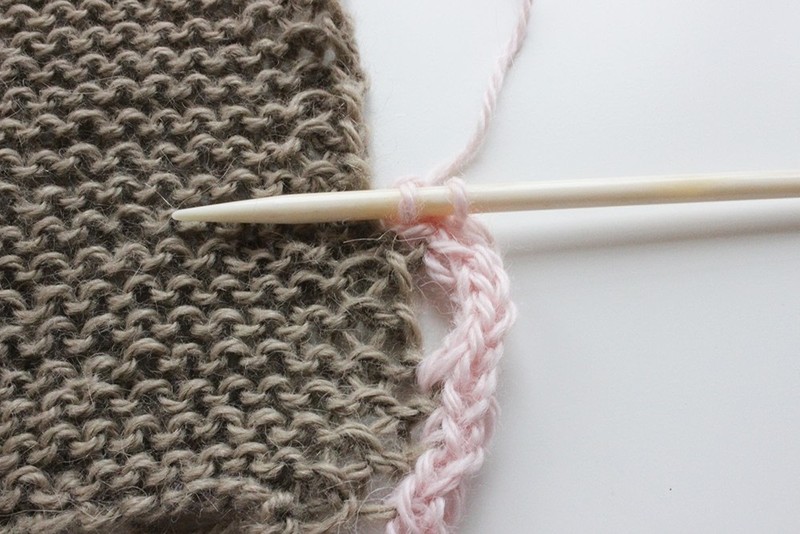
Repeat these steps and you’ll start to see an i-cord forming along the edge.
-
 Step 7
To make a button loop, you’ll keep your three stitches (don’t slip the middle over the left-most stitch) and just knit standard i-cord away from the piece for a moment. For these buttonholes, we kept the i-cord only three stitches tall.
-
 Step 8
When you’re ready, connect it back into the fabric by slipping that middle stitch over and picking up your third stitch through the fabric. This forms your button hole loop!
-
 Step 9
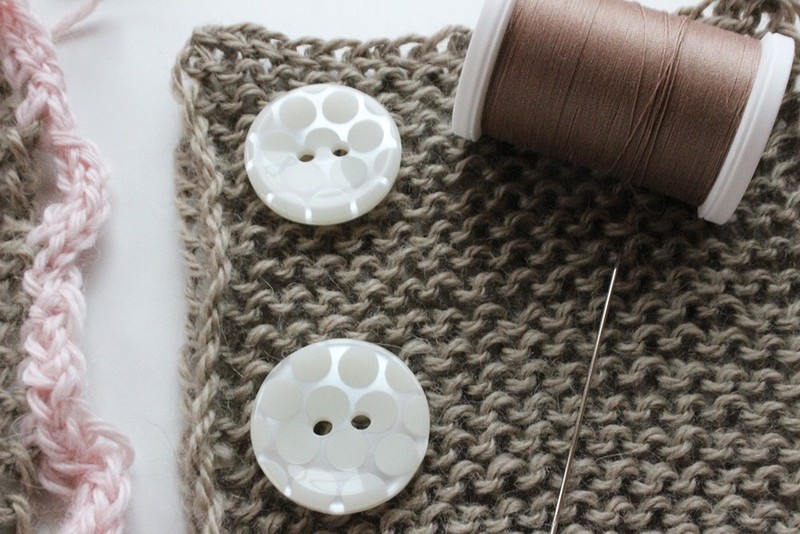
Did you know there is a proper way to sew on a button? While you might believe you simply criss-cross the thread through and around the fabric, you’ll have much more success with buttons raised above their base by adding a thread shank. With knits, you want to have a shank so that less stress is put on the actual fabric, which can stretch out of shape.
-
 Step 10
Start by figuring out the placement of your buttons and sewing them on as normal:
-
 Step 11
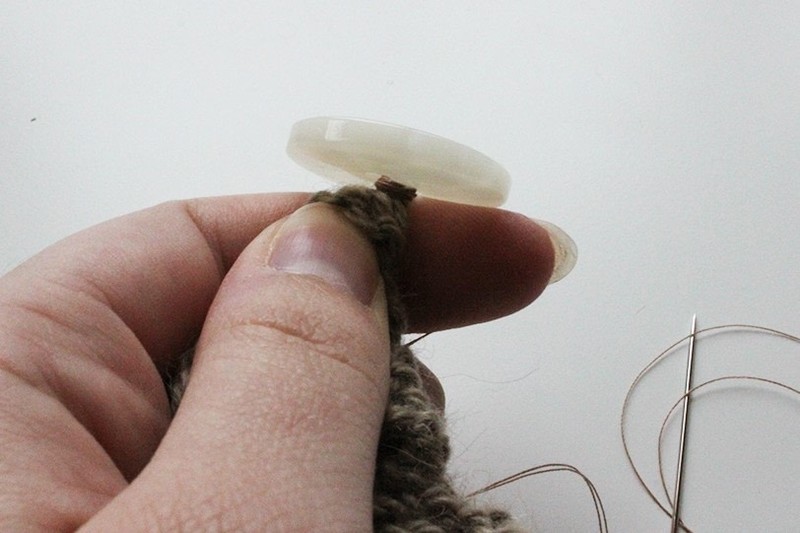
After your button is sewn on, lift by the button and gather the fabric in your hand, bringing the needle up through the back of the fabric, and through the first eye of the button.
-
 Step 12
Bring it back down through the other eye, but don’t catch any of the fabric yet.
-
 Step 13
Wrap the thread several times tightly around the base of the button, then bring the needle down, catching some of these tight wraps before it goes back through the fabric — this forms your shank.
-
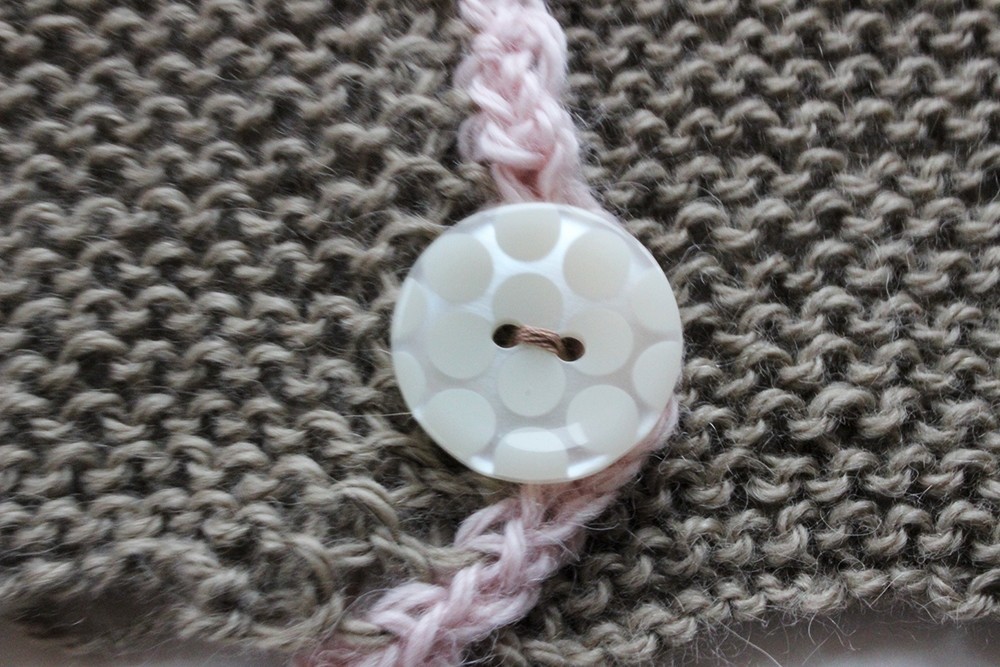
 Step 14
Secure your thread on the other side of the fabric and your button will be good to go — and ready to stand significant wear! Slip it through your i-cord buttonhole and it should look something like this: