


About
It's alot easier than you think.
I've got a pretty solid background now of playing with various resins.
It's alot of fun and you can create so many different pendants, rings and hair clips. Anything from candy, sand, pictures, bugs and dried flowers/plants.
If you have any questions I'll do my best to answer them if you message me about anything I haven't covered in the tutorial.
-
 Key West Witch favorited How To Make Resin Pendants
12 May 15:35
Key West Witch favorited How To Make Resin Pendants
12 May 15:35
-
 Beth Ann E. favorited How To Make Resin Pendants
02 Dec 02:20
Beth Ann E. favorited How To Make Resin Pendants
02 Dec 02:20
-
 Anita H. added How To Make Resin Pendants to My likes
22 Apr 15:05
Anita H. added How To Make Resin Pendants to My likes
22 Apr 15:05
-
Bek S. favorited How To Make Resin Pendants
02 Aug 10:09
-
kera c. added How To Make Resin Pendants to Hmm..Projects of Interest...?
08 Jul 13:20
-
 Amber C. favorited How To Make Resin Pendants
02 Oct 19:50
Amber C. favorited How To Make Resin Pendants
02 Oct 19:50
-
 Stephanie B. favorited How To Make Resin Pendants
24 Sep 11:03
Stephanie B. favorited How To Make Resin Pendants
24 Sep 11:03
-
 Miss Captain Cosplay favorited How To Make Resin Pendants
20 Apr 00:38
Miss Captain Cosplay favorited How To Make Resin Pendants
20 Apr 00:38
-
 Val t. favorited How To Make Resin Pendants
03 Jan 03:37
Val t. favorited How To Make Resin Pendants
03 Jan 03:37
-
Stephanie T. favorited How To Make Resin Pendants
21 Sep 23:46
You Will Need
-
 Step 1
Do as I say not as I do.
Make sure you're wearing clothes you can wreck just in case you wipe or spill resin on you.
I've not used gloves. You REALLY should.
-
 Step 2
Prepare yourself.
***Open your windows*** or even better do this outside. These fumes in the resin I used for this project isn't super bad but you NEED ventilation.
More industrial resins should be used outside and with gas masks.
-
 Step 3
These are a few of the resins I've played with over the years.
You can purchase some at most craft stores OR sometimes at DIY shops sell resins so you can create your own cupboard handles.
-
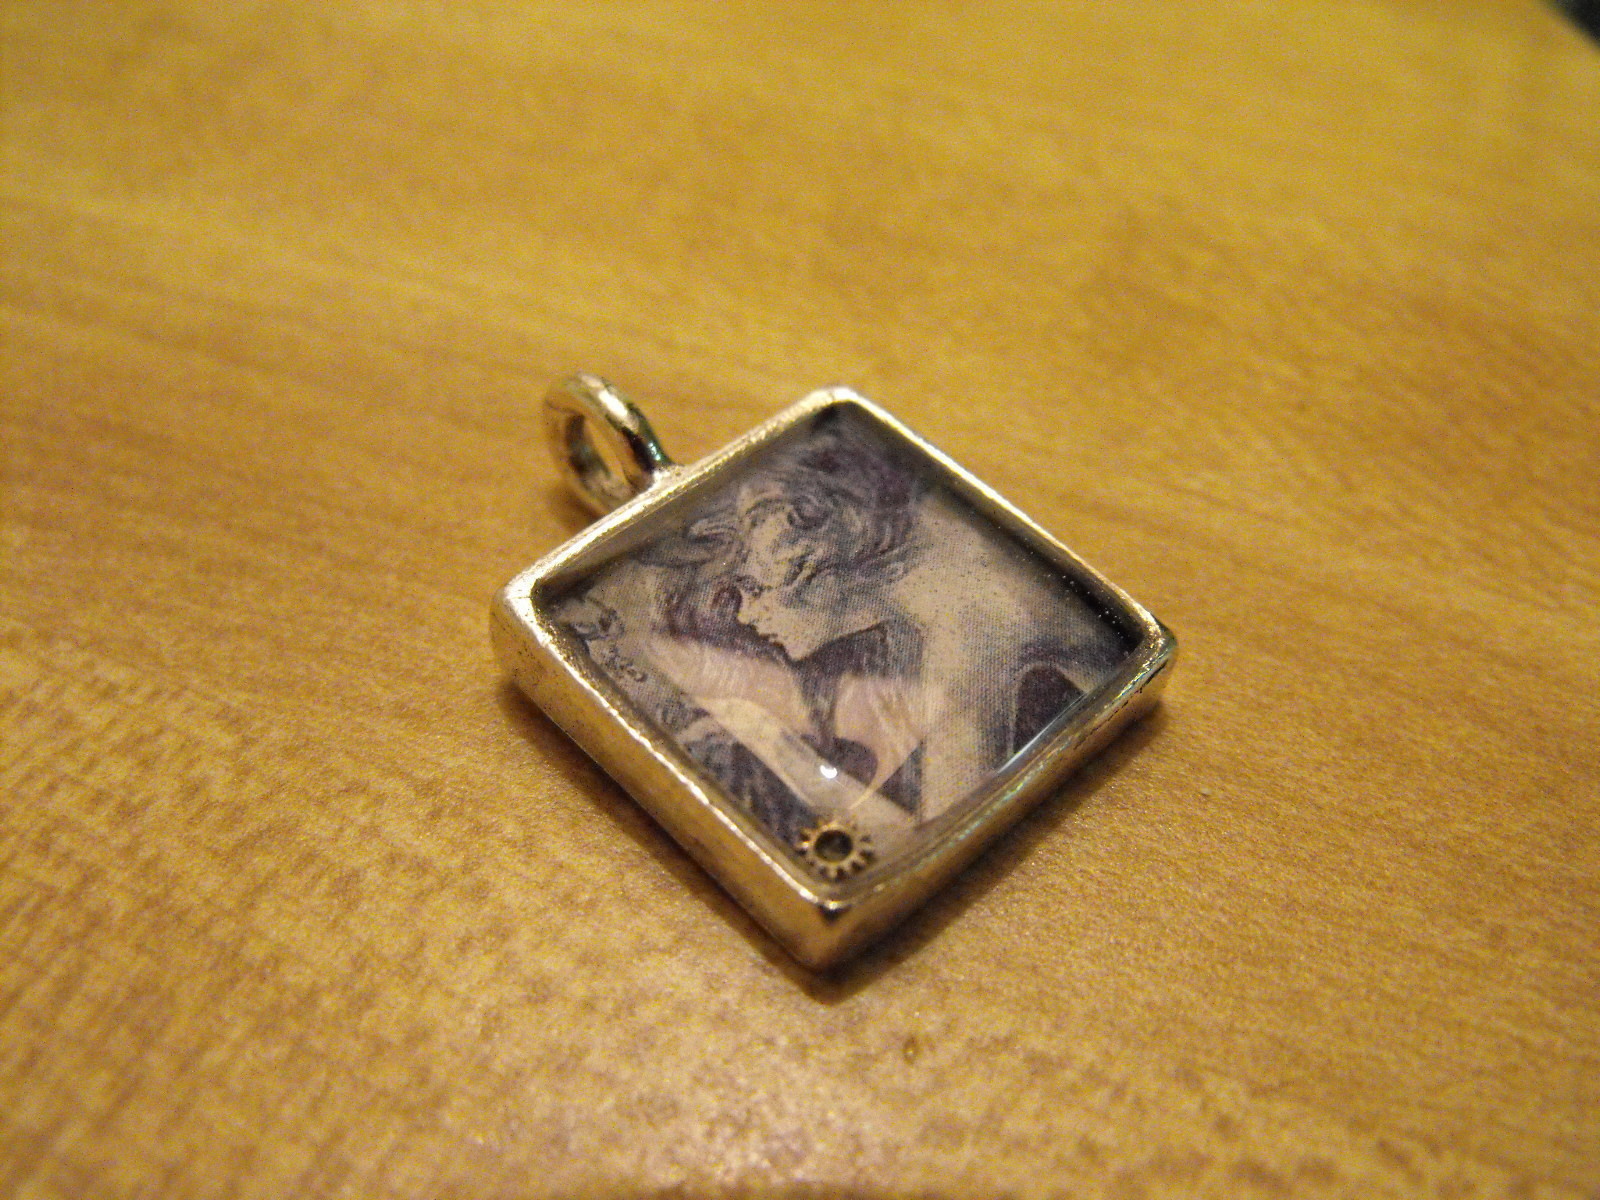
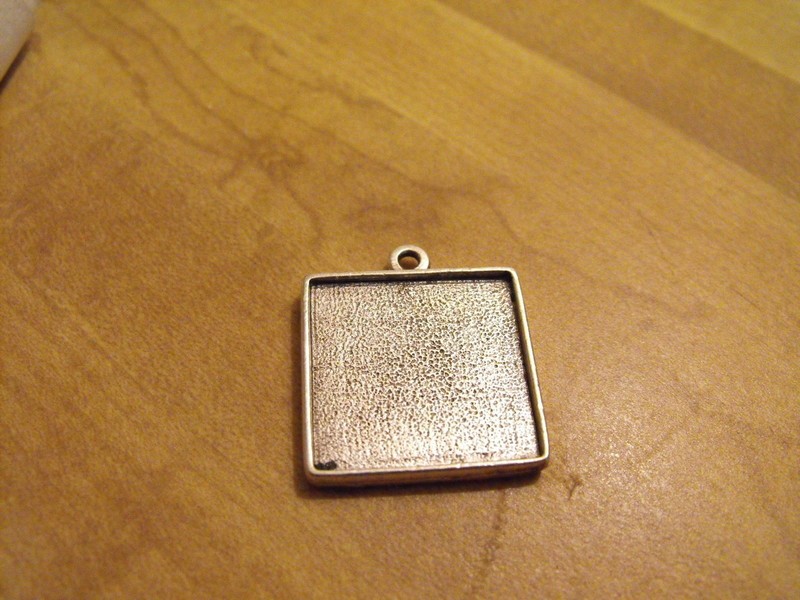
 Step 4
First you get your metal pendant.
-
 Step 5
Find your picture
(I've got mine upside down)I line up where I want the photo and press it into the pendant.
This gives us an idea where to cut.
-
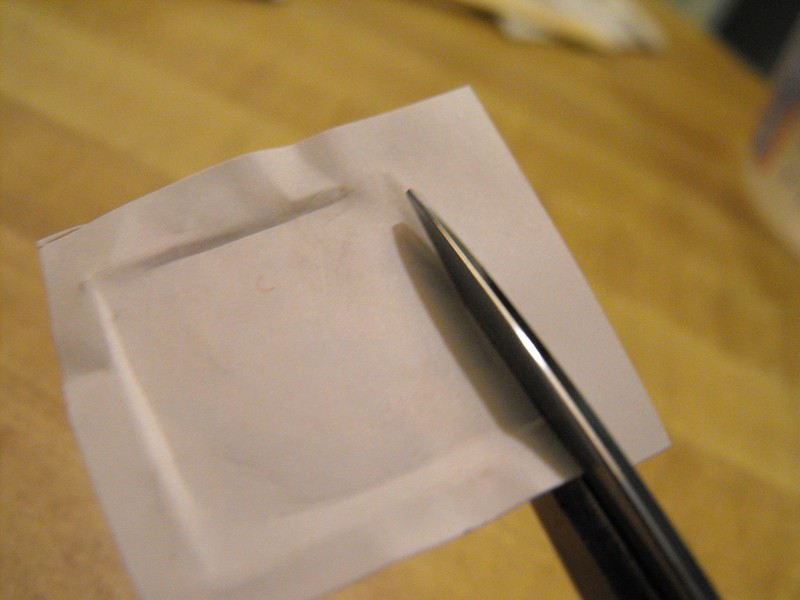
 Step 6
I cut JUST a smidge on the inside of the lines so it fits into the pendant.
-
 Step 7
Using white glue paint a layer onto the pendant.
This will keep it from floating when we put the resin in.
-
 Step 8
Put your picture on and do another layer of the white glue.
-
 Step 9
At this point you can add your embellishments. I've got tiny watch parts and words printed off the computer.
You can buy all kinds of things from anywhere they sell scrap book items.
-
 Step 10
Always use two containers. One for measuring and one for mixing.
I don't recommend reusing these so expect to chuck em. They are cheap.
-
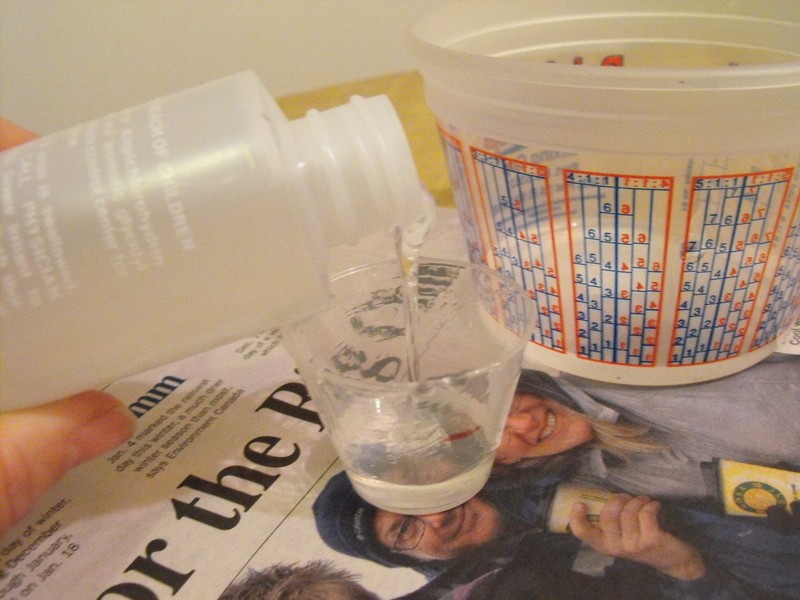
 Step 11
Here I am measuring out ONE of the solutions in the kit...the hardner.
Resins are created through a chemical reaction of two solutions. One will be the catalyst.
***Always read the instructions as each resin varies on how to use.***
I'm using Envirotex Lite. In this case it's a 1:1 ration.
So if you use one ounce of one, you use one ounce of the other.
-
 Step 12
I find it difficult sometimes to see the lines on the measurements and marking your line also will ensure you measure the same amount of the second solution.
NOTE: I'm doing about 5-6 pendants and used an once and abit of each solution.
-
 Step 13
Pour into mixing container and scrap with wooden stick.
-
 Step 14
Measure them same amount of the second chemical/solution.
-
 Step 15
Aaaand mix for at least two minutes.
It's SUPER important not to rush this step as if it's not mixed right, it aint gonna set right.
Now three things will probably happen when you do this.
1) It might feel if you hold the container that it's getting warm. This is normal since it's a chemical reaction taking place.
2) Air bubbles will appear. We'll talk about this later. Don't worry about them keep mixing.
3) It'll get milky in colour. Keep stirring this will go away.
-
 Step 16
Once it's mixed you can pour into your pendants.
I've not taped around the edges which you can do to stop it from over flowing. I'm a moron and forgot. See what happens when you get too excited and rush?? sheeesh
-
 Step 17
Bubbles tiiiiny bubbles may appear.
With envirotex lite breath LIGHTLY onto the pendant after it's poured.
It's the CO2 in your breath that create them to pop NOT the force and NOT the warmth.
If you're not using envirotex and using a more industrial resin check out my other mold resin pendant tutorial for more tips.
-
 Step 18
And wash your hands.
And have a well deserved snack!!
Resins cure faster if it's warmer.
Most will set in about 3-8 hours. But you should leave them as they CURE in about 24-48 which means they are hardened as hard as they go.


Q: Do you know if there are any resins available that can be more easily used indoors? I live in a tiny apartment, & it's hard to get good ventilation (& no outdoor area of my own to use). :/