

About
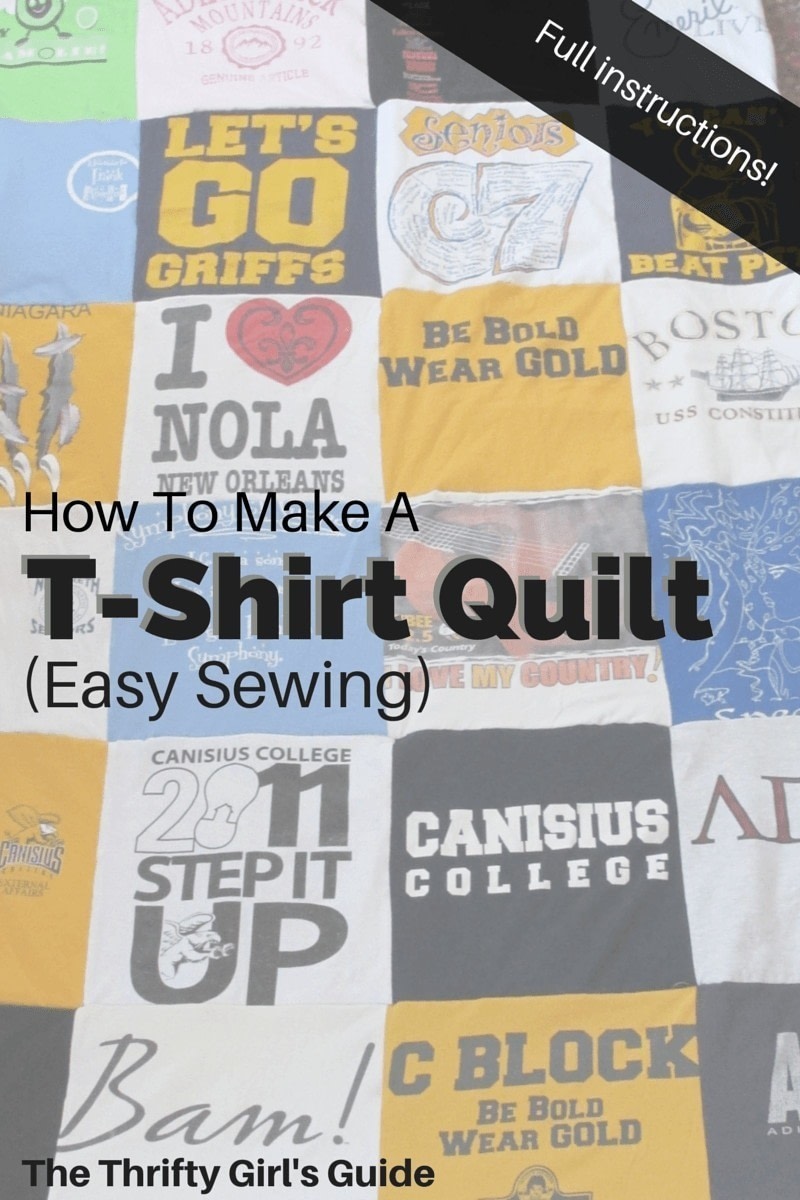
Full instructions for an easy-sew t-shirt quilt!
A t-shirt quilt is the only project I’ve ever dreamed of making.
Pinterest, for example, is brimming with so many beautiful, fun and practical DIY projects, but this is different.
I’ve been saving shirts since high school (and I’m kicking myself for not saving more from when I was younger) with the intention of one day sewing these memories into a quilt.
Before I begin explaining how I made my quilt, I want to add the disclaimer that I am not an expert at sewing. I am so grateful to have had help and advice from my mom, who knows much more about sewing than I do. So if you haven’t done much sewing, I recommend obtaining help from someone else!
-
 Mick C. favorited How To Make A T Shirt Quilt
30 Oct 02:26
Mick C. favorited How To Make A T Shirt Quilt
30 Oct 02:26
-
 Melissa F. added How To Make A T Shirt Quilt to Sewing Projects
05 Dec 01:00
Melissa F. added How To Make A T Shirt Quilt to Sewing Projects
05 Dec 01:00
-
CHRISTINE M. favorited How To Make A T Shirt Quilt
25 Aug 00:19
-
 Theresa O. favorited How To Make A T Shirt Quilt
30 Apr 03:53
Theresa O. favorited How To Make A T Shirt Quilt
30 Apr 03:53
-
Kristen W. added How To Make A T Shirt Quilt to quilts
16 Apr 11:40
-
 Ellen M. favorited How To Make A T Shirt Quilt
16 Oct 16:43
Ellen M. favorited How To Make A T Shirt Quilt
16 Oct 16:43
-
 Sarah Sylvia S. favorited How To Make A T Shirt Quilt
18 Jul 03:58
Sarah Sylvia S. favorited How To Make A T Shirt Quilt
18 Jul 03:58
-
 Diane H. favorited How To Make A T Shirt Quilt
08 May 00:30
Diane H. favorited How To Make A T Shirt Quilt
08 May 00:30
-
 Justine published her project How To Make A T Shirt Quilt
02 May 09:00
Justine published her project How To Make A T Shirt Quilt
02 May 09:00
-
 Step 1
Lay your first shirt on the cutting mat and position the clear quilting acrylic ruler over the area of the shirt you want to cut out (this is where having a clear ruler comes in handy). Cut out using the rotary cutter. You’ll end up with two squares from each shirt. Depending on the shirt, you may or may not want to use both sides, so keep this in mind when positioning the quilting ruler.
-
 Step 2
Repeat for each shirt.
-
 Step 3
Lay out all of your t-shirt squares to help you picture what the quilt will look like. Laying out the shirts (BEFORE you sew) will give you the chance to rearrange to your liking. Keep in mind that shirts on the edges should include the least amount of writing, as these may need to be sacrificed when you sew the edges.
-
Step 4
Once you are satisfied with your layout, TAKE A PICTURE! This helped me several times when I needed to go back and reference the order of t-shirt squares.
-
 Step 5
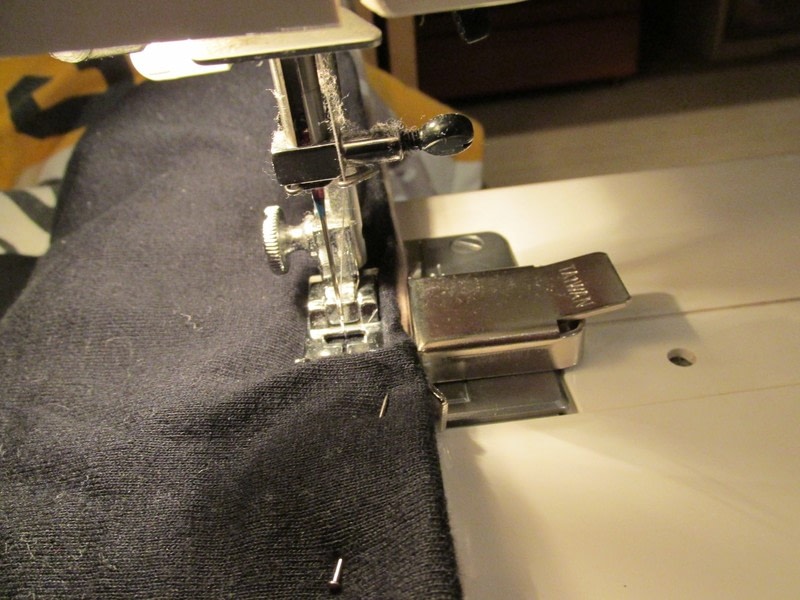
Begin sewing your the first two squares together. Use the presser foot (about a 1/4 inch seam allowance) as your guide. You want the seams to be on the inside of the blanket, so place your upper left hand corner square face up, place the square next to it face down on top of it, pin it and then sew!
A magnetic seam guide is HIGHLY recommended!
-
Step 6
6. Sew your first full horizontal row together. Then sew the remainder of your horizontal rows together. Don’t worry about tying off your thread.
-
Step 7
Now, using your presser foot as your guide (about 1/4 seam allowance), sew your entire first row to the entire second row. Make sure that your seams will be on the inside of the blanket! Repeat with the rest of your rows until you’ve formed the front of your blanket!
-
Step 8
Now, on the floor, lay down your fabric and place your sewn together t-shirts on top. Cut the fabric to roughly the same size as the t-shirts (easiest to use scissors).
-
 Step 9
Lay out your batting and cut to roughly the same size as your t-shirts and fabric.
-
Step 10
Using the same method as your would for sewing a pillow (the “inside out” method), lay your t-shirts face down, then your fabric, pattern side down, and finally your batting. Pin along the 2 long sides and the top of your blanket.
-
Step 11
Sew around the blanket (a magnetic seam guide definitely comes in handy here). Begin with one long side, then the top and then the other long side. Leave the bottom unsewn for now.
-
Step 12
Turn your quilt inside out (like you would after sewing a pillow) so that the “good sides” of your t-shirts and fabric are on the outside and the batting is on the inside.
-
Step 13
Gently tuck in the bottom edges of the blanket and sew straight across. Your thread will show, so if that bothers you, you can either hand sew it or choose a thread that closely matches your shirts.
-
 Step 14
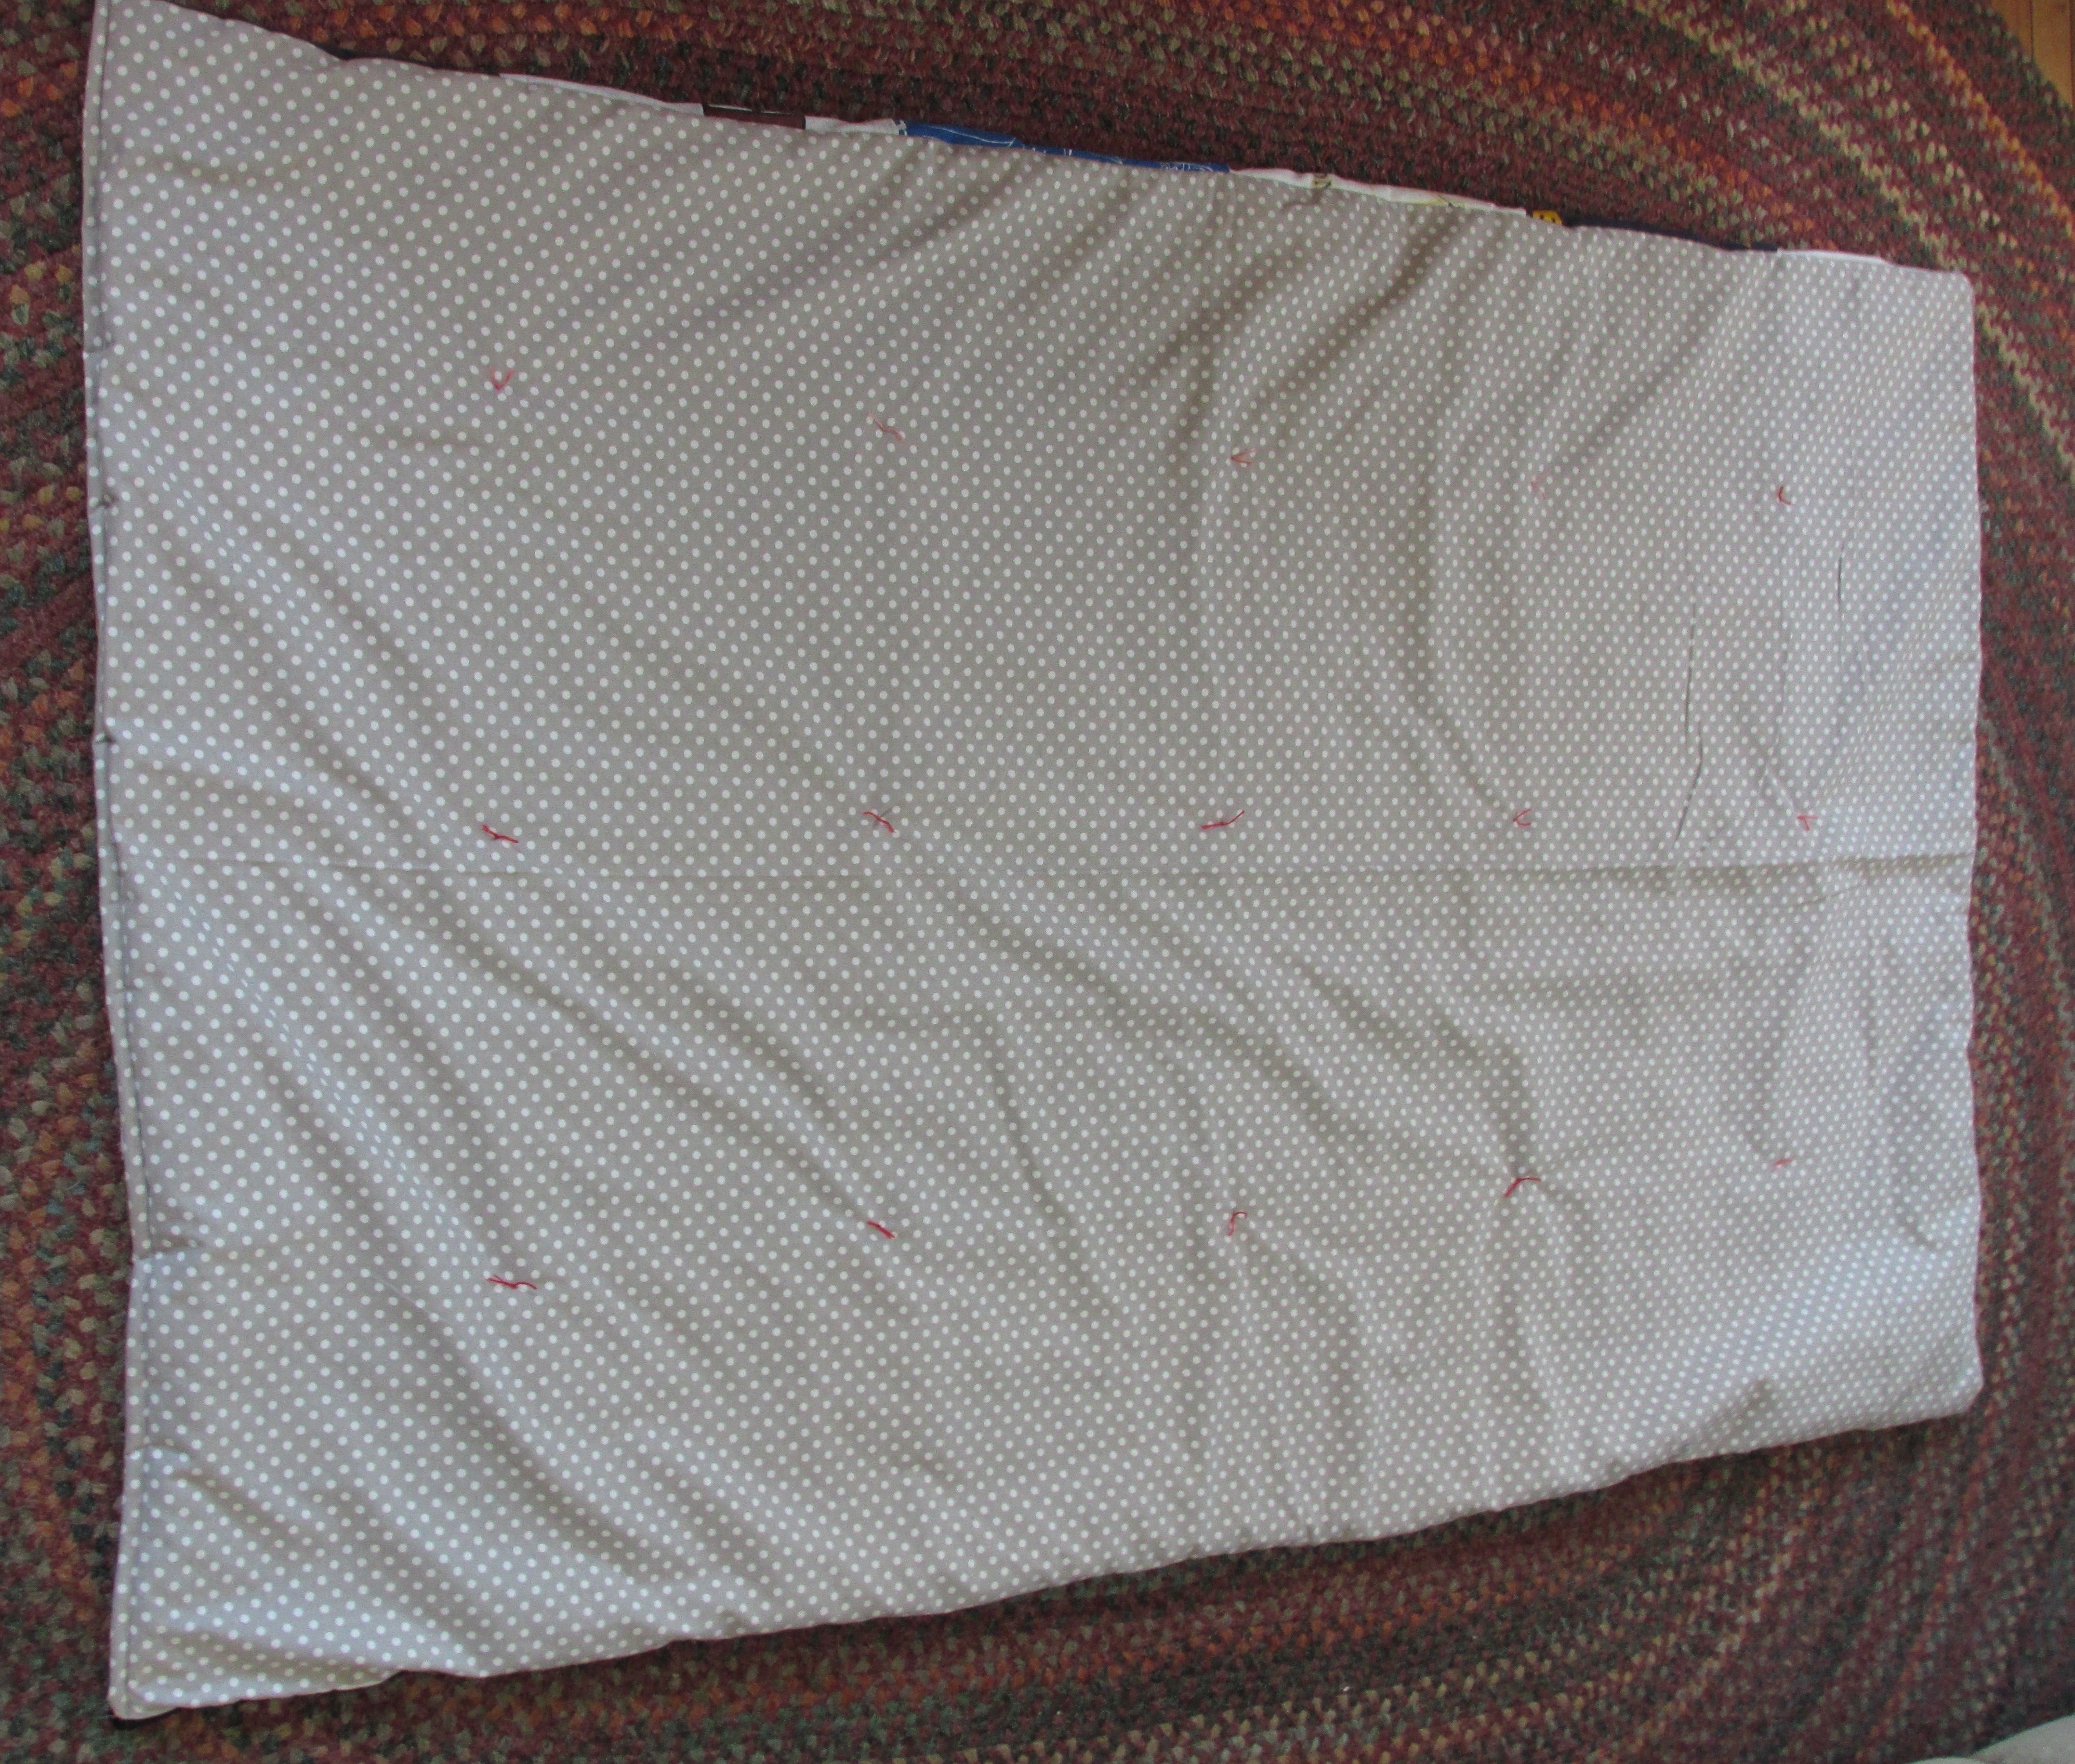
The final step is optional but recommended. Use your yarn needle and floss to secure the batting by sewing a simple stitch in every corner on the blanket. Here’s what the back will look like when you’re done.
-
Step 15
You’re DONE! Celebrate and pat yourself on the back :)