
About
Create a Beautiful Entryway Gallery Wall In Your Home
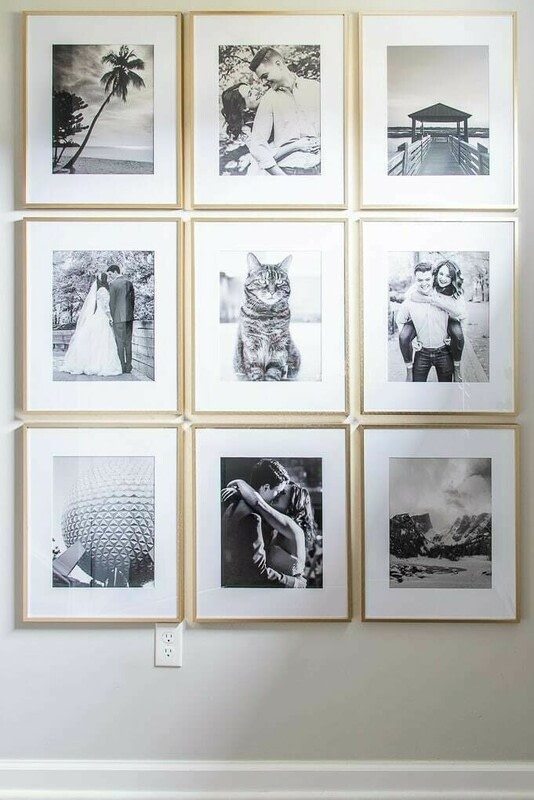
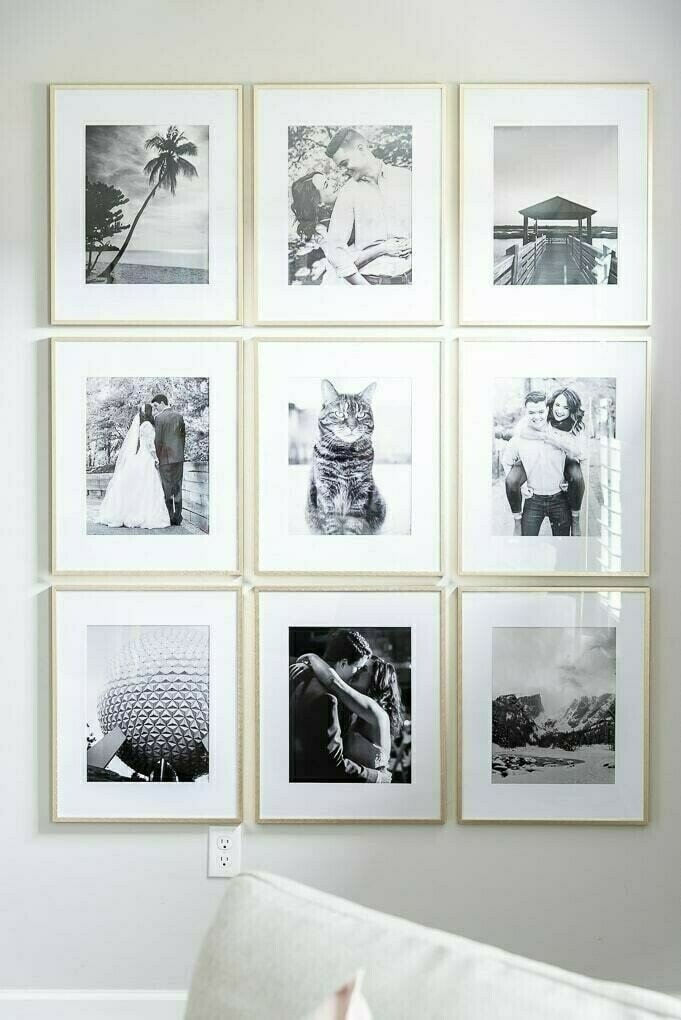
Design and create a simple modern gallery wall with gold frames and modern black and white family photos. Create decor for your home that is personal and meaningful.
-
 Beth Ann E. favorited How To Create A Simple Modern Gallery Wall
17 Jul 06:01
Beth Ann E. favorited How To Create A Simple Modern Gallery Wall
17 Jul 06:01
-
 Christene A Holder published her project How To Create A Simple Modern Gallery Wall
17 May 09:00
Christene A Holder published her project How To Create A Simple Modern Gallery Wall
17 May 09:00
You Will Need
-
 Step 1
Planning A Gallery Wall
When planning a gallery wall, you want to consider the scale for the area you will put the frames. I think gallery walls look really beautiful when they take up a large section of the wall.
In my opinion, you want to go bigger rather than smaller when creating a gallery wall. Too many tiny frames on a small section of a wall will look ameatuer.
It may seem large at first, but try and choose the biggest frames you can for your particular space. The scale of having the gallery wall cover most of the wall from floor to ceiling makes it feel modern and more custom.
-
 Step 2
Start by measuring your wall. Then, decide on how many frames you want to use in your gallery wall design. This will help you determine which size frame you should use to fill the space.
For my gallery wall, I decided to use 16” x 20” gold frames.
-
 Step 3
Determine The Photo Matting
The mat is the white part surrounding the actual photo in the frame. Mats make the framed photo look professional.
You can either use the mat that comes with your picture frame, or you can create your own.
If you want something really modern, a large mat with a small photo will look very pretty and classic.
For this gallery wall, I decided to use the mat that came with the frames. They have an opening for an 11” x 14” image.
-
 Step 4
Choose Photos
Next comes the fun part – choosing the photos for your gallery wall.
Sometimes, this can be difficult because you probably have a ton of photos that you would love to use. But, you have to pair it down to only a few, and ones that work together in your gallery wall.
Start by creating a folder on your computer and adding any photos that you may want to use to that folder. This will help you start to narrow down your options.
Next, you will want to mock-up the gallery wall and determine where each photo will go.
My favorite tool for creating mock up is Canva. You can create a free account and use it as a graphic design program.
I created a gallery wall mock-up template in Canva that you can use for free! Just go to my website for this blog post project, and sign up with your email. I'll send you the template for free.
-
 Step 5
In Canva, you can swap out photos by dragging a new one into the digital frame. Keep adjusting the layout until you get a design mock-up that you like.
-
 Step 6
Print The Photos
Once you have a layout that you are happy with. It’s time to print the photos. You can easily print at home using your home printer. I recommend using a printer that has photo-quality printing with photo paper.
If you are looking for an even better quality print, I would highly recommend going with a budget-friendly professional photo printer.
-
 Step 7
Hang The Gallery Wall Frames
Once your photos are printed and framed, it’s time to install the frames on the wall.
For my gallery wall, I decided to keep a 1” gap in all directions between the frames. This would create a cohesive look to the collection of frames.
We measured the wall and determined where the frames should go so that the entire gallery wall was centered on the wall. Then, using a tape measure, a pencil and some teamwork, we hung each frame onto the wall.
To help stabilize the frames and make sure they didn’t go anywhere, we used Command Picture & Frame Hanging Strips on the backs of each frame. This was to make sure that they didn’t fall off the wall if someone accidentally bumped them.
Then our simple modern gallery wall was complete!