

About
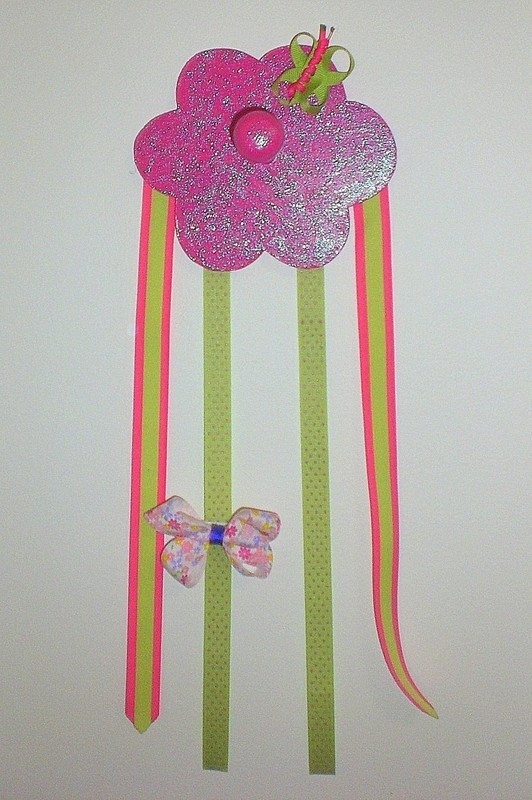
A great way to keep hair things organized!
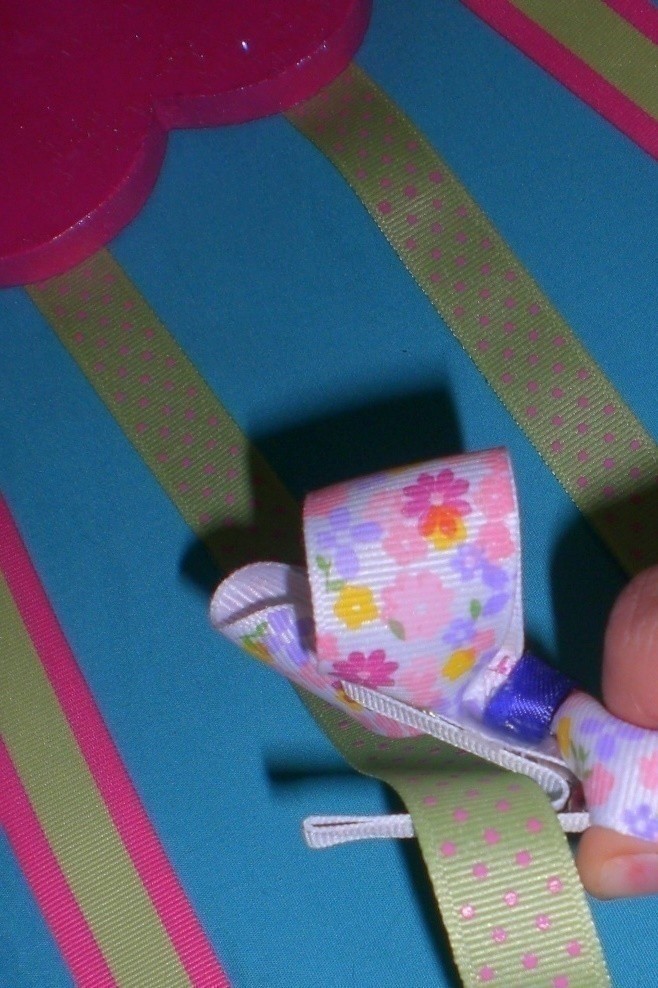
If you guys would like a how-to for the ribbon or the butterfly, just let me know and I'll do one.
Tags
-
 Katt C. favorited Hair Clip And Ribbon Holder
23 Aug 22:02
Katt C. favorited Hair Clip And Ribbon Holder
23 Aug 22:02
-
Step 1
I bought the flower hook at hobby lobby for $1.99. I used pink paint and glitter paint that I had laying around to paint it.
-
Step 2
Hold your ribbon up to the flower and decide how long you want it to be and cut it. It is best to use a woodburner or quickly run the flame of a lighter underneath the edge of the ribbon, this melts it a bit and prevents fraying. This is called heat sealing. If you use the lighter method, DO NOT TOUCH THE FLAME TO THE RIBBON! This will cause it to turn an ugly brown color and you'll have to throw it out. Just run the edge of the ribbon right above where the flame ends, this area is hot enough to do the job.
-
Step 3
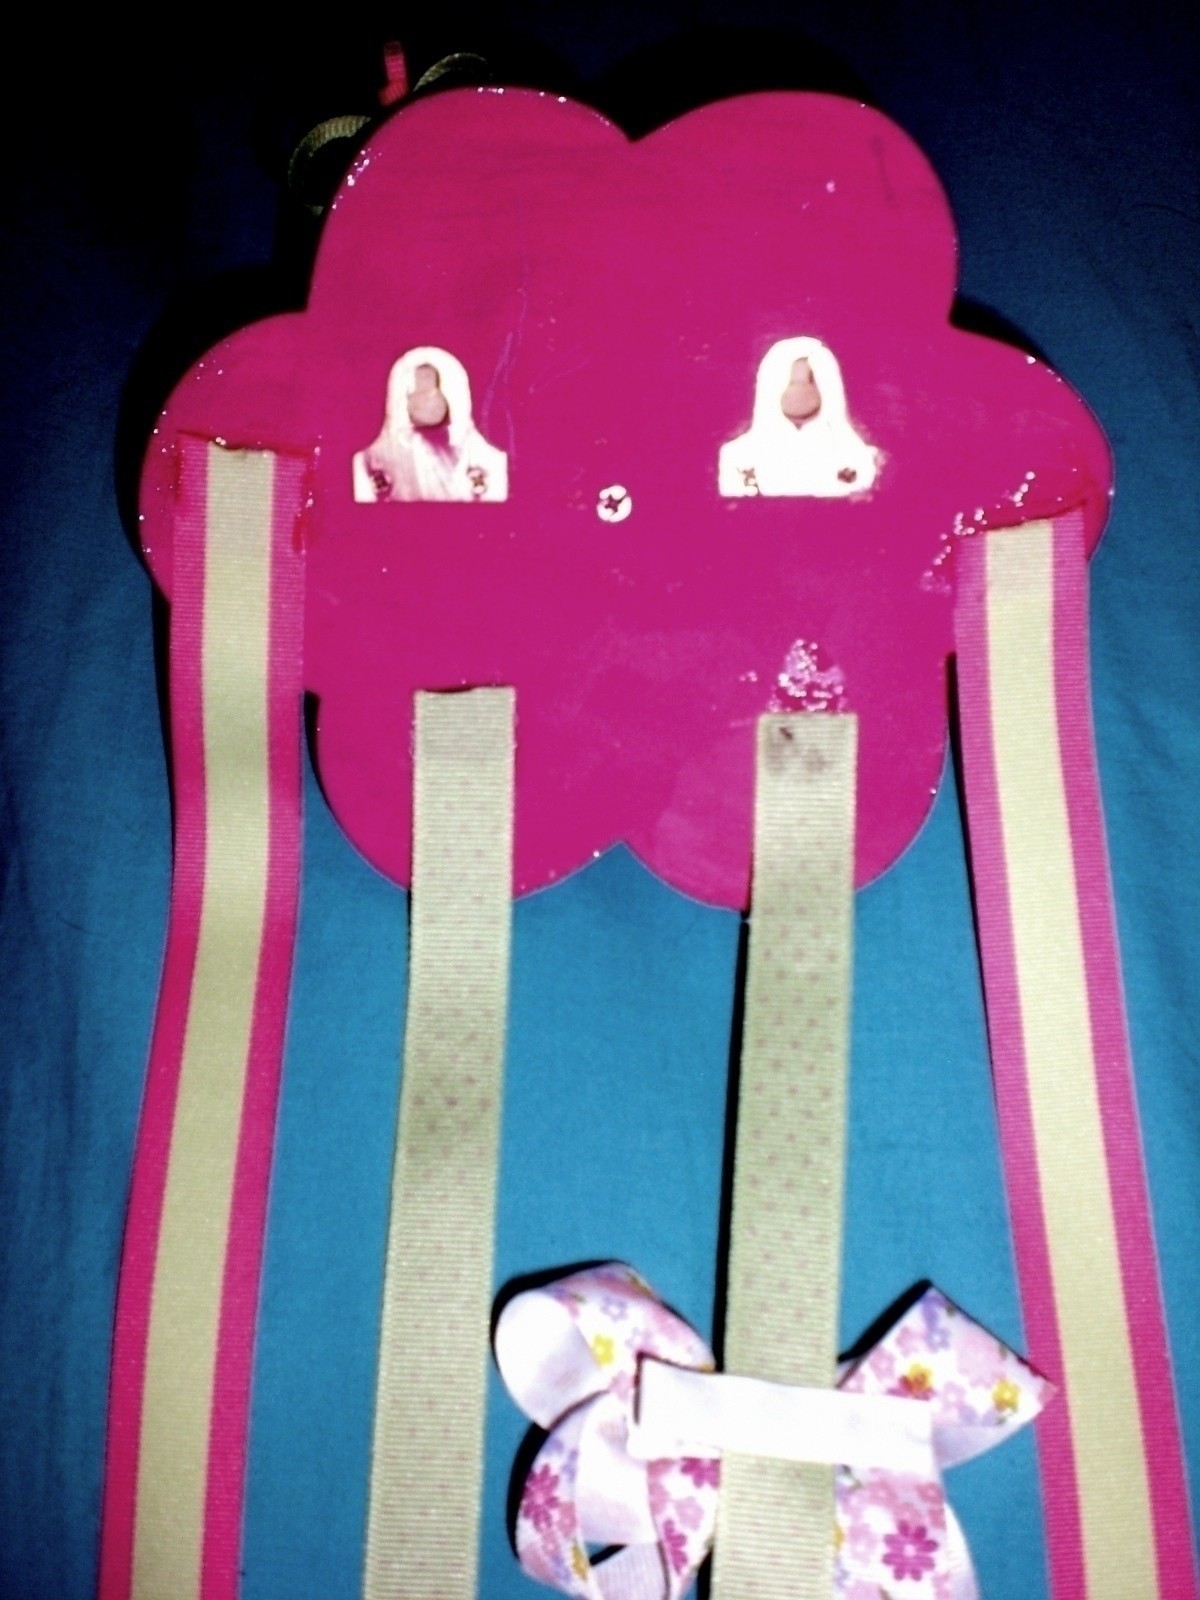
Now that you have the pieces of ribbon that you want at the length you want, hold them up to the back of the flower to see where you'd like them to be placed and mark it with a permanent marker.
-
 Step 4
Glue the ribbons to the back of the flower. I used super glue because hot glue tends to wear down over time, especially with items that kids tug on a lot. The gel super glue works great because it takes ten minutes to set but still holds just as strong, this way you can put the glue on, turn your flower around, and move your ribbons until they look straight. Also, the gel tends to peel right off of skin if you come in contact with it.
-
 Step 5
You can leave your ribbon holder just like that, or you can add things to it. I glued a ribbon butterfly onto mine.
-
 Step 6
Hang it up and enjoy!