

About
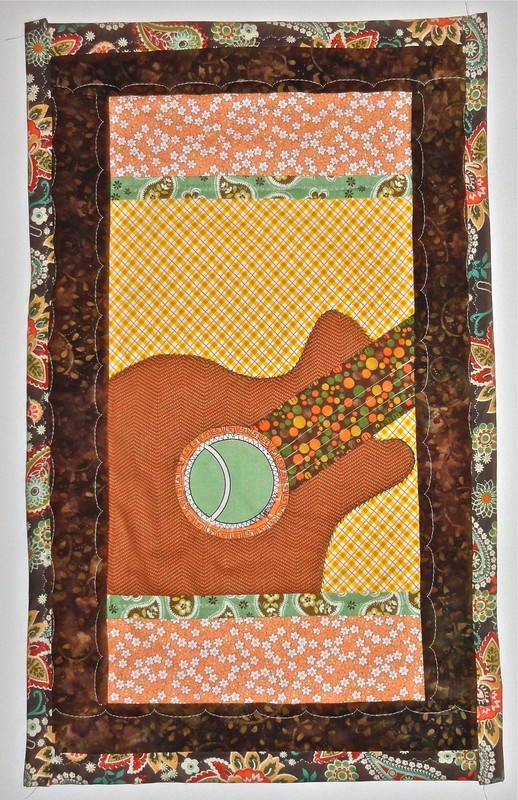
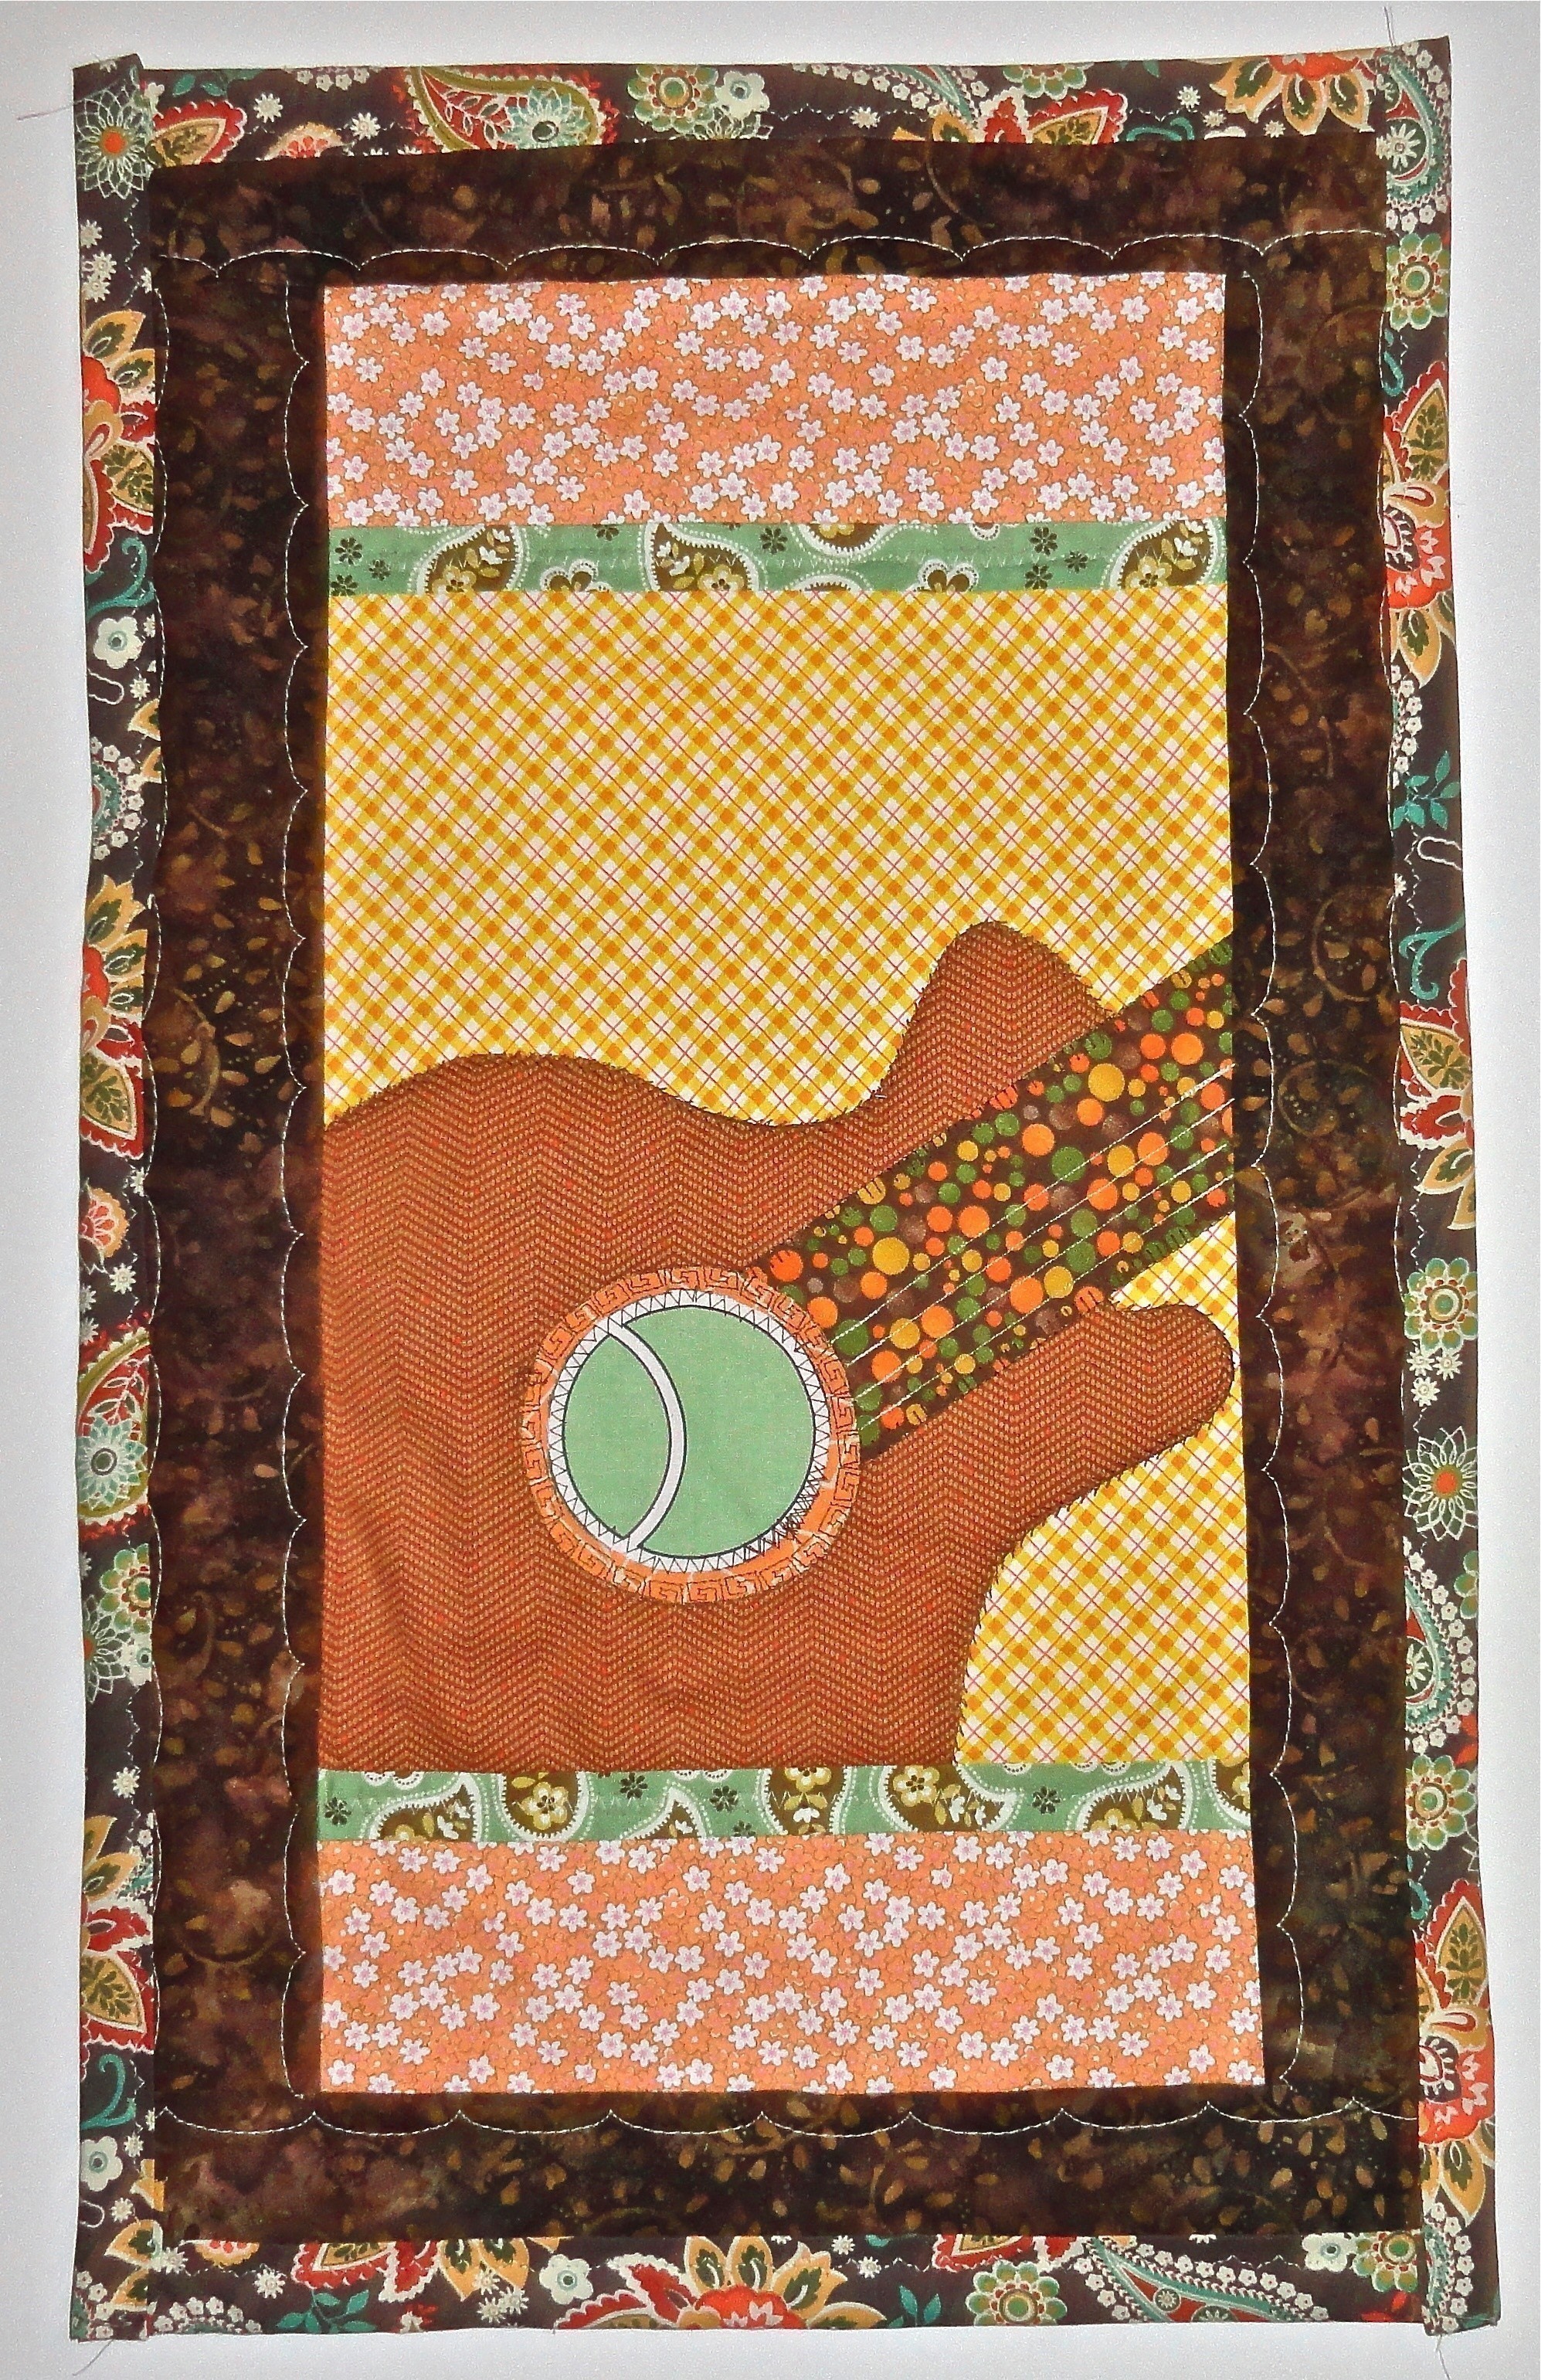
Jam out a guitar quilt!
This quilt came together with some scraps and a little ingenuity. I used to play guitar and wanted to make a quilt to showcase my favorite instrument of all time! Any musical instrument would make for an amazing art quilt, and are perfect gifts for music lovers.
Tags
-
 forbunnie favorited Guitar Jam Art Quilt
04 Mar 16:05
forbunnie favorited Guitar Jam Art Quilt
04 Mar 16:05
-
 Jane W. added Guitar Jam Art Quilt to Room for a music fan
22 Sep 08:36
Jane W. added Guitar Jam Art Quilt to Room for a music fan
22 Sep 08:36
-
 Jordan H. favorited Guitar Jam Art Quilt
13 May 02:41
Jordan H. favorited Guitar Jam Art Quilt
13 May 02:41
-
 Penny F. added Guitar Jam Art Quilt to GIFT IDEAS
03 May 18:03
Penny F. added Guitar Jam Art Quilt to GIFT IDEAS
03 May 18:03
-
jesta b. favorited Guitar Jam Art Quilt
02 May 16:55
-
 TheSewingMaven published her project Guitar Jam Art Quilt
02 May 07:04
TheSewingMaven published her project Guitar Jam Art Quilt
02 May 07:04
-
Step 1
Making a pattern template can be as simple or complex as you want. Sketch out some basic outlines for the instrument and then choose your favorite. Then simply draw the basic outline shape on the paper and cut out to make your pattern.
-
 Step 2
Trace the pattern onto a large fabric scrap and cut out the shape. Then pin it to a larger rectangle or square fabric. At this point you can just lay out different scraps and get a feel for how you want the work to look. Then sew everything together, one piece at a time.
-
 Step 3
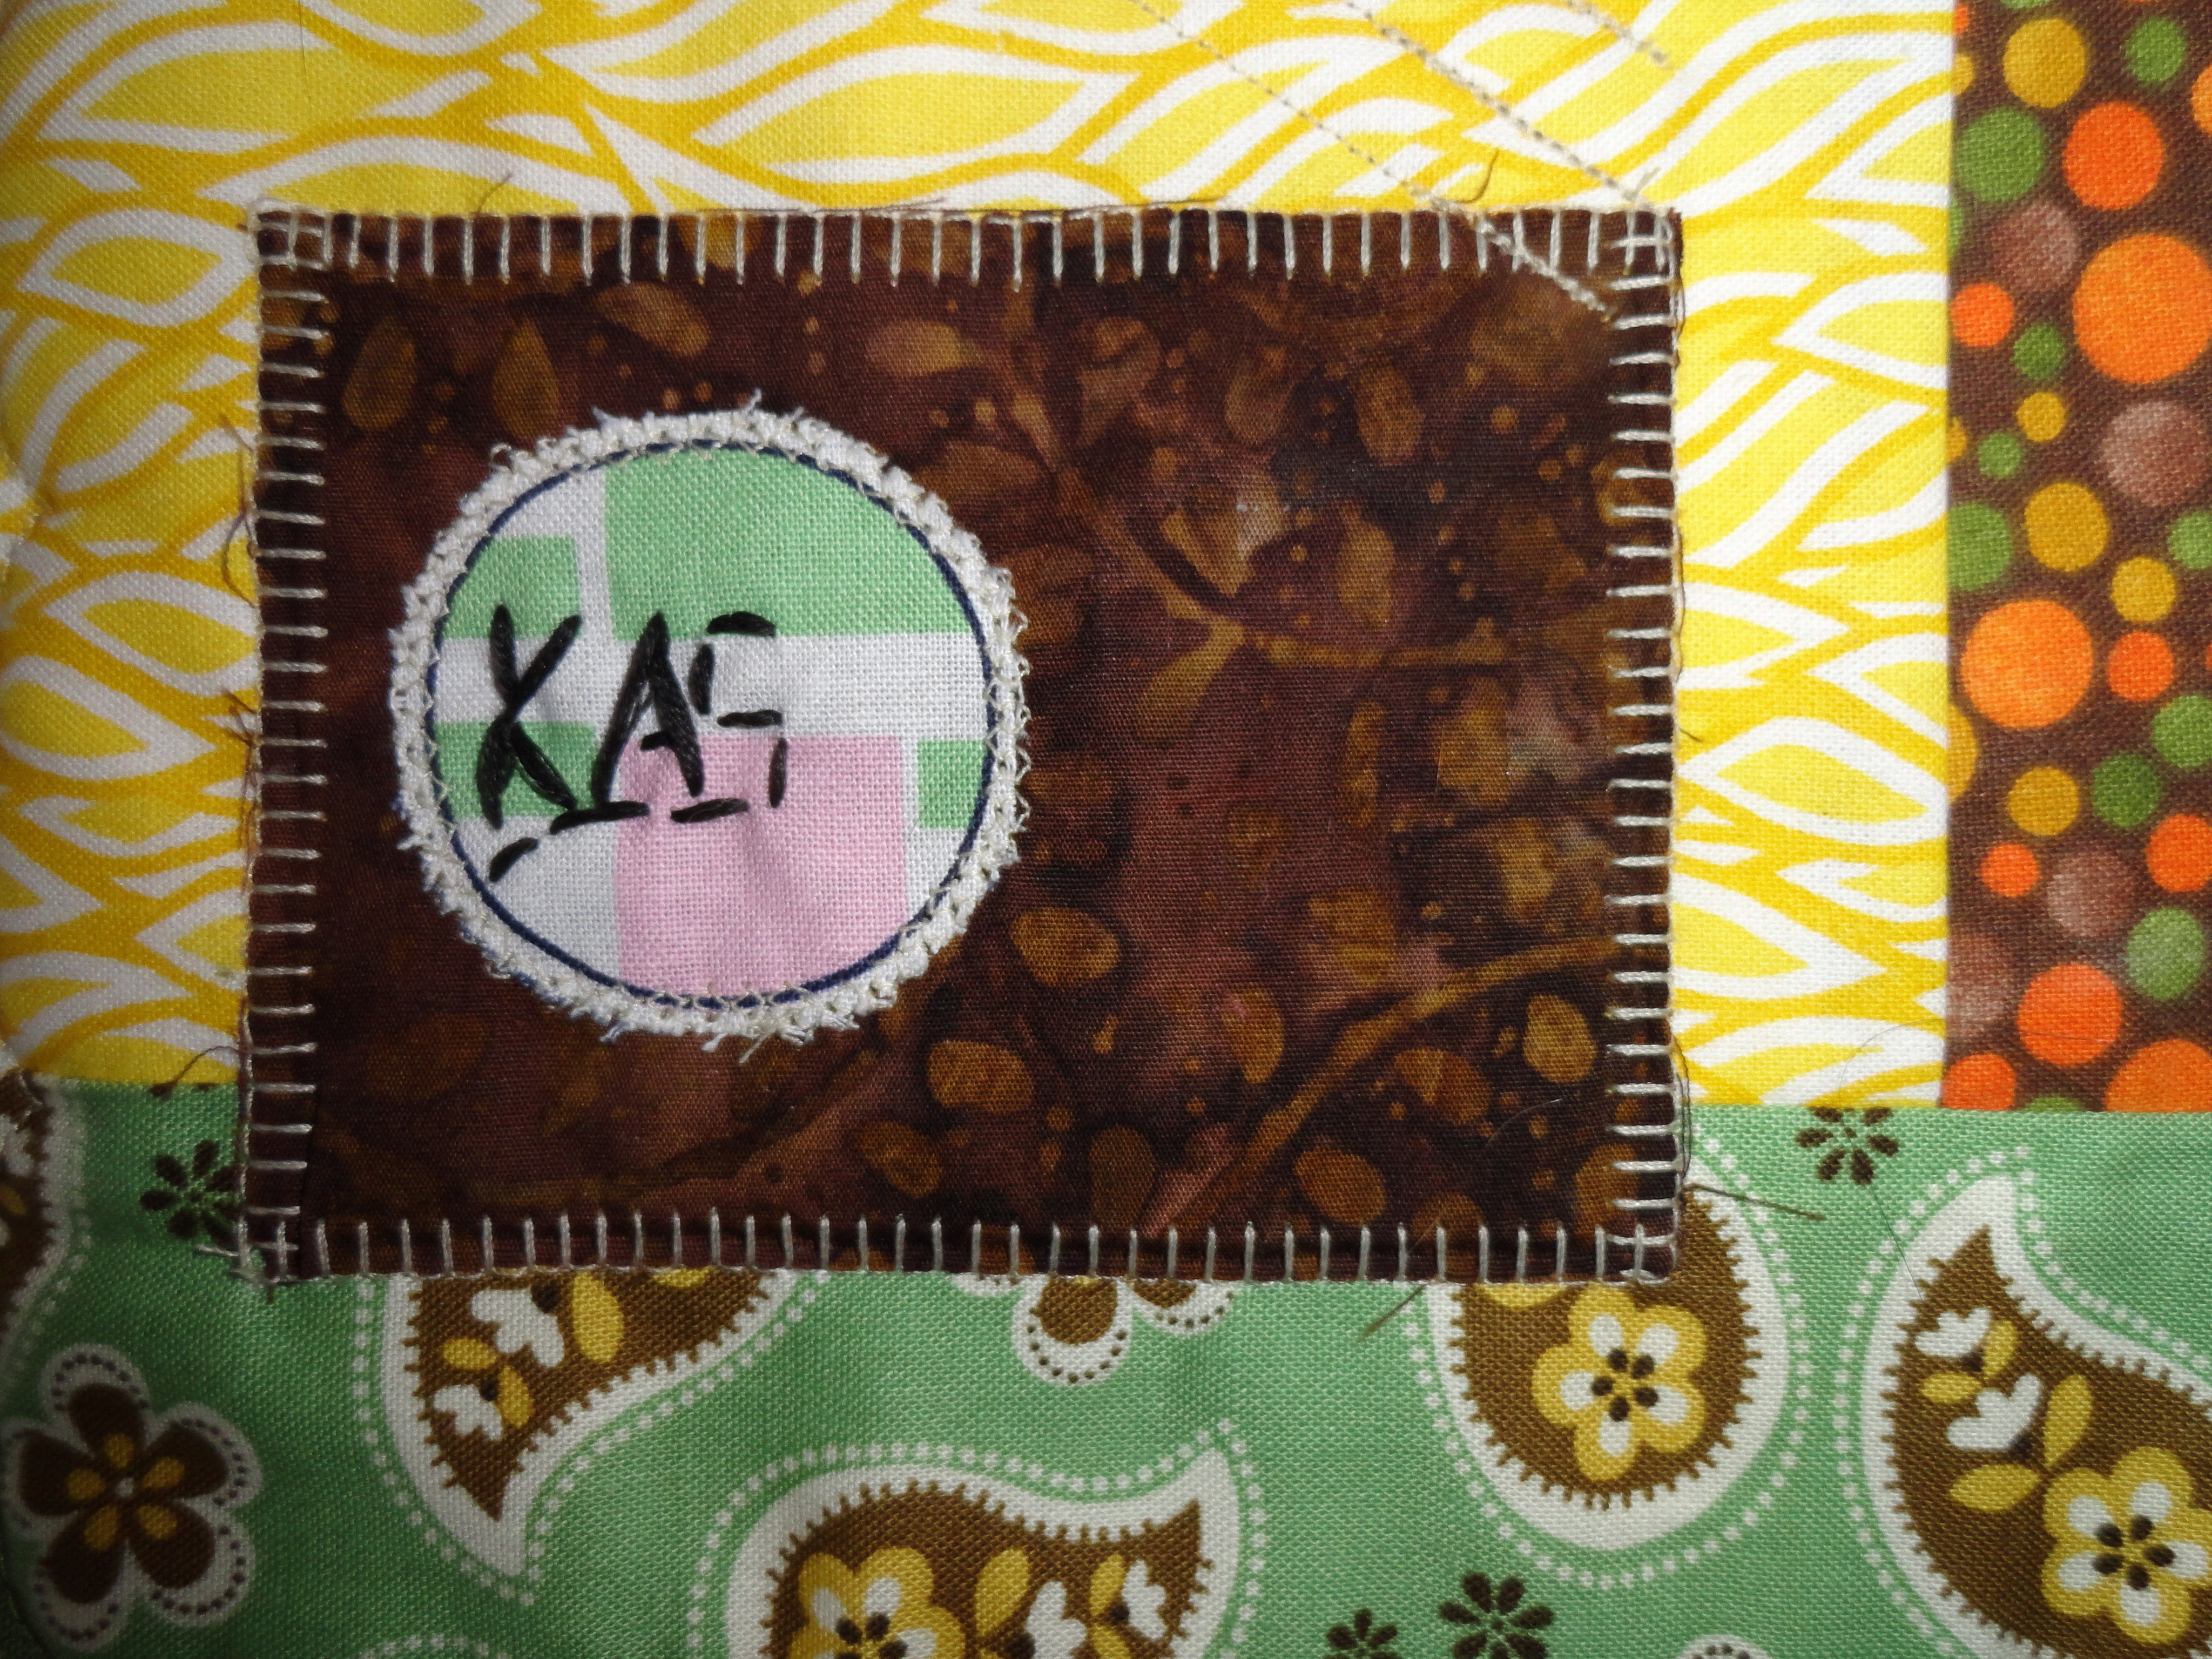
Once you have the front of the quilt sewn, trim the edges to square everything up. Then pin to a piece of batting and zig zag stitch around the edges. Piece together a scrappy backing and here you can add your signature in embroidery if you want.
-
 Step 4
Next pin the front of the quilt to the backing, wrong sides together and sew around the quilt with a zig zag stitch. Then quilt the heck out of the work! For the guitar I added stitching for the strings and rosette of the guitar. Use decorative stitches and quilt as much or as little as you want.
-
 Step 5
To finish the work, make some 2 inch wide strips of fabric for the binding, you can sew together scraps to make the binding more decorative if you wish. Then attach the binding strips to the edge of the work. Finally add some ribbon ties to the back of the work for simple display.