About
Something to bring a little sparkle this Christmas
This is a Glitter Pinecone Christmas Tree that I made for my little baby brother.It is easy and cheap to make and will only take you an hour or so.It was also for my mum so have a try and tell me what you think.
Thankyou.
Tags
Downloads
- Missing file
-
 Zara Z. favorited Glitter Pinecone Christmas Tree
31 Jul 02:39
Zara Z. favorited Glitter Pinecone Christmas Tree
31 Jul 02:39
-
 glitzer13*_* added Glitter Pinecone Christmas Tree to my will doing projects :p
04 Dec 20:25
glitzer13*_* added Glitter Pinecone Christmas Tree to my will doing projects :p
04 Dec 20:25
-
 elaina.nattrass added Glitter Pinecone Christmas Tree to Misc
23 Aug 22:23
elaina.nattrass added Glitter Pinecone Christmas Tree to Misc
23 Aug 22:23
-
 Step 1
Step 1
Gather all material's that we are going to use.
* Pine Cones
* Spray Paint (I chose silver)
* Spray Glue
* Glitter
* Hot Glue Gun
* Hot Glue Gun Sticks
* Base to put your tree on -
 Step 2
Step 2
* Get all of your pine cone's and decide which one's you want to use and what order you are going to use them in.
* You really need pine cone's that have the same shape but vary in size. -
 Step 3
Step 3
* Spray your pine cone's with your spray paint with whatever colour you have decided to do.
*I do this because it make's the colour more intense so you can't see the colour of the pine cone.* Then use your spray glue all over the pine cone and then quickly before the glue drie's sprnkle your glitter over.
-
 Step 4
Step 4
* Your pine cone's should look like this but with whatever clour you have chosen to use.
-
 Step 5
Step 5
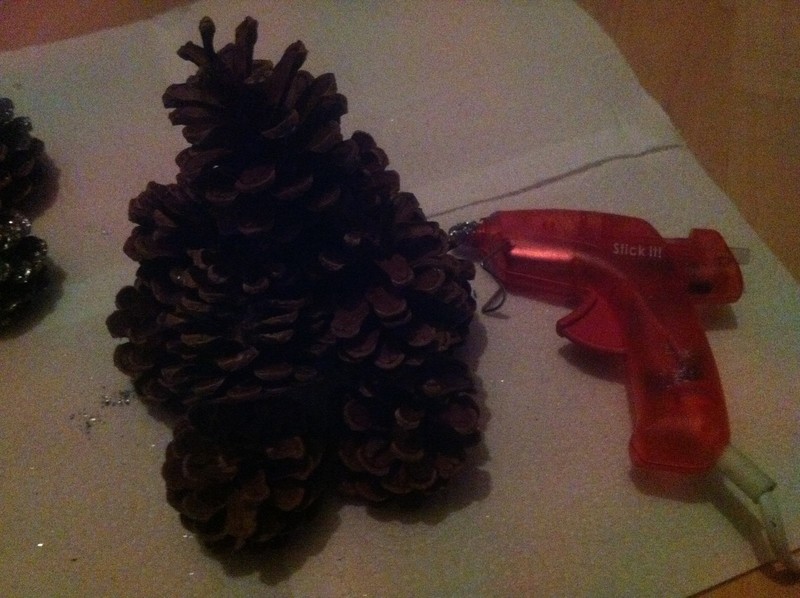
* Arrange the pine cone's how you want them for example I used 5 on the bottom layer 4 for the middle layer and 1 big pine cone for the top of my tree.
* Then using your hot glue gun glue everything together and onto your base.
* You can also spray yur tree with the spray glue 1 more time and sprinkle glittle over just to make sure it got all the uncovered edges.