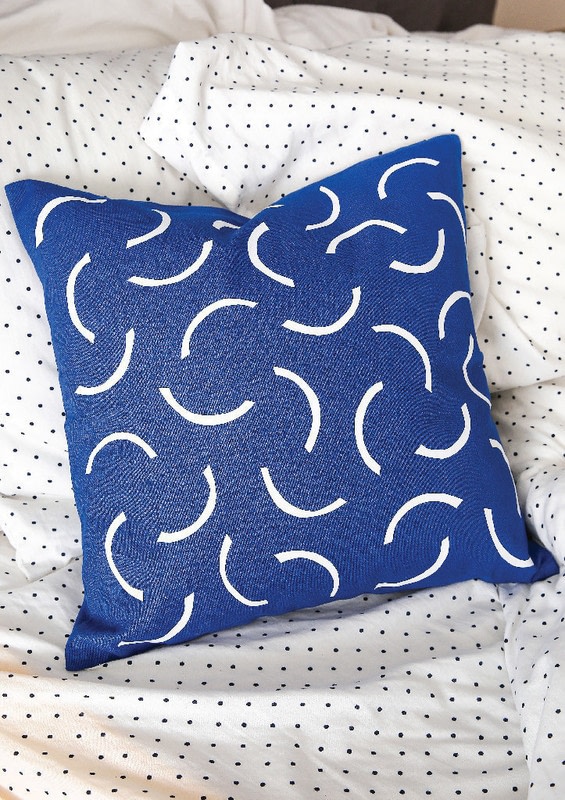
Geometric Patterned Pillow
Extract from Hello Color • By Rachel Mae Smith • Published by Quirk Books

About
Hello Color
If you haven’t crafted with iron-transfer vinyl, then get ready for a new addiction! This type of heat transfer is great because there’s no paint cleanup or mess. Plus, whatever design you create will be exactly how your project turns out. No surprises, just perfection—and done in a matter of minutes! Really, this material is the stuff dreams are made of.
This technique isn’t just for pillows. Get ready to iron vinyl onto everything in your home! Best of all, you don’t need a cutting machine (like a Silhouette or Cricut) to use the iron-on vinyl rolls sold at large craft stores. They certainly help create more intricate shapes and patterns, but you can easily cut your own. Vinyl is not cheap, though, so before you get scissor happy, try your design with scrap paper first.
-
 Quirk Books published his project Geometric Patterned Pillow
13 May 13:01
Quirk Books published his project Geometric Patterned Pillow
13 May 13:01
You Will Need
-
Step 1
If you’re nervous about cutting your design freehand, sketch it first on the back of the vinyl. Keep in mind that your image will be reversed when you iron it on, so be sure to draw letters or numbers backward to read correctly when flipped.
-
Step 2
Cut out your design: Place the matte side of the vinyl facedown, with the shiny side facing you. Use the scissors to cut around your sketch.
-
Step 3
Iron your pillowcase to smooth out wrinkles. Arrange the vinyl pieces on the pillowcase.
-
 Step 4
Set the iron to temperature according to the manufacturer’s instruction. Press the iron over the vinyl pieces, holding it in each spot for about 45 seconds to one minute. Move the iron until the entire design has been covered. Flip the pillowcase inside out and repeat for the back of the design.
-
 Step 5
Turn the pillowcase right side out, remove the protective cover from the vinyl, insert your pillow, and take a nap!