

About
Protect your embroidery project from dust and dirt by framing it.
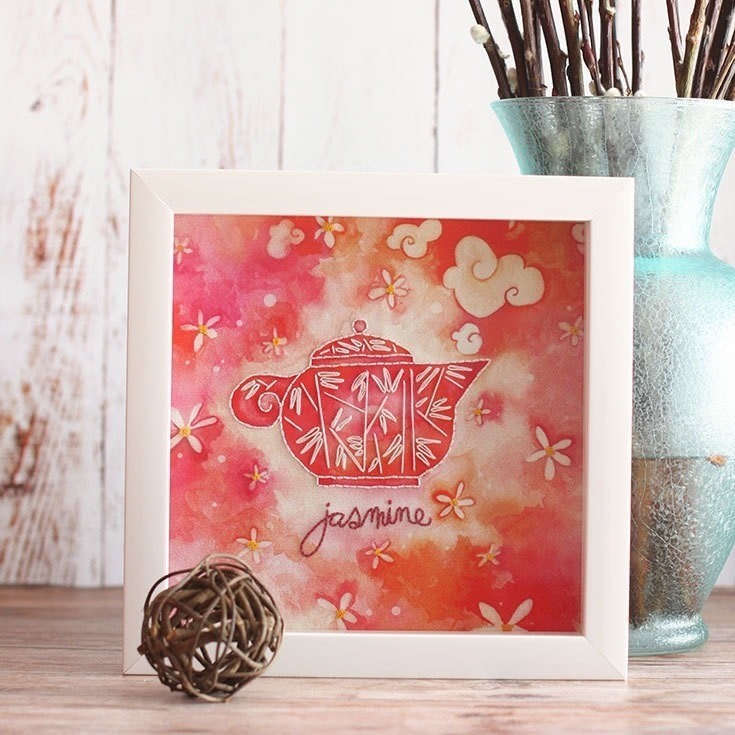
Finished embroidery projects can be fun to display in an embroidery hoop, but they also look great framed. This quick and easy method uses a shadowbox frame to display your finished embroidery. Using a shadowbox frame prevents the glass from pressing against your stitches.
-
 Beth C. published her project Frame Your Embroidery
29 Aug 09:00
Beth C. published her project Frame Your Embroidery
29 Aug 09:00
-
 Step 1
Iron the back of your embroidered fabric to remove any wrinkles. Avoid using the hottest heat setting and ironing over the stitches.
-
 Step 2
Using a pencil, Exacto knife, self-healing mat and metal ruler, measure and cut your self-adhesive mounting board to fit the shadowbox frame you purchased.
-
 Step 3
Flip over your finished embroidery project so the back of the stitching and fabric is facing up. Remove the paper from your self-adhesive mounting board and press the sticky side onto the back of your fabric, centering the board on the design.
-
 Step 4
Next, fold the extra fabric over each edge of the board. Use a length of masking tape to hold the loose fabric edges in place, with an extra piece in the corners as you fold them over.
-
 Step 5
Gently put your mounted embroidery art into the back of your frame and it's ready to display!


