About
Laced up tee
My first how to, after having said that I was gonna make a whole bunch of 'em oh well. If I missed anything or something is kinda confusing, comment and I'll check often.
Tags
-
 Key West Witch favorited For The Love Of Ribbons....
27 Jun 12:07
Key West Witch favorited For The Love Of Ribbons....
27 Jun 12:07
-
 Stephanie N. favorited For The Love Of Ribbons....
30 Jan 05:16
Stephanie N. favorited For The Love Of Ribbons....
30 Jan 05:16
-
 leslie.n.hebert favorited For The Love Of Ribbons....
14 Jun 12:50
leslie.n.hebert favorited For The Love Of Ribbons....
14 Jun 12:50
-
 Lotusburger favorited For The Love Of Ribbons....
31 Aug 22:16
Lotusburger favorited For The Love Of Ribbons....
31 Aug 22:16
-
 tigressdiane favorited For The Love Of Ribbons....
07 Jul 05:51
tigressdiane favorited For The Love Of Ribbons....
07 Jul 05:51
-
 Kristen P. favorited For The Love Of Ribbons....
01 Jul 07:45
Kristen P. favorited For The Love Of Ribbons....
01 Jul 07:45
-
 Dsngwmn favorited For The Love Of Ribbons....
23 Jun 19:23
Dsngwmn favorited For The Love Of Ribbons....
23 Jun 19:23
-
 aranumenwen favorited her project For The Love Of Ribbons....
14 Apr 04:59
aranumenwen favorited her project For The Love Of Ribbons....
14 Apr 04:59
-
 Laura P. favorited For The Love Of Ribbons....
13 Apr 03:13
Laura P. favorited For The Love Of Ribbons....
13 Apr 03:13
-
 Janell D. added For The Love Of Ribbons.... to Clothes
14 Feb 13:55
Janell D. added For The Love Of Ribbons.... to Clothes
14 Feb 13:55
You Will Need
-
 Step 1
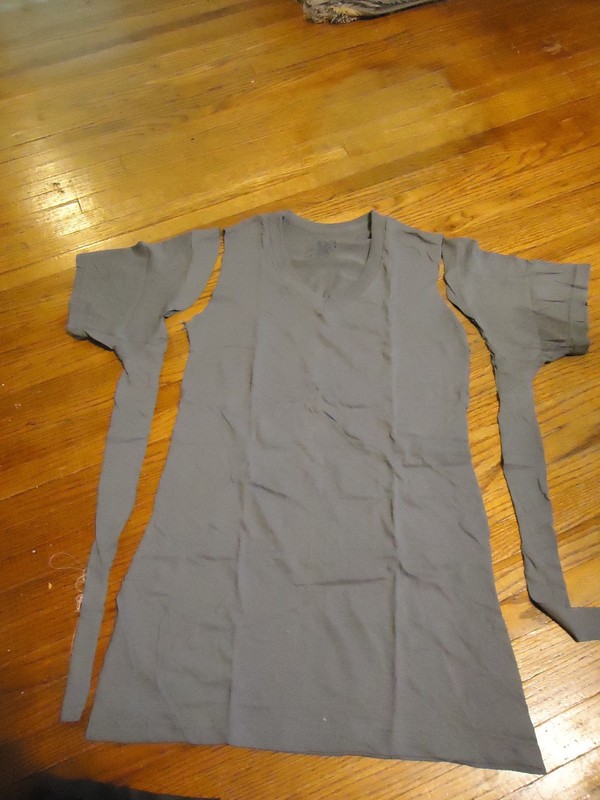
Grab your favourite t-shirt, as fitted as you like it, and place it on top of the other shirt and cut it down making sure to leave yourself some seam allowances. (I usually line mine up at the neck, shoulder and top seams.)
Make sure you keep your scraps you're still going to need those sleeves for later.
Mine came out kinda uneven, and in that case I just folded it exactly down the middle and cut the sides to match.
-
 Step 2
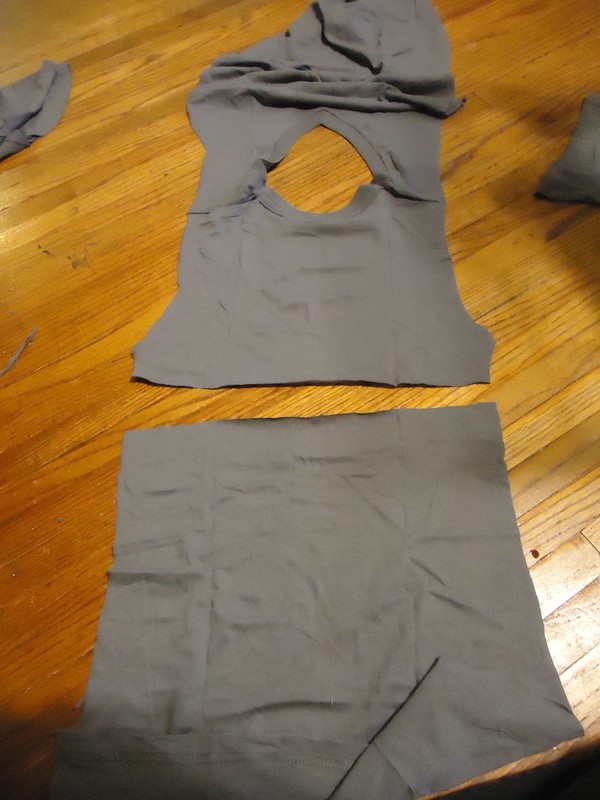
Turn the shirt over and make sure you're looking at the back, unfold it to make sure you've only got one layer there.
Next you wanna find those little bits that stick out the essentially mark your the bottom armholes. Go down 1 1/2 to two inches from there and cut straight across. Like really straight...to be honest I eyeballed this part too.
-
 Step 3
Now that bottom piece you just hacked of your gonna want to cut a straight line right up the back of that.
-
 Step 4
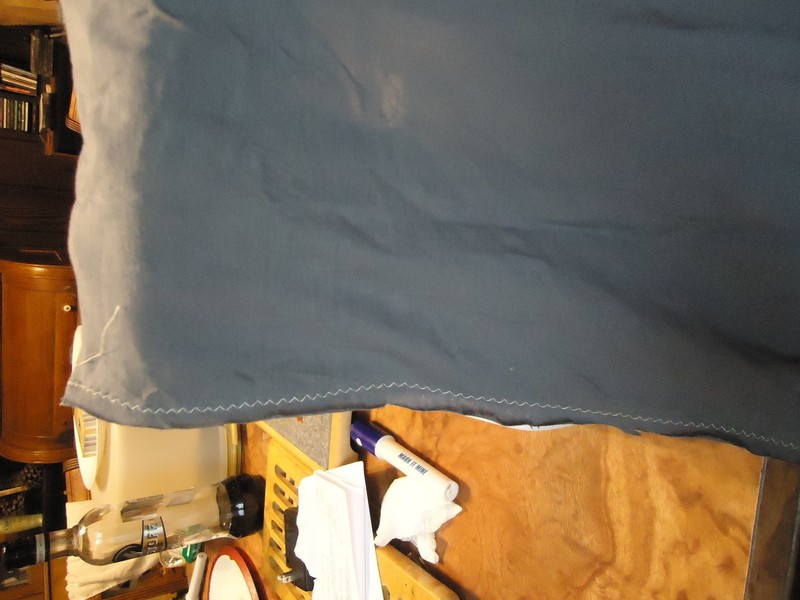
Take the two even bottom back halves of the shirt fold over the straight edges and inch and sew to seams all the way down. If you want to stabilize your lacing this is the time to do it, I didn't but for a t-shirt I think it works out rather well.
Do this on both of the back bottom panels.
-
 Step 5
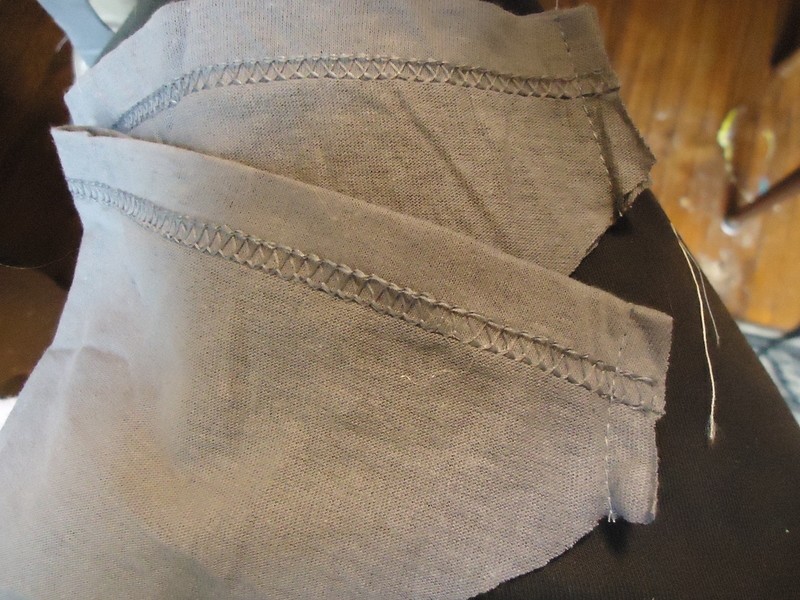
One seam is going to be really close the folded edge and the other one is going to be close to where the raw edge is on the underside.
Please excuse my mismatching thread...I was too lazy to rewind my bobbin.
-
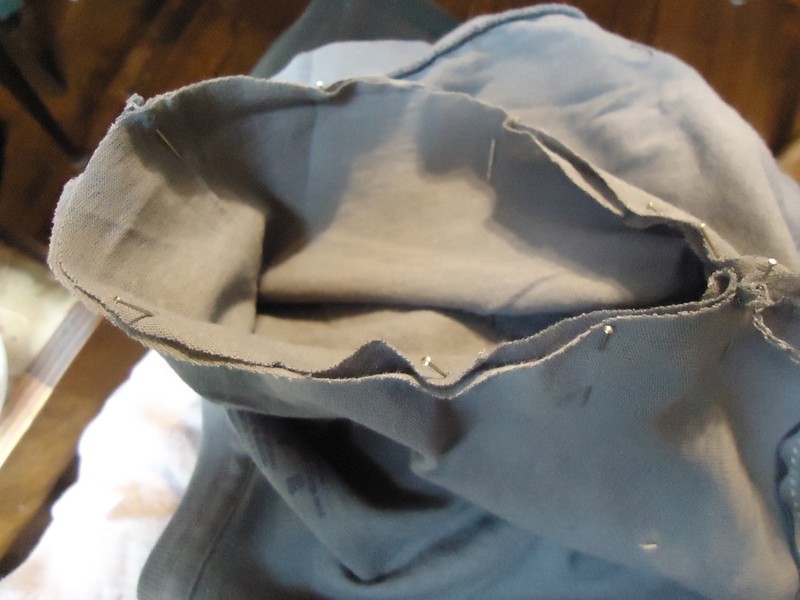
 Step 6
Line up your bottom pieces to the upper piece of the back. (right sides together) The side seams are whats gonna be important. And you're going to have a two inch gap in the middle there anyway.
Pin it and sew it straight across makin sure to fold up the raw edge across the gap in between the to bottom panels.
-
 Step 7
Woot! top stitch it!
-
 Step 8
That little back section there should be looking like this now. This isn't really a step but I felt it was important to show a picture of just this.
-
 Step 9
Easy part! Line up your side seams and zig zag it. However everyone else finishes their own seams.
-
 Step 10
Time for the sleeves...
Use the same shirt that you used for sizing to cut yourself out some sleeves.
The light grey shirt is the one I started with.
-
 Step 11
They should be looking something like this. It's really just basic resizing of a shirt, if you're familiar with it then its a breeze.
-
 Step 12
You turn your shirt inside out and your sleeve right side out and pin the sleeve in while making sure you line up your armpit seams. pin. sew. good times. You may have to do some adjustments, i normally do, evil fate of wingin' it I guess.
-
 Step 13
Nearly done...
Go back to your back panels and grab your measuring tape, I choose to put my hole an inch apart. So yeah make some marks.
On both sides
-
 Step 14
Go through and make little slit through both layers, in between the two rows of stitching. on both sides. Make sure every thing is really even before you start cutting. (shh mine is a little crooked...oh well.
-
 Step 15
Grab yo' self some ribbon, I cut mine really long, you don't really need a whole awful lot, I just like to have extra stringlez and bows and stuff like that.
-
 Step 16
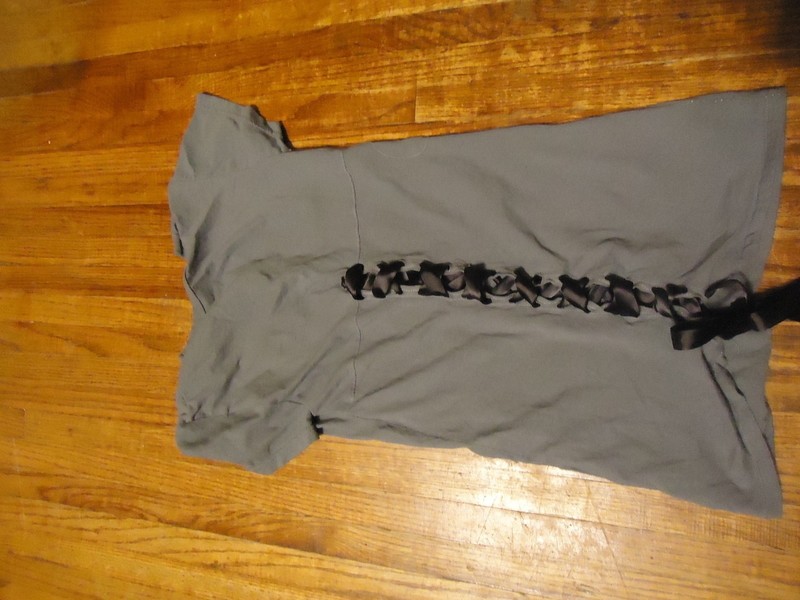
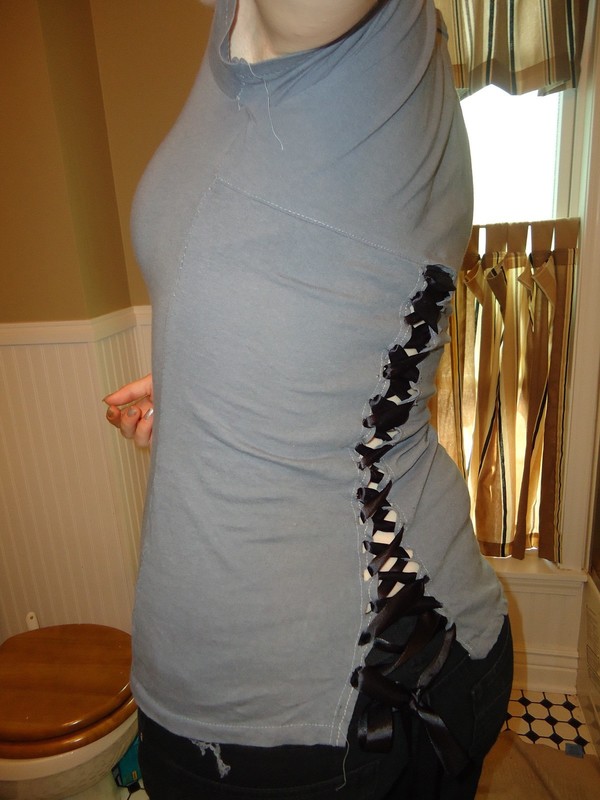
Lace it up!
-
 Step 17
Very last bit, hem up the bottom so the front and back pieces are the same length. Cause its a pretty obvious difference there. And then woo hoo done.
Also, I suggest taking out the ribbons when you wash it cause I didn't and man that was a mess!