

About
Bake and decorate a marble fondant cake
Marbling is an art that’s used across a wide range of mediums. From canvas pictures, to diary covers and even makeup brushes. So why not add the effect to a cake? When you create a marbling effect, the result is always different and can never be fully predicted. The reveal of the result can make it even more fun to complete!
Follow my step by step guide below to create your very own stunning fondant marble cake. It makes a great centre piece at parties but you could also create it simply for the joy of making something beautiful!
Tags
-
 ModernMyth Angel favorited Fondant Marble Cake
22 Oct 16:04
ModernMyth Angel favorited Fondant Marble Cake
22 Oct 16:04
-
 Kimya J. favorited Fondant Marble Cake
15 Jun 11:51
Kimya J. favorited Fondant Marble Cake
15 Jun 11:51
-
 Dorothy M. favorited Fondant Marble Cake
10 Jun 17:24
Dorothy M. favorited Fondant Marble Cake
10 Jun 17:24
-
 C.J. M. favorited Fondant Marble Cake
29 May 18:33
C.J. M. favorited Fondant Marble Cake
29 May 18:33
-
Emily B. published her project Fondant Marble Cake
29 May 09:09
You Will Need
-
 Step 1
Pre-heat the oven to 170 degrees (fan).
Grease 2 cake tins with butter and set to one side.
-
 Step 2
Whisk the butter and sugar together.
-
 Step 3
Add in the eggs and vanilla extract and whisk together.
-
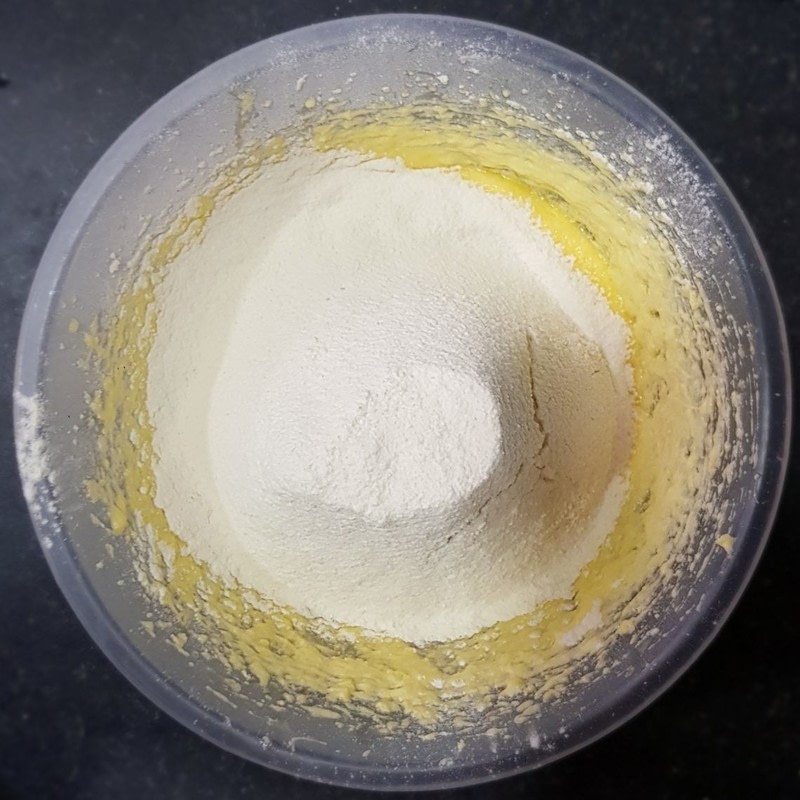
 Step 4
Sift the flour and baking powder into the mixture.
-
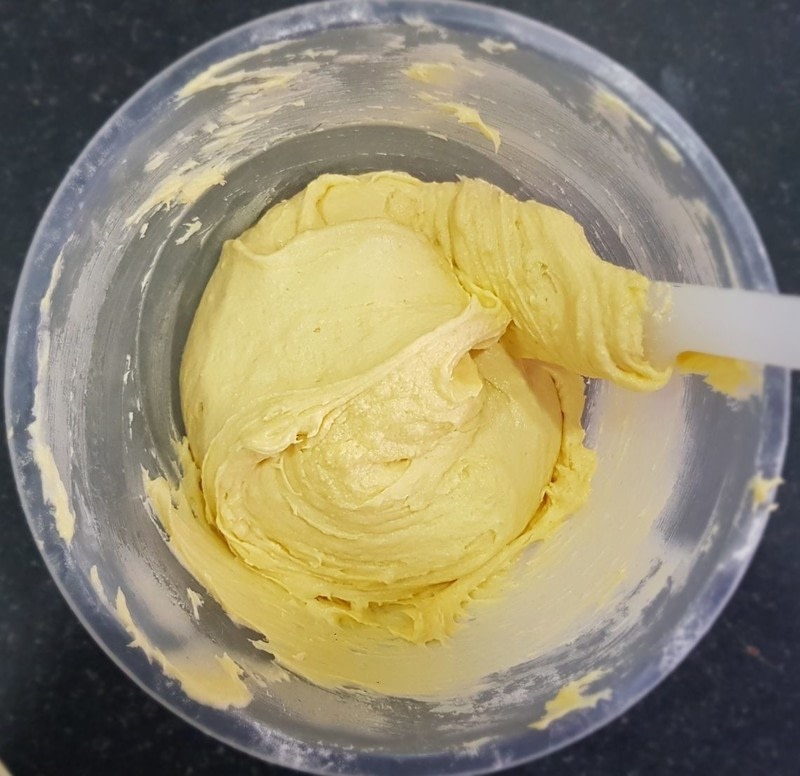
 Step 5
Fold the flour into the mixture using a figure of 8 technique (this helps to keep the air in the mixture).
-
 Step 6
Split the mixture between to 2 cake tins and bake for 15-20 minutes (mine took 17 minutes).
-
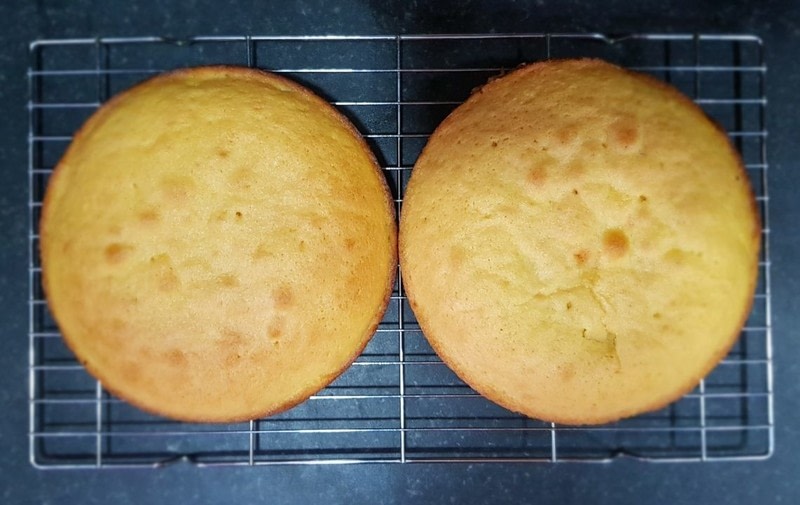
 Step 7
Once the cake is cooked (check with a cake tester), allow to cool for approximately 1 hour.
-
 Step 8
Whilst the cake is cooling, make the buttercream.
Whisk the butter for at least 5 minutes. Add the vanilla extract and whisk for another minute.
-
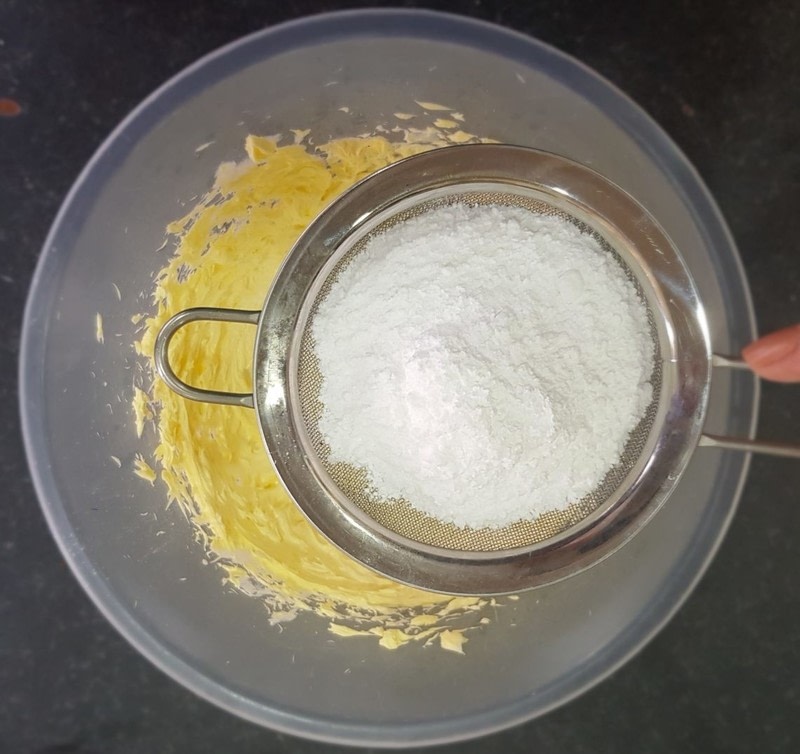
 Step 9
Sift the icing sugar and add to the whisked butter in stages.
Whisk after adding each new batch of icing sugar.
-
 Step 10
Add 3 tbsp of milk. I recommend whisking each time you add 1 tbsp to check the consistency. It needs to be smooth yet firm.
-
 Step 11
Cut the tops off both cakes to give an even surface.
Add the buttercream to the top of one cake and stick the other on top.
Cover the top and the sides of the cake in buttercream, using a spatula to smooth the surface.
-
 Step 12
Put the cake in the fridge to cool.
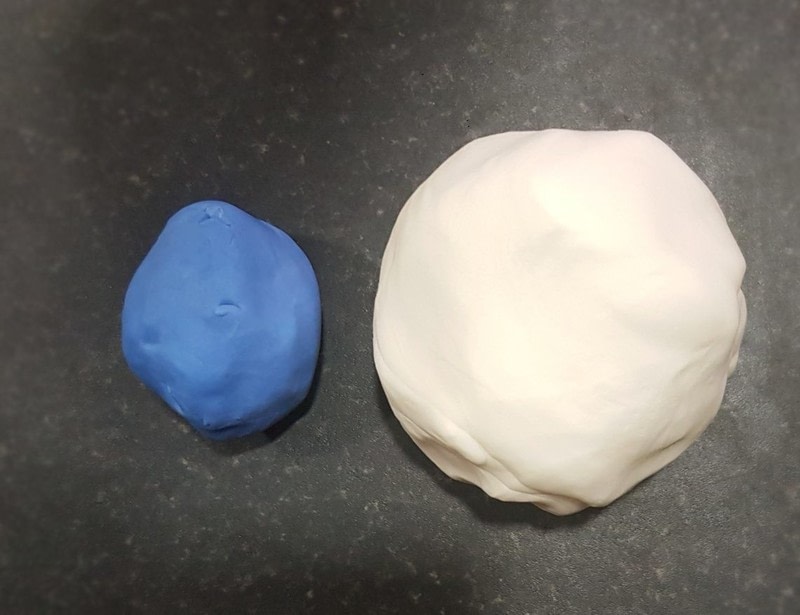
Whilst cooling knead the blue and white fondant separately to soften. This should only take a few minutes.
-
 Step 13
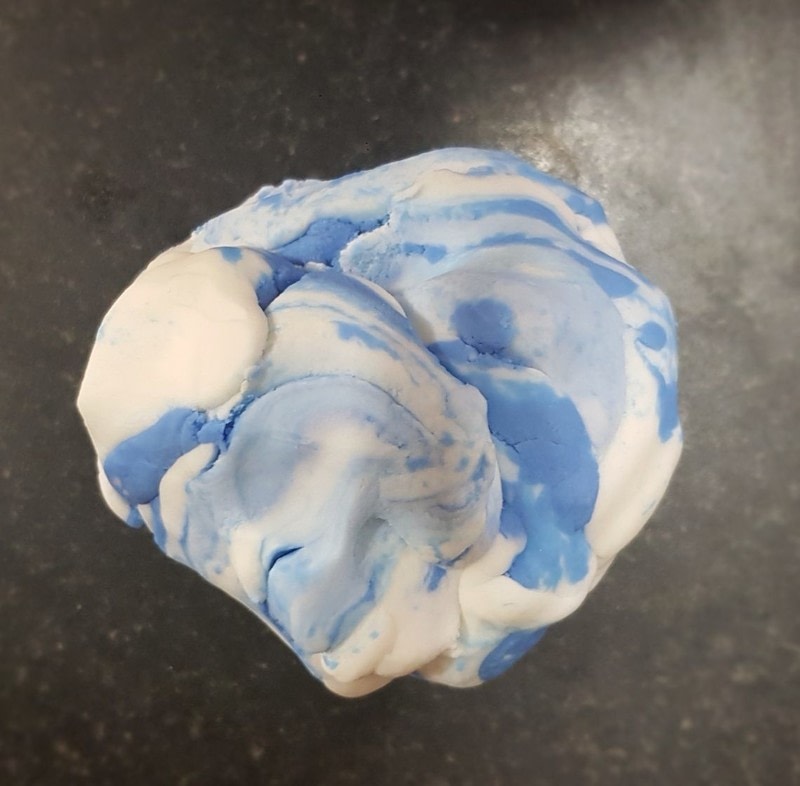
Press the 2 fondants together then split in 2 (making sure both colours are in each piece)and press together again. Repeat the process for a few minutes.
This will start to create a marble effect
-
 Step 14
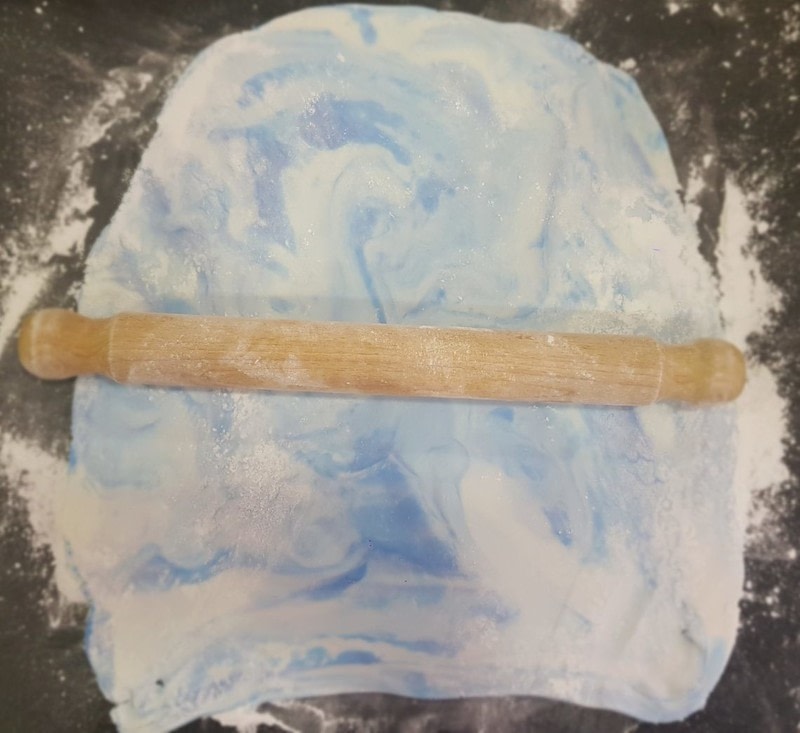
Sprinkle some icing sugar on a surface and rolling pin. Slowly roll the fondant out, turning after each roll (this helps to prevent sticking).
-
 Step 15
Using the rolling pin, pick up the fondant and place over the cake.
Carefully pull the fondant away from the cake, then smooth down with your hand. Use a fondant smoothing tool if possible to get a really straight finish.
-
 Step 16
Once all the fondant is smooth on the cake, cut around the base to remove the excess fondant. I used a pizza slicer for this step and it worked perfectly!
-
 Step 17
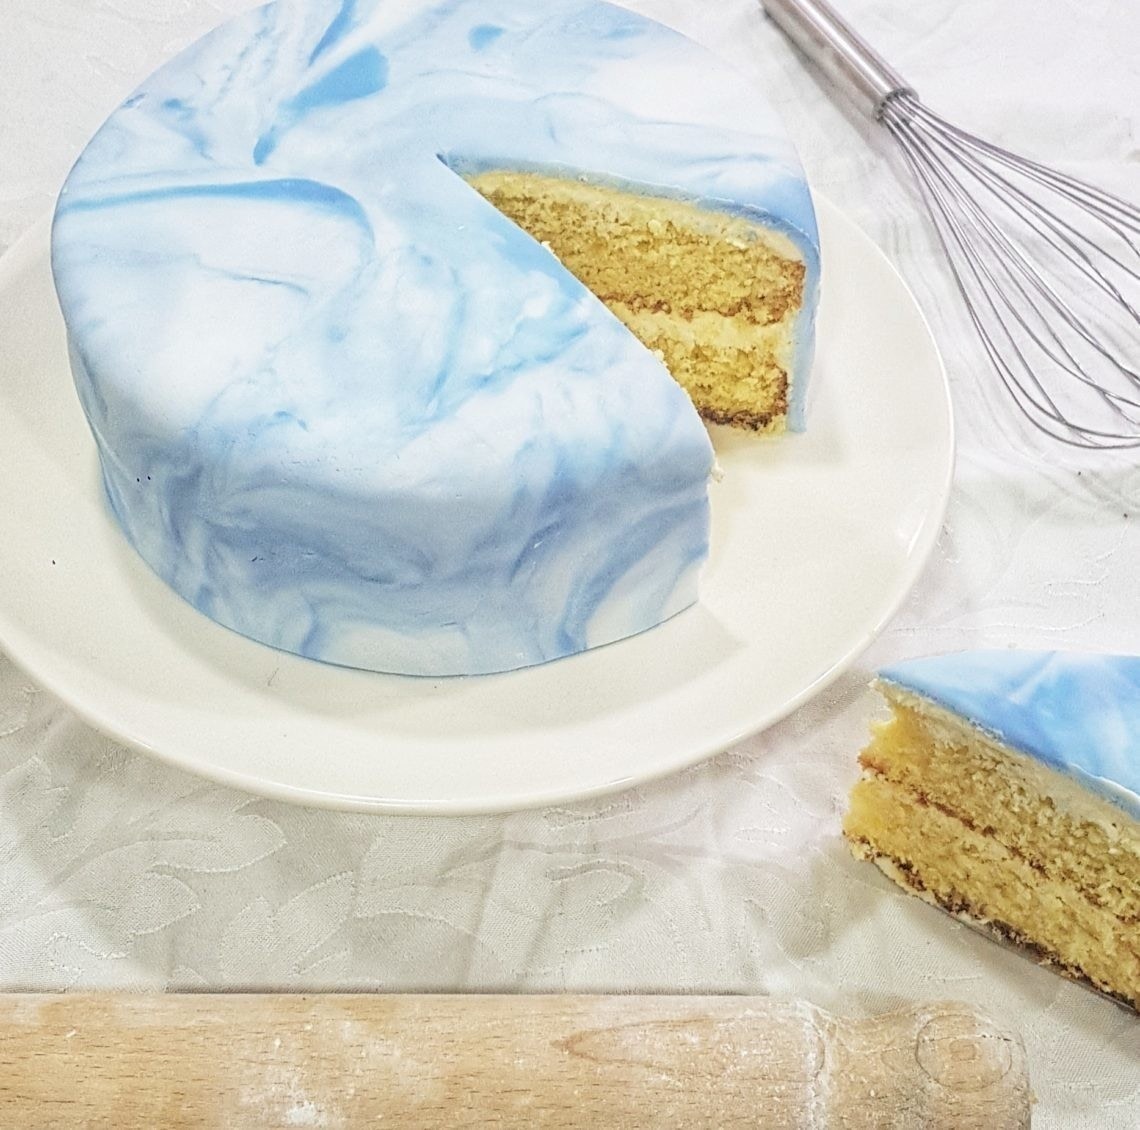
Finished
Your cake is now ready to enjoy.