


About
Tutorial: Land of Nod inspired Floor Cushion
After browsing page after page of Land~of~Nod and Pottery Barn Kids for years, I've decided to take the bull by the horns and make my own stuff!
-
 Becky favorited Floor Cushion
20 May 10:50
Becky favorited Floor Cushion
20 May 10:50
-
 RareJewel favorited Floor Cushion
04 Jun 07:51
RareJewel favorited Floor Cushion
04 Jun 07:51
-
C.J. M. added Floor Cushion to DIY The Room
23 Apr 18:06
-
LeAnn M. favorited Floor Cushion
12 Jan 23:45
-
 charlie d. favorited Floor Cushion
29 Mar 02:48
charlie d. favorited Floor Cushion
29 Mar 02:48
-
 Arienrhod1 favorited Floor Cushion
29 Dec 14:45
Arienrhod1 favorited Floor Cushion
29 Dec 14:45
-
 Steph. commented on Floor Cushion
10 Sep 07:41
Steph. commented on Floor Cushion
10 Sep 07:41
-
 Jac D. favorited Floor Cushion
01 Jun 01:18
Jac D. favorited Floor Cushion
01 Jun 01:18
-
 Kay G. favorited Floor Cushion
30 Mar 20:04
Kay G. favorited Floor Cushion
30 Mar 20:04
-
 Millie H. added Floor Cushion to cool ideas
26 Mar 00:17
Millie H. added Floor Cushion to cool ideas
26 Mar 00:17
-
 Step 1
I started first by drawing my own 17" diameter circle. I had searched the Internet for a template to just print out, but couldn't find. Thankfully, for some unknown reason, I had a thingamajig compass in my craft storage. So, I reverted back to 5th grade and figured out how to make a nice round 17" circle! It was super easy...you can too!
-
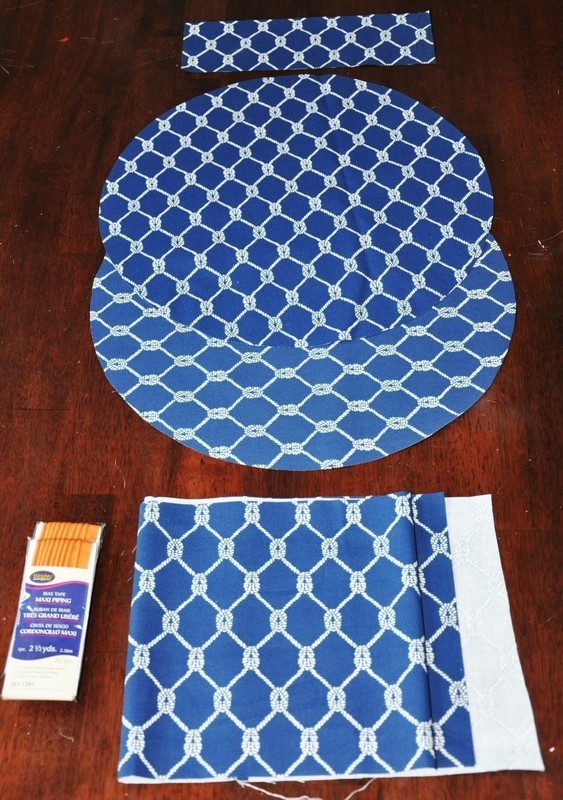
 Step 2
Next, cut out all your pieces.
You will need:
2 of the 17" circles (top and bottom)
1 piece cut at 9"x51.5" (side) **you will have to piece this together if your fabric is 45"**
2 pieces cut at 3" x 12" (handle) -
 Step 3
Begin by pinning your bias tape directly on to one of the circles, making sure to line up raw edges
-
 Step 4
When you get to the end, overlap pieces and bend them at an angle
-
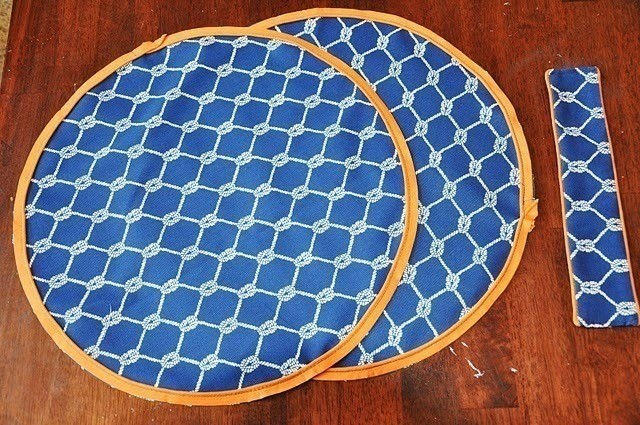
 Step 5
Using a contrasting thread, stitch right on top of the stitching that is on your pre-made piping. Make sure to use a contrasting thread that is easy to see on the wrong side of your fabric (this will make sense later).
Sew both circles this way -
 Step 6
Now lets work on the handle. Lay the piping on the right side of either lengthwise side and pin in place, matching raw edges. Sew in place.
-
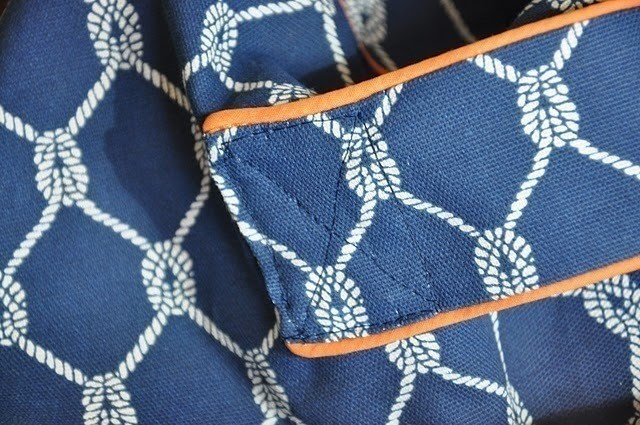
 Step 7
Place the other handle piece on top and using your previous stitching as a guide (this is where the contrasting thread comes in handy), stitch the two pieces together on the sides only, leaving about 1/4" from the sides free so it is easy to fold under once you turn right side out.
DO NOT STITCH THE ENDS CLOSED! -
 Step 8
Turn the handle right side out and fold in the small ends, iron if needed. Edge stitch in coordinating thread on the small ends to close
-
 Step 9
So this is what you should have so far! Pretty!
Now lets move on: -
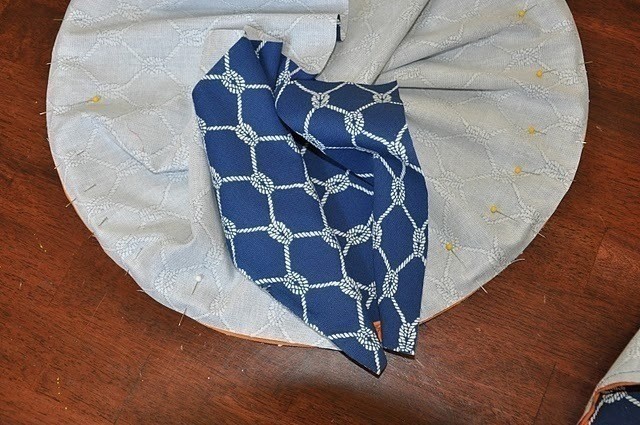
 Step 10
Take your large side piece and pin it carefully to one of the circles,
right sides together and matching raw edges.
Make sure to leave about 1" free on the end. Do not pull too hard, and make sure to compensate for the curve of the circle -
 Step 11
Pin all the way around until you come to the other end.
You will see that your two pieces will come together nicely. -
 Step 12
Pin the width-wise seam together and sew a 1/2" seam. Once that is sewn, finish pinning the rest down to the circle
-
 Step 13
Now, again using your previous stitching from when you sewed on the bias tape, stitch right on top to sew the two pieces together
-
 Step 14
Turn right side out and position where you want your handle. I just centered it on one side and pinned into place. Make sure to leave some slack in the middle so its easy to carry.
-
 Step 15
Double stitch around for reinforcement and stitch an X for extra strength
-
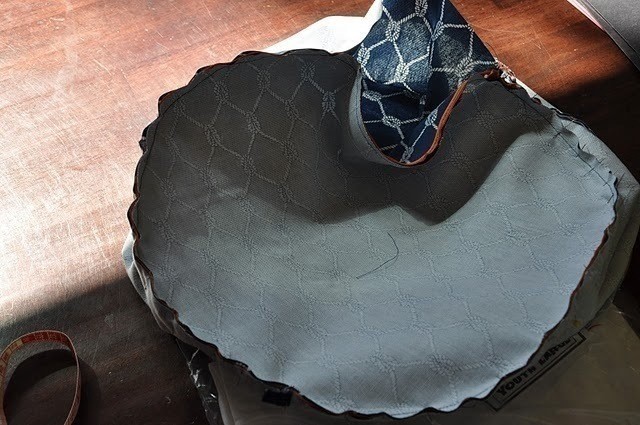
 Step 16
Turn wrong side out again and pin the other circle just like the other one. This time leave an opening wide enough to turn and stuff with fiberfill. Stitch in place, again, using the contrasting stitching as a guide
-
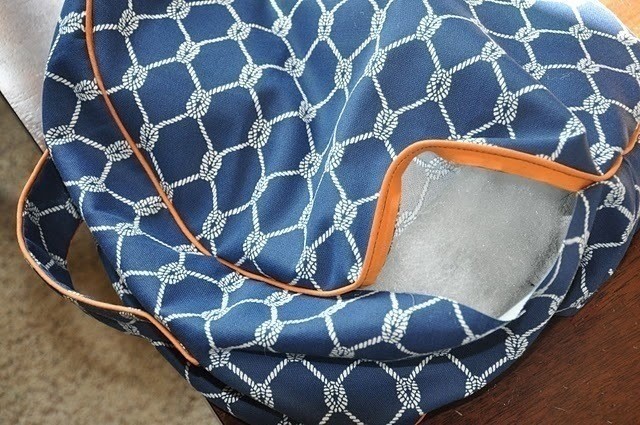
 Step 17
Turn right side out and fill with fiberfill.
-
 Step 18
Hand stitch closed and you're DONE!!


Comments

