


About
The tastiest of all seams. Probably.
Learn how to do a flat felled seam - with no trimming!
Flat felled seams are pretty sexy as far as seams go - and pretty easy! They can be used for garment making, think inside leg seams of jeans for added strength or for projects where other seams just won't work, as in flag or banner making.
-
 Sew Swansea favorited their project Flat Felled Seam
09 Jul 14:46
Sew Swansea favorited their project Flat Felled Seam
09 Jul 14:46
-
Sew Swansea replied to a comment on their project Flat Felled Seam
09 Jul 14:28
-
 Kaye N. commented on Flat Felled Seam
08 Jul 23:41
Kaye N. commented on Flat Felled Seam
08 Jul 23:41
-
 Crystal K. favorited Flat Felled Seam
08 Jul 23:27
Crystal K. favorited Flat Felled Seam
08 Jul 23:27
-
Cassandra A. favorited Flat Felled Seam
08 Jul 22:18
-
 Crafterella featured Flat Felled Seam
01 Jul 23:00
Crafterella featured Flat Felled Seam
01 Jul 23:00
-
Sew Swansea published their project Flat Felled Seam
22 Jun 09:00
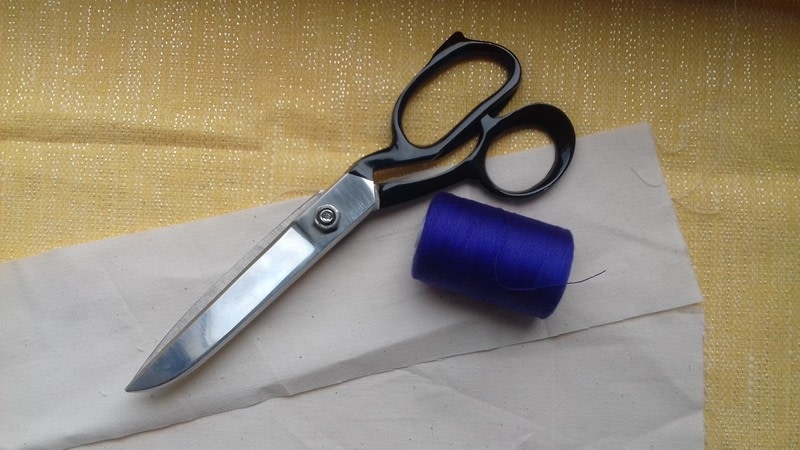
You Will Need
-
 Step 1
Gather your materials.
-
 Step 2
Set up your sewing machine - I'm using Pearl today. She's a babe.
-
 Step 3
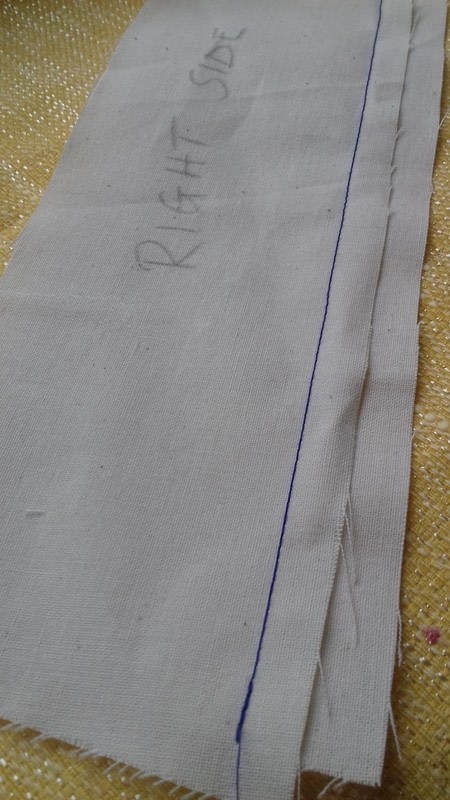
As I'm using calico for this project I've written on each side 'wrong' or 'right' side.. the right side of your fabric is the top, good side, the bit you want to be seen or with the print on.
The wrong side is the back.
-
 Step 4
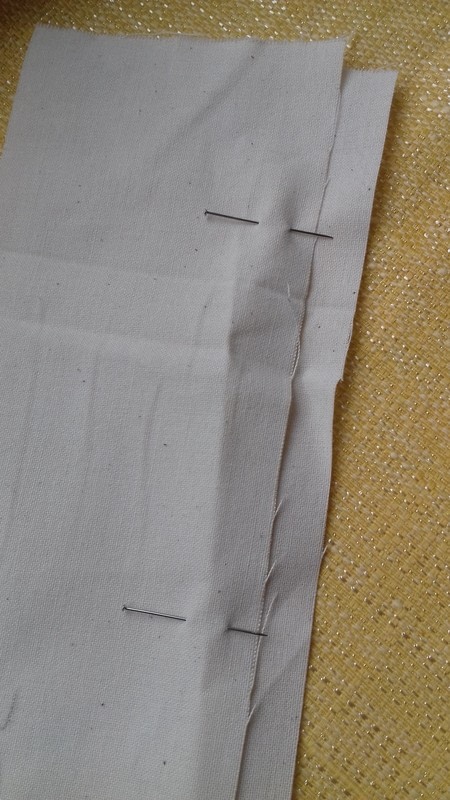
Start by laying your fabrics, wrong sides together. Normally you'd butt the raw edges inline with each other, but for this technique, you need to have the bottom fabric sticking out around 1cm to the right, as shown - you can pin this in place.
Note about pinning when machine sewing - always *always* pin horizontally, it is safer and easier to remove the pins as you sew this way.
-
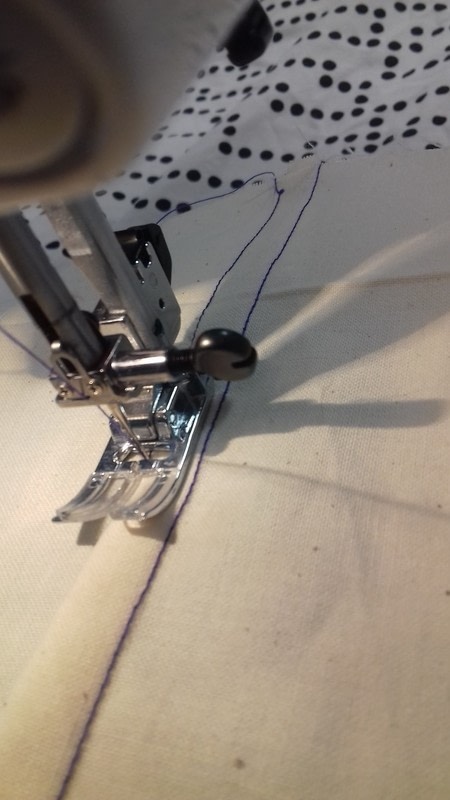
 Step 5
Using a 1-1.5cm seam allowance and a straight stitch sew the fabrics together.
-
 Step 6
Open out both fabrics so that the right sides are facing up towards you.
-
 Step 7
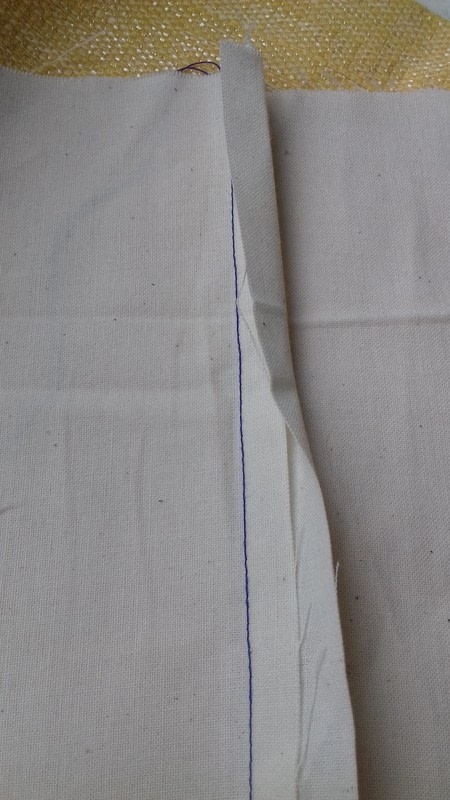
This bit is a little tricky to explain in text! You need to fold that under edge (that bit we left overhanging on the bottom fabric piece) over and to the left of the raw edge on the top piece of fabric...
-
 Step 8
Fold this seam wrap thing to the left so it lays flat on the left-hand piece of fabric and everything is encased within itself like shown
-
 Step 9
Using a top stitch close to the edge, sew this seam down flat.
-
 Step 10
On the right side, you will have a double row of stitching...
-
 Step 11
And on the wrong side, one row of stitching.
-
 Step 12
You can make your flat felled seam as wide or narrow as you like, you don't have to stick to the measurements I've given here - have a play around and see how you get on.
Tasty, tasty, flat felled seams.


Thank you for taking the time to leave a comment, Kaye.
Happy stitching!