

About
Make your own felt Orange Slices!
Here's a step-by-step version of how to create your own felt Mandarin Orange slice - where I combine the basic instructions given in the Daiso kits (designed by Chihiro Yamato) with ideas from the first felt book I got for this wonderful hobby, the amazing "Big Little Felt Universe" by Jeanette Lim).
Note: While my project is by no means professional, I am also trying to explore different techniques to improve my sewing by borrowing ideas from different sources, books or inspiring crafters whom I will mention as long as I can.
I will also be including these techniques (even if they are basic) as notes(*) along the way to chart my progress on my 1 Felt Project-a-Week that continues with this mandarin orange slice (part of Project 5) :)
More details on the book by Jeanette Lim can be found here: http://www.amazon.com/Big-Little-Felt-Universe-Squeeze/dp/1600596754/ref=pd_sim_sbs_b_1 or http://www.bookdepository.com/Big-Little-Felt-Universe-Jeanette-Lim/9781600596759.
-
 Kacey V. favorited Felt Mandarin Orange Slice(S)
08 May 21:52
Kacey V. favorited Felt Mandarin Orange Slice(S)
08 May 21:52
-
Liza W. added Felt Mandarin Orange Slice(S) to Plushie Ideas
14 Dec 14:43
-
 Neko-San K. favorited Felt Mandarin Orange Slice(S)
31 May 20:50
Neko-San K. favorited Felt Mandarin Orange Slice(S)
31 May 20:50
-
 mmotse03 favorited Felt Mandarin Orange Slice(S)
28 Aug 21:54
mmotse03 favorited Felt Mandarin Orange Slice(S)
28 Aug 21:54
-
 Ella Light added Felt Mandarin Orange Slice(S) to Toys
10 Aug 23:38
Ella Light added Felt Mandarin Orange Slice(S) to Toys
10 Aug 23:38
-
 clarisse.cramer favorited Felt Mandarin Orange Slice(S)
25 May 17:40
clarisse.cramer favorited Felt Mandarin Orange Slice(S)
25 May 17:40
-
 Nina H. added Felt Mandarin Orange Slice(S) to Possible gifts
13 May 21:04
Nina H. added Felt Mandarin Orange Slice(S) to Possible gifts
13 May 21:04
-
 Alice N. added Felt Mandarin Orange Slice(S) to Technique
06 Apr 20:36
Alice N. added Felt Mandarin Orange Slice(S) to Technique
06 Apr 20:36
-
Suzi T. favorited Felt Mandarin Orange Slice(S)
28 Mar 18:00
-
 Kleyd added Felt Mandarin Orange Slice(S) to Want to Do
23 Mar 14:18
Kleyd added Felt Mandarin Orange Slice(S) to Want to Do
23 Mar 14:18
You Will Need
-
 Step 1
First, cut out 2 pieces of orange felt for the outside of your orange slice.
Next, cut out 1 piece for the gusset that will be used to link both sides. This set shown here may be adapted to your desired size, with the shown ratio used to create a single mandarin orange slice.
-
 Step 2
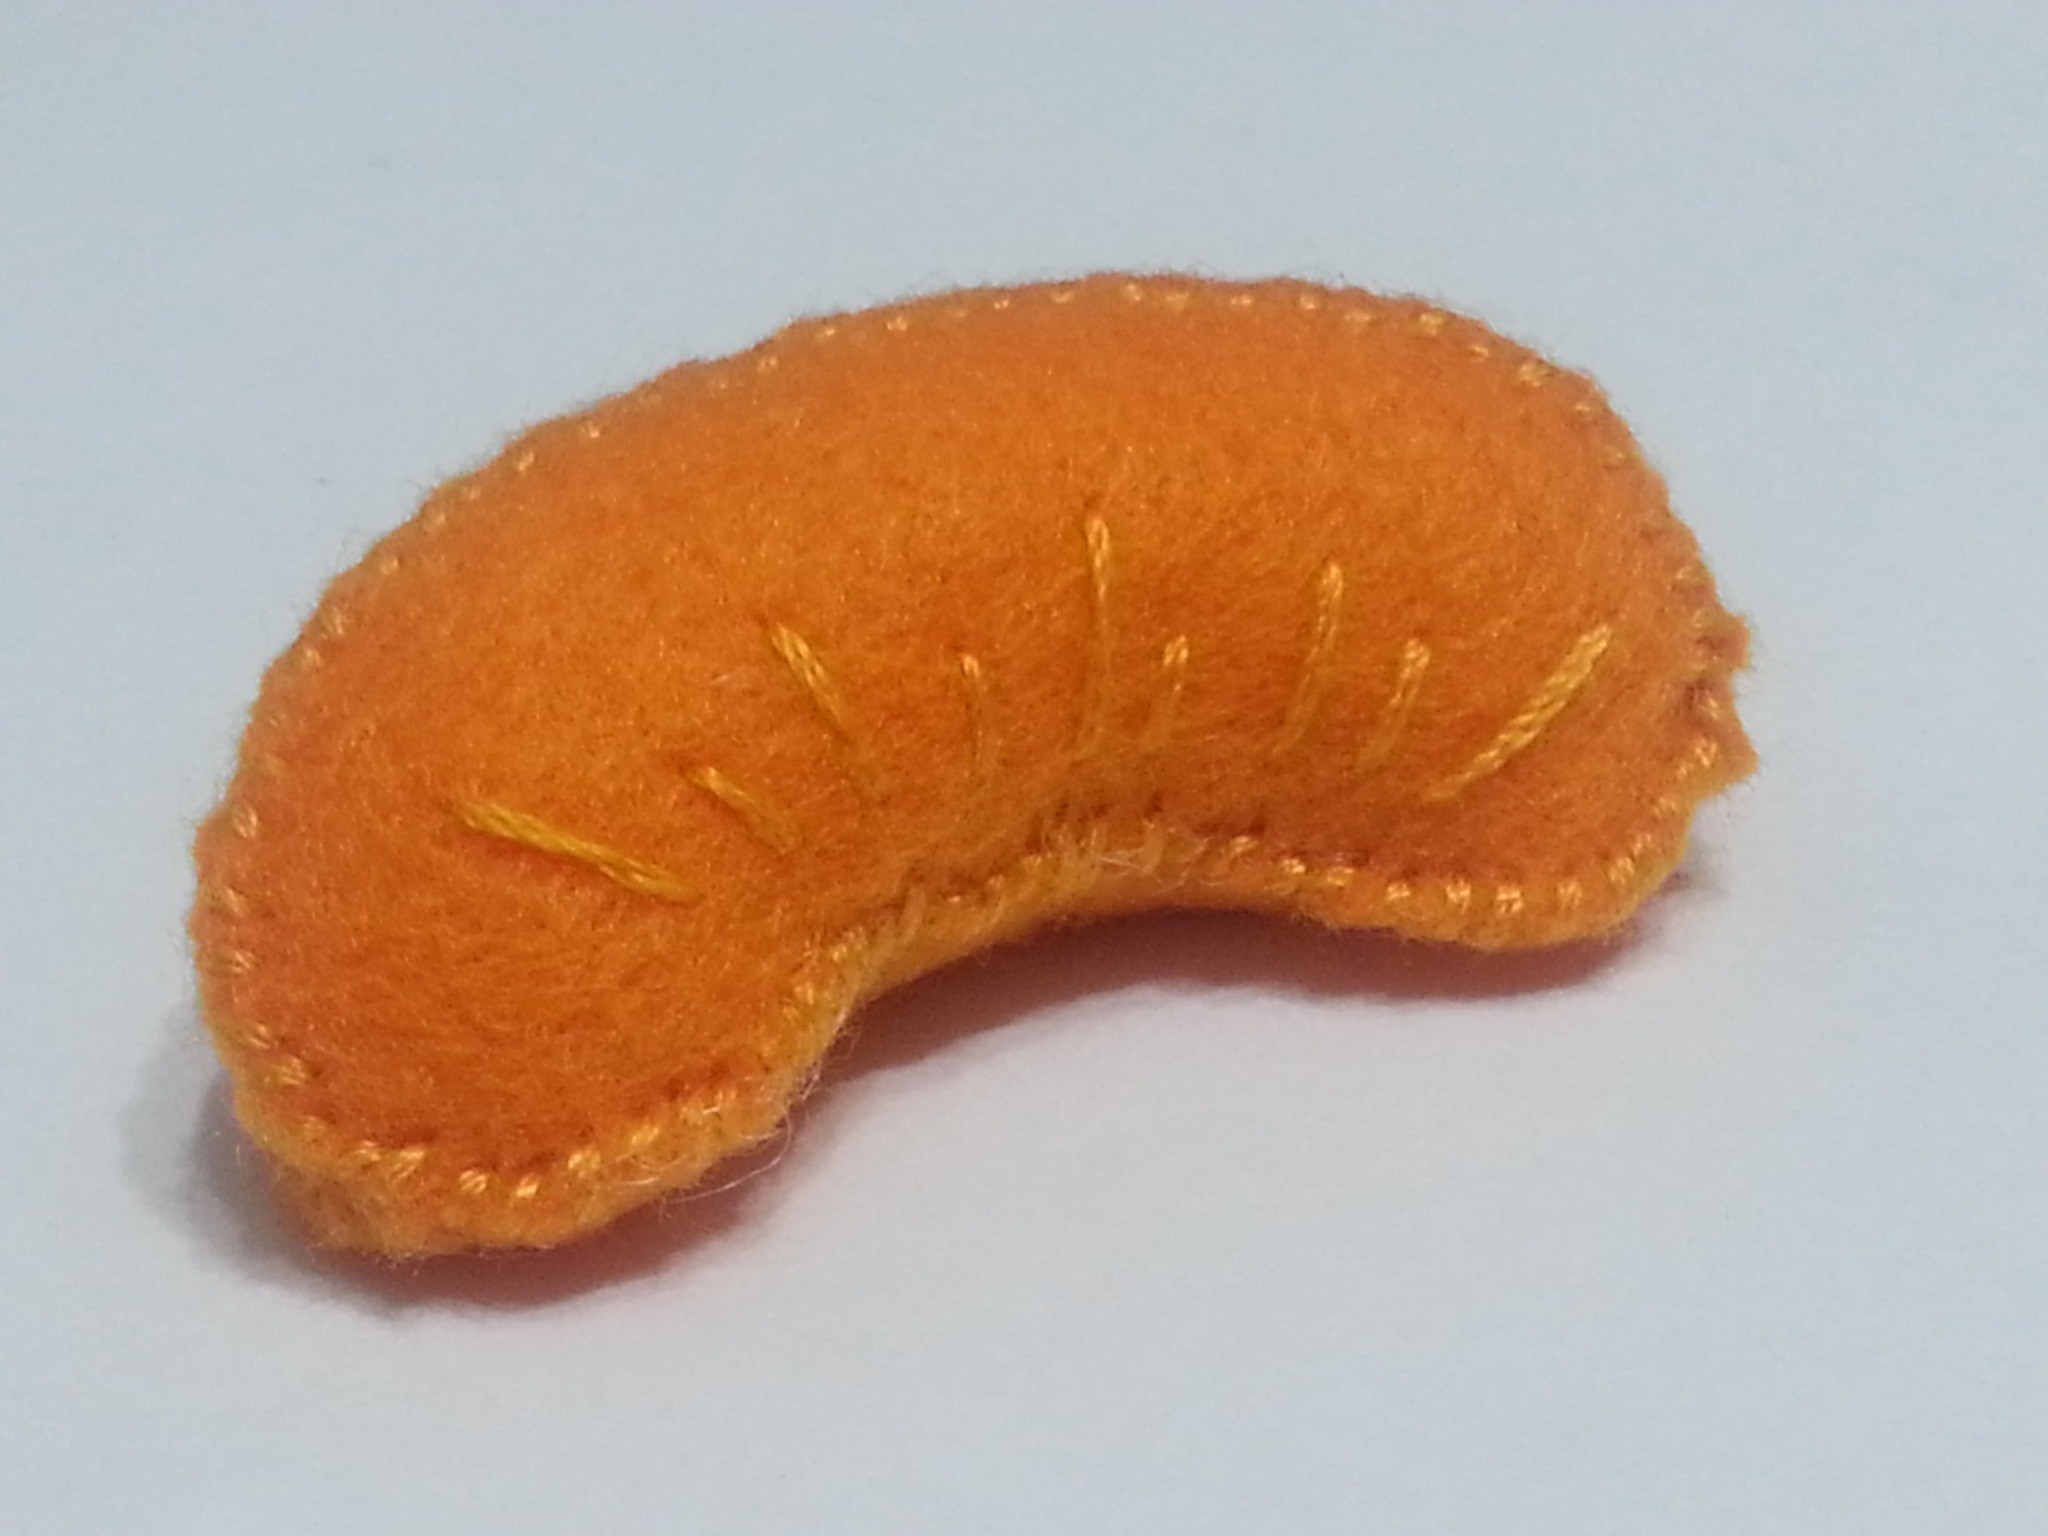
Then, embroider one side (the side facing outwards) of each of the orange slice with alternating short and long straight stitches in a matching coloured (orange) thread as shown.
*Note: Embroidering on both sides of the orange helps to make it look more realistic if you prefer that touch (compared to just sewing onto one side as originally suggested in the given instructions in the user-friendly kit).
-
 Step 3
Next, sew one of the outside pieces to the gusset using overcast stitches in the matching thread.
Do ensure that the tapered end of the gusset is in line with each (left and right) side of your first orange (outside) piece.After sewing one side of the gusset, proceed with sewing the other length of the gusset to the second (outside) piece of the orange slice with the same alignment. Your sewn orange slice should look something like the one shown in the picture here.
*Note: One amazing tip I learnt from Jeanette Lim's amazing book, "Big Little Felt Universe" is to ensure that I use double threading for my overcast (or whip) stitches from now onwards to make it look neater.
-
 Step 4
Here's the fun part: Put in your stuffing - take care to fill the sides first and then fill up the centre to your desired degree of softness.
-
 Step 5
Lastly, hold the ends from your gusset together as you use overcast stitches to sew up the opening.
There you have it... Your first felt mandarin orange slice! Enjoy! :)


